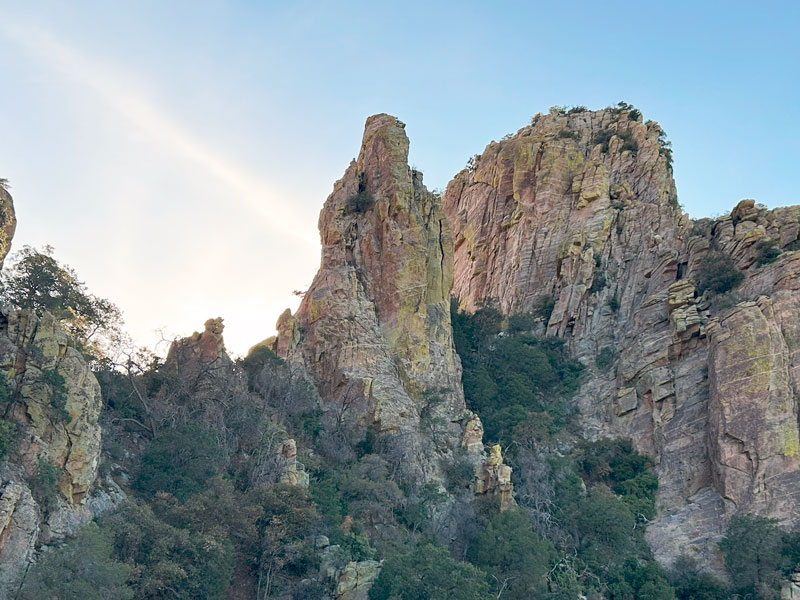
Finger Rock
TRAIL STATS
Standing watch over the Catalina Foothills is the majestic Finger Rock, delicately perched atop a ridge. Those with climbing skills and equipment can reach the summit, but those who’d rather stay grounded can just hike to the saddle or scramble to the top of the nearby Finger Guard. None of these options are easy and involve significant elevation gain along with a steep, loose spur trail that is an adventure in itself.
Note From January 1 until April 30 of each year, access to Finger Rock is closed for bighorn lambing season. It is illegal to travel more than 400 feet from the official Finger Rock Trail during this time.
🪢 This is a technical climb with one to two pitches rated 5.6 YDS, but you can just hike to the saddle for a nice view without the climb. You will need one 60m rope, plus all the required safety equipment for climbing and knowledge how to use it. This guide is not intended to provide instruction on how to climb safely.
Trail Description
From the parking area, walk up the road a short way to the start of the Finger Rock Trail.
Finger Rock Trail
The first mile or so of the trail isn’t very steep and travels along the back side of some private property among magnificent saguaro cactuses. If you look up on the ridge ahead, you should be able to spot Finger Rock nestled between two other rocky peaks. Yep, it looks like it could crumble at any moment.
After the first mile, the elevation gain starts to really pick up as the trail makes its way up the canyon along the right side. You’ll enjoy many views of the challenge ahead.
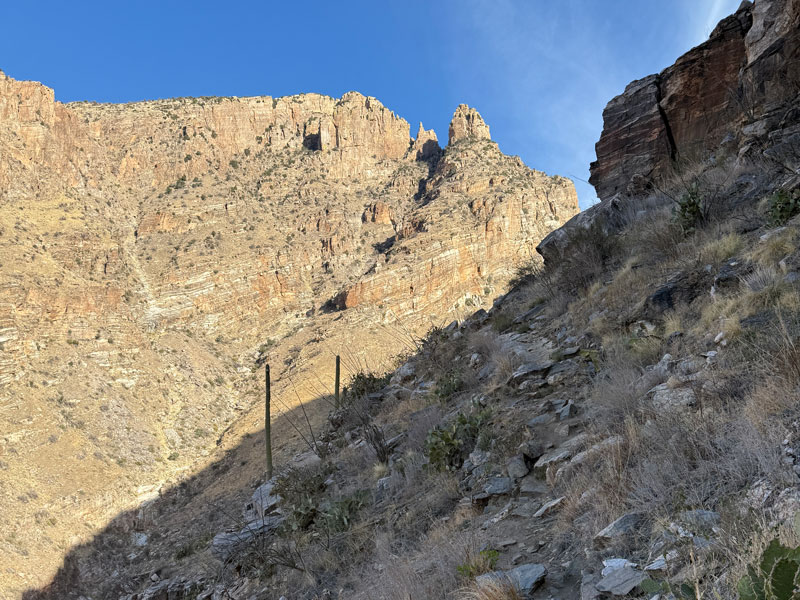
When you get to an obviously flat spot, it’s time to leave the nice, maintained trail for the adventurous, scramble/slip/slide to the saddle. Yes, you have to go all the way down into that gulley and allllll the way up the other side. I wish I was joking. We approached this from a long, strenuous backpacking trip, and I was hoping someone would say it ain’t so. It is.
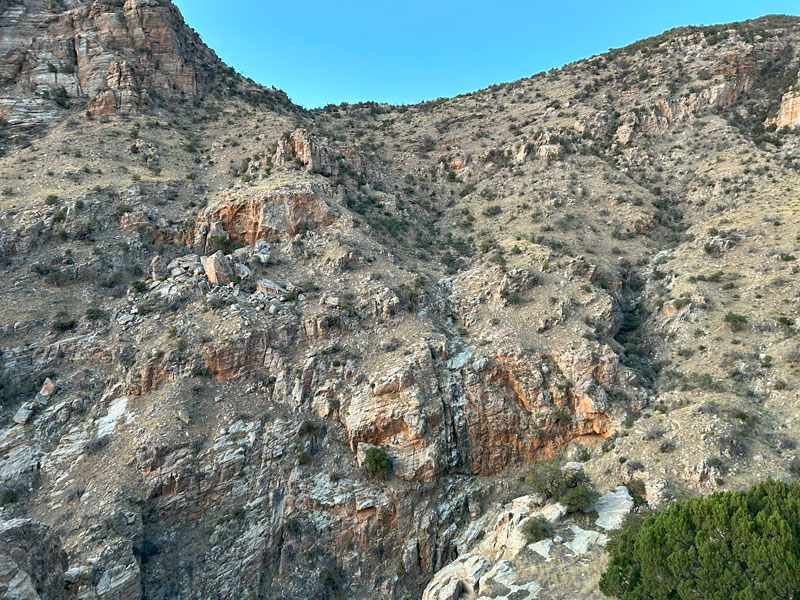
Although it is steep and loose at times, the trail is actually pretty well defined, and you shouldn’t have too much trouble following it.
Once at the saddle, you’ll see a nice campsite with a fire ring. This is where it gets confusing. We had conflicting descriptions, but what we did was head up toward Finger Guard, which was the middle of three trails branching to the left. It started climbing immediately.
You’ll climb up for a while, and it will kind of seem like you’re climbing up onto Finger Guard instead of Finger Rock. When you get about even with the base of the sheer cliffs that surround the tree-filled bowl below Finger Rock, look for a way to continue along the right side of the base instead of continuing to climb up. If it looks too sketchy, look just a little farther right. At first, it will look daunting, but I promise it gets better as you go.
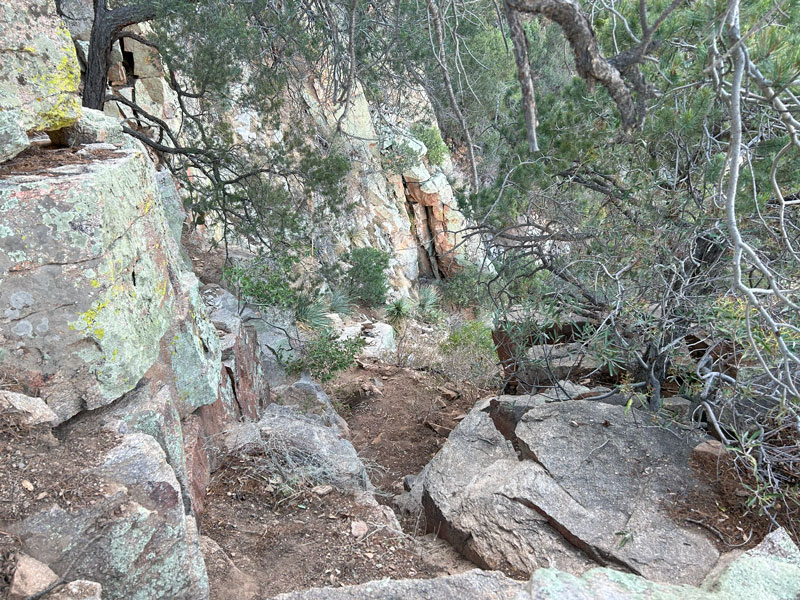
You’ll climb down a short distance before going right back up. Now you can clearly see Finger Rock dead ahead (as in the cover photo). Continue along the base of the cliff on your left until you’re near the base of Finger Rock.
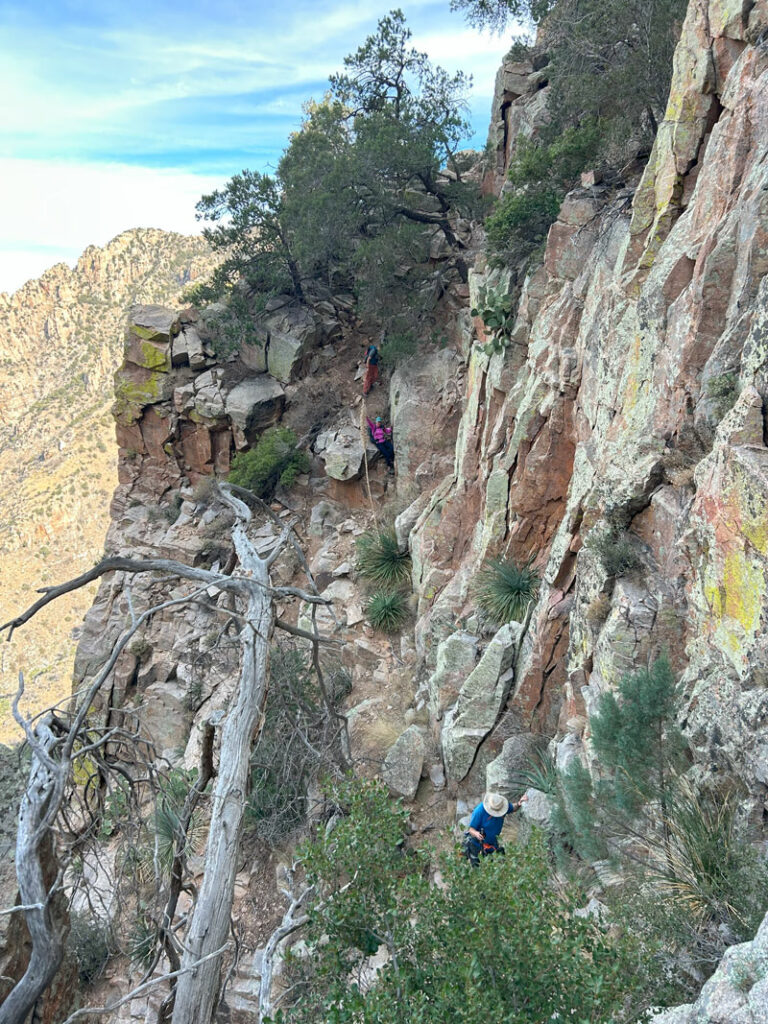
Then make your way right, along a very bushy social trail that has signs of previous foot traffic and occasional cairns.
Finger Rock Saddle
Once on the right side of Finger Rock, the trail will go straight up to the saddle.
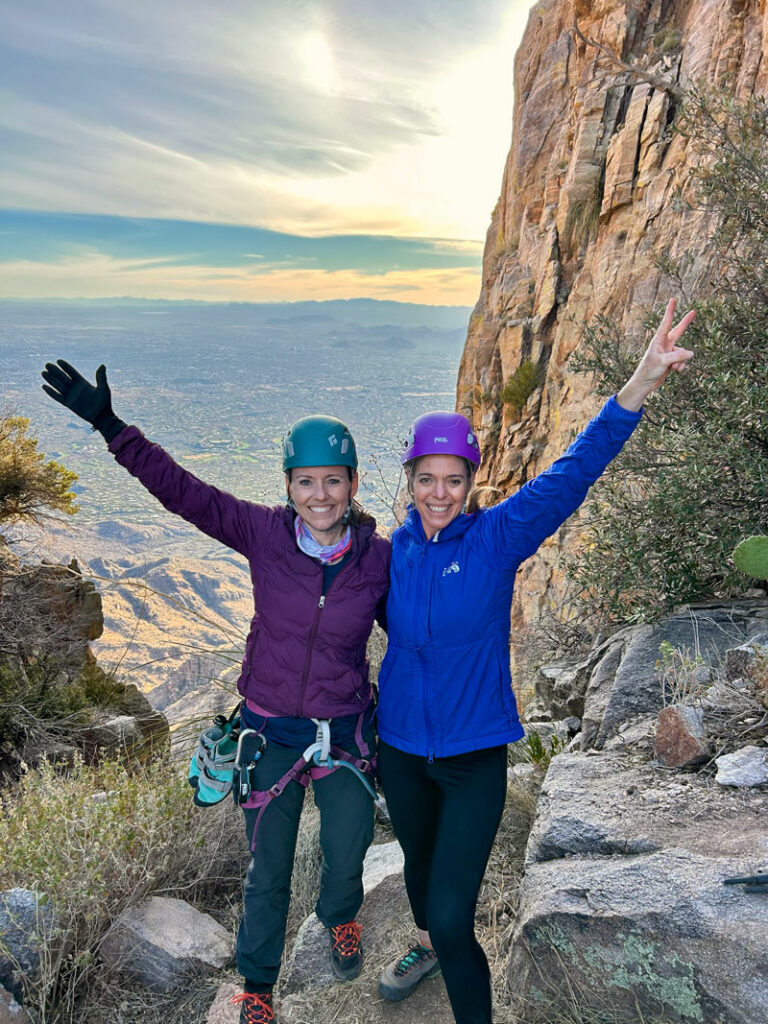
Wow, that was some kind of adventure! Okay, full disclosure, this was taken after we climbed Finger Rock. It’s a great view from up there.
Finger Rock Climb
There are multiple routes up Finger Rock, but we will show you the one we did, which is also the most common: The Standard Route. Creative name, eh?
When you arrive at the saddle, the start of the climb is directly to your left. The route described on Mountain Project was a single 100-ft pitch. We had four climbers, some of whom were novice climbers, so we split it into three. One or two is probably suitable for most anyone.
From the base, you’ll climb past a flake that we protected with a nut and then on past a bulge. For the novice climber, this bulge was unexpectedly challenging and the crux of the climb. It’s considered low 5th, so it shouldn’t be an issue for seasoned climbers.
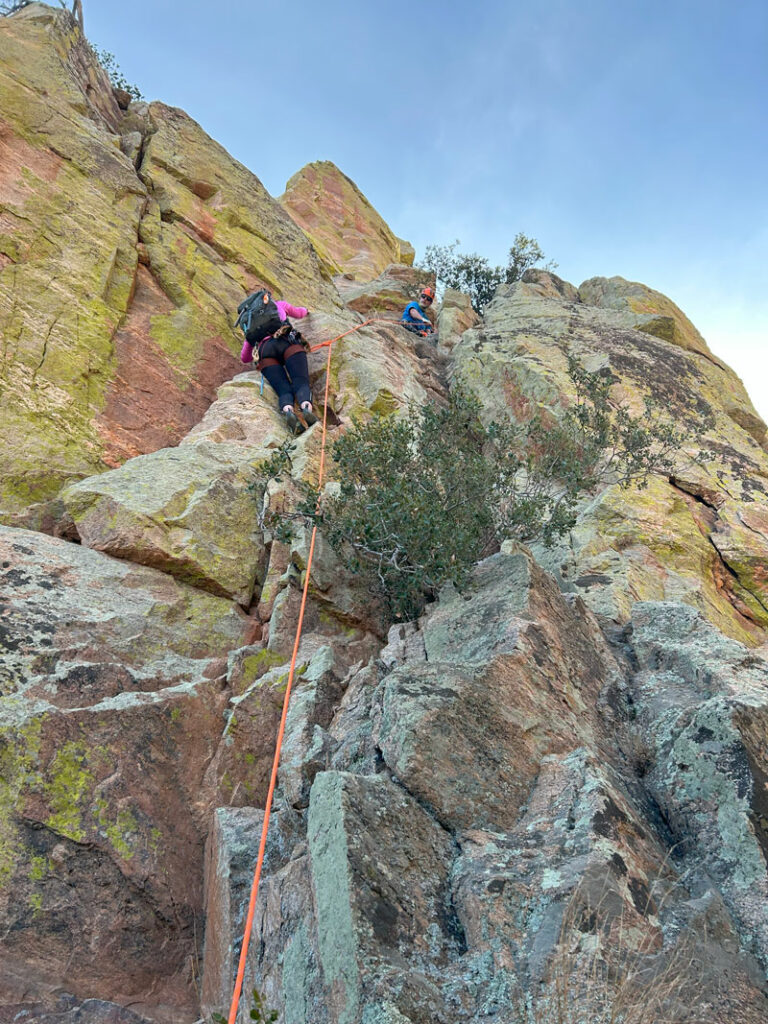
We anchored to the very small bush at the top, but it’s really not an ideal place to stop. Most people will want to continue along even easier climbing to the left up to a ledge with larger trees. You can set an anchor here if you want to do it in multiple pitches.
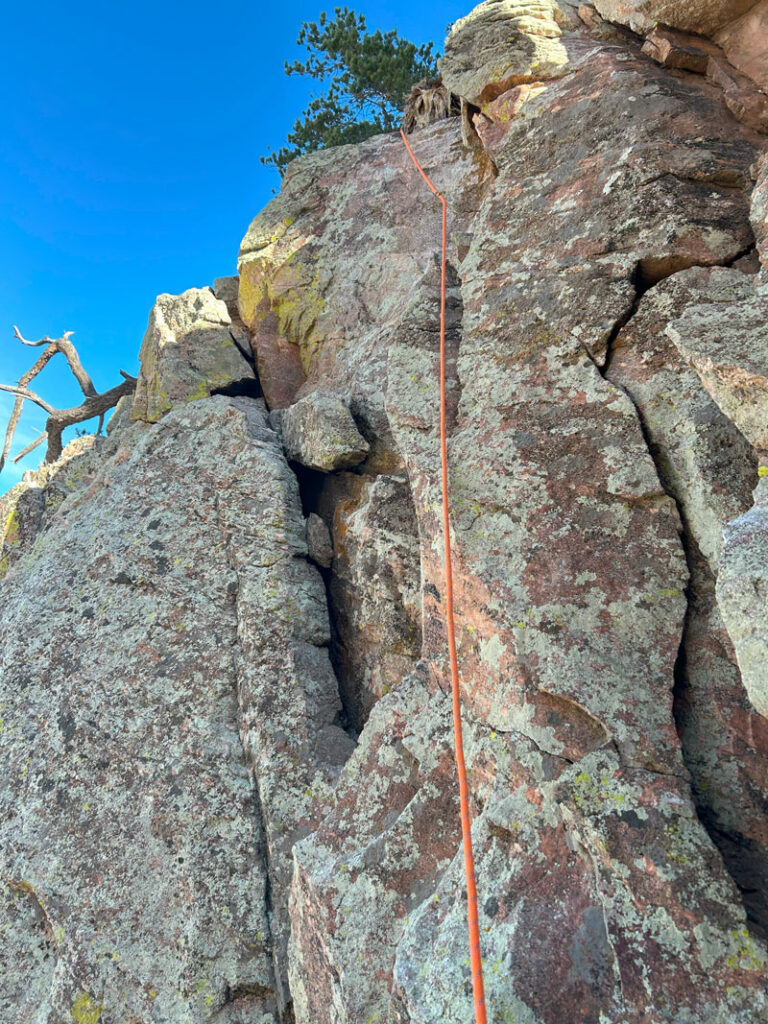
The ledge has room for multiple people. We didn’t know until later, but it’s also where you’ll want to stop and walk out to a tip to take an epic picture of your friend on the summit. Dang it, next time.
The final push to the chains has a single bolt and a 5.6 YDS crux. No one in our party found it terribly difficult. Some of us were still thinking about that dumb bulge!
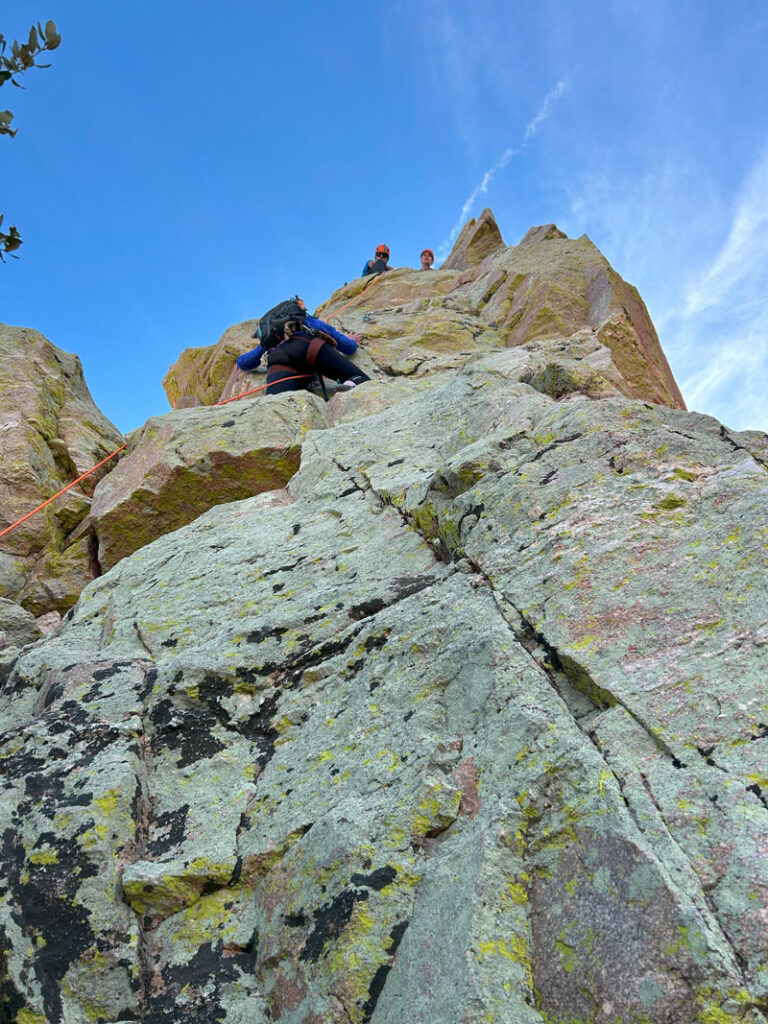
Once at the chains, it’s about 10 more feet to the summit. The climbing isn’t hard, but the exposure may get to some climbers (or moms who are there with their child, as in our case). Although there is room for multiple climbers at the chains, the summit block is quite small and is really only suitable for one climber at a time.
But OH THE VIEWS ARE GLORIOUS!
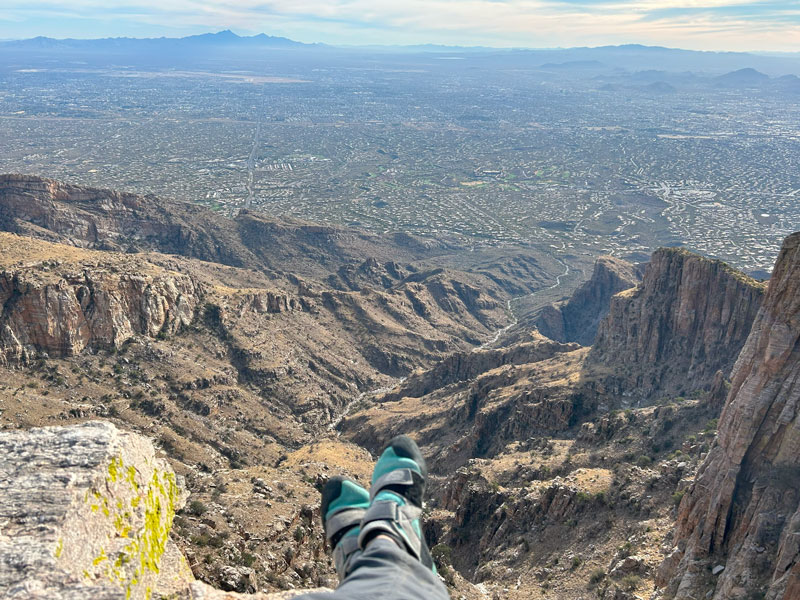
The view is made even sweeter by the amount of effort it took to get there. You’re now on that tiny little spire you saw at the start of the hike. Just don’t think about how long and hard the hike back is going to be.
From the chains, a 60m rope will get you back on the saddle. Yeehaw!
Now, do you remember the way back? Through the bushes, along the sketchy cliff base, up the boulders, down the slippery gravel, into the ravine, and down the steep trail. . . (to the Finger Rock Trailhead we go). It was a song in my head, what can I say?
Finger Guard
I fully planned to hike to the top of Finger Guard (and take a picture in an astronaut suit another hiker told me he left there?). I wanted to include a description on how to get up there, but we simply ran out of time. It was New Year’s Eve, we were at the tail end of a grueling backpacking trip, and. . .
well, next time. If you hike up to Finger Guard, comment and let us know how it went! In the mean time, I think you just keep going up the trail instead of breaking off and following along the base of the cliff. Some reports I have read suggested there is some scrambling involved closer to the top, but overall it looked well-worn and not too difficult to follow. Good luck!
Map & Directions
Location Pusch Ridge Wilderness, Tucson, Arizona
From Tucson, head north on SR 77. Turn right (east) on Ina Road, which becomes Skyline drive. Turn left to stay on Skyline Drive, and then turn left on Alvernon Way. The trailhead is on the left near the end of that street.
Fees/Passes No, but the trailhead is only open dawn to dusk unless you obtain an overnight permit from Pima County.
Trailhead Facilities None

Leave a Reply