
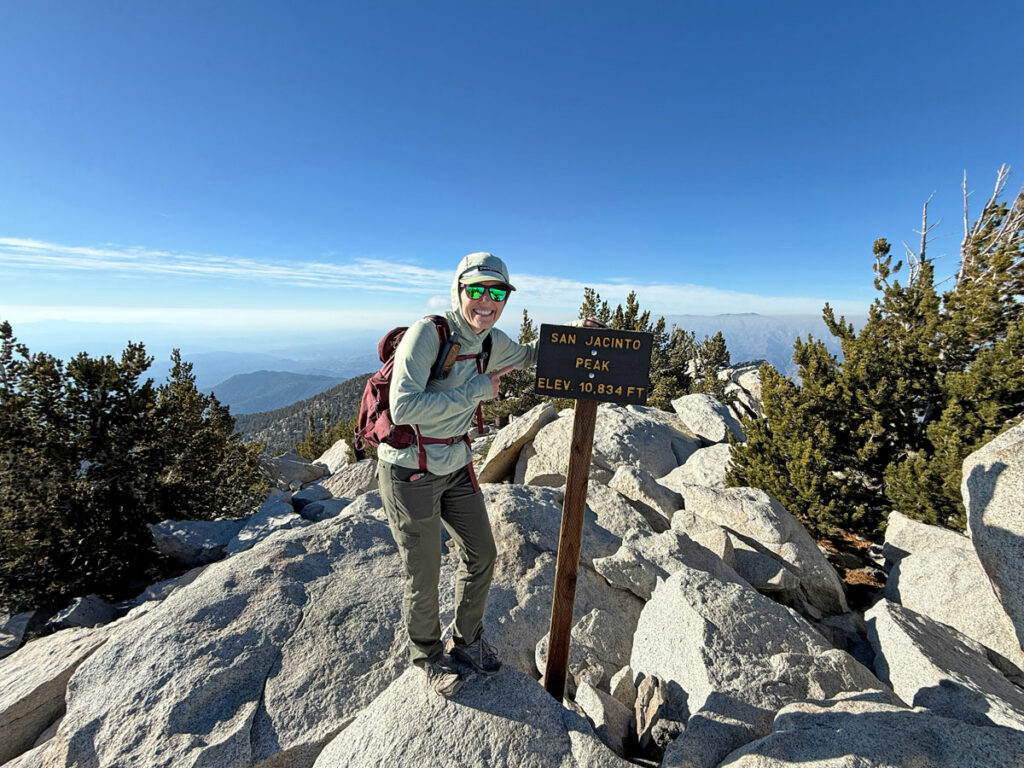
Cactus to Clouds (San Jacinto Peak)
TRAIL STATS
California’s Cactus to Clouds hike takes you from the low desert of Palm Springs to the summit of San Jacinto Mountain at 10,834 feet, making it one of the hardest day hikes in the United States. The 20-mile distance combined with an elevation gain of over 10,000 feet make it a long, physically demanding journey whose reward lies in the sense of accomplishment you’ll feel at the top. The bragging rights don’t hurt either. The biggest perk of this hike is that you have the option to take the Palm Springs Aerial Tram on the way down, cutting your return distance from 15 miles to just 5 miles (and saving your knees).
Trail Description
So, you made it past the difficulty rating and the summary, and you’re still reading? You’re hardcore! Before we begin, let’s state the obvious. This hike is VERY DIFFICULT. Without a strong baseline of fitness, extensive hiking experience, and recent conditioning on other hikes that require a lot of endurance, you should not attempt this hike.
Even with all of the above, this hike is a challenge for many reasons.
Elevation Change You’ll gain around 8,000 feet of elevation in the first 10 miles, then over 2,000 more in the last 5 miles for a total of more than 10,000 feet in 15 miles to the summit.
Altitude In the latter half of the hike, you’ll be hiking at a high elevation where the air is thinner. For desert dwellers like me, that’s a big adjustment that can be very exhausting.
Weather At the base, you’ll experience desert weather that can be very hot during late spring, summer, and early fall. There is almost no shade for the first several miles. At the summit, it can be freezing cold and maybe have snow or ice in late fall, winter, and early spring. We went on a sunny day in November when the high was supposed to be 81 in Palm Springs and 37 on the summit with light winds (5-10mph). There wasn’t much snow on the summit yet, so we thought our conditions were perfect. We didn’t even wear the many layers we carried up there, although a puffy (down jacket) was super nice during the descent. Timing this hike for the right weather window is important.
But there is good news also. . .
Aerial Tram If the first 10 miles makes you think you’re not ready to complete the entire hike, or something unexpected happens, you can go straight to the tram for a ride down and try again another day. Almost everyone who completes the hike to the summit opts to take the tram down on the way back, so there’s no shame in that. We met a guy who was planning to go all the way back down on foot, and we felt really bad for him while we were riding the tram down in the dark. “He’s probably still hiking down! Glad we aren’t!”
Water Refill The other good news is that you’ll be able to refill your water at the ranger station near the tram (where you get your hiking permit), so you can carry less up that grueling 8,000-foot climb! Hooray! We heard there is also water available at a secondary ranger station, but it would need to be filtered, and we ain’t got time for that!
Cactus to Clouds Trailhead
Parking The Cactus to Clouds Trailhead starts behind the Palm Springs Art Museum. Parking at the museum is not available for hikers, so you’ll have to park on the street nearby. Make sure to read all signs posted where you park because we heard about three vehicles that were towed for parking on Museum Drive on the day of an event. We parked our car on Belardo Drive where dozens of other cars were parked and had no problems.
Start Time You’re going to want to start this hike early. When we arrived at the trailhead at 4am, there were already dozens of other cars parked there. Some start earlier, and some start later. It took us 13 hours and 20 minutes to complete the hike, and I would say we were probably in the middle of the pack. One trail runner told us he intended to finish in just 8 hours, and some reviews we read said they took 16 hours. We stopped twice to refuel our bodies, and we also took lots of pictures, but even if we had gone as fast as we could, we probably would have taken at least 12 hours. Headlamps are a must.
Skyline Trail
The Skyline Trail is what you will be hiking on from the base of San Jacinto to the tram area. The very bottom of this trail travels through private property, and there are signs telling you to stay on the trail. That is easier said than done. For one, it was dark outside for us during this section, and it seems people have cut the trails and blazed new ones. However, the sign also said volunteers have tried to block off unofficial trails and make the official trail more obvious, so try your best to stick to the main route. There are some white dots marking the correct path, and GPS can help you as well.
The trail wastes no time gaining elevation, so you will soon have a view of the city. If it’s before dawn, it’s beautiful to watch the twinkling lights and the pink hues developing on the horizon.
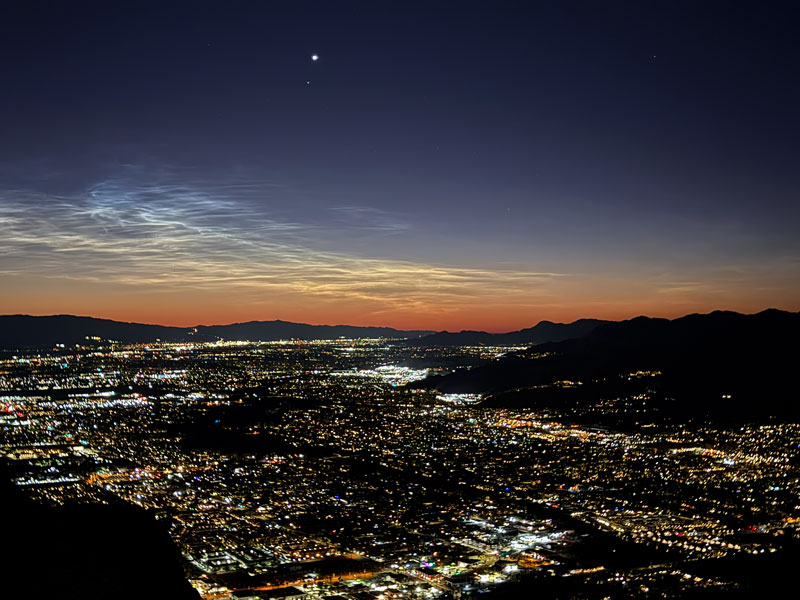
This city will be dropping far below you in the coming hours, and it’s quite amazing just how high you’re about to go. Hike on!
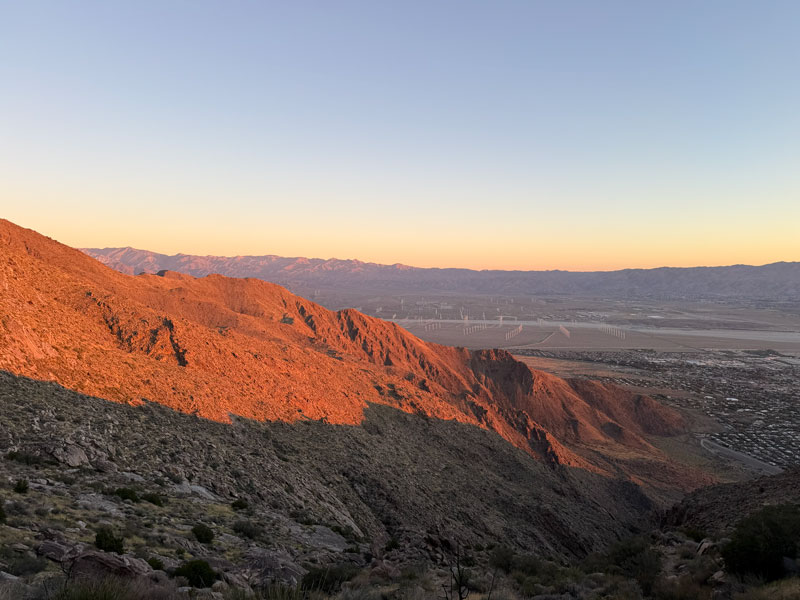
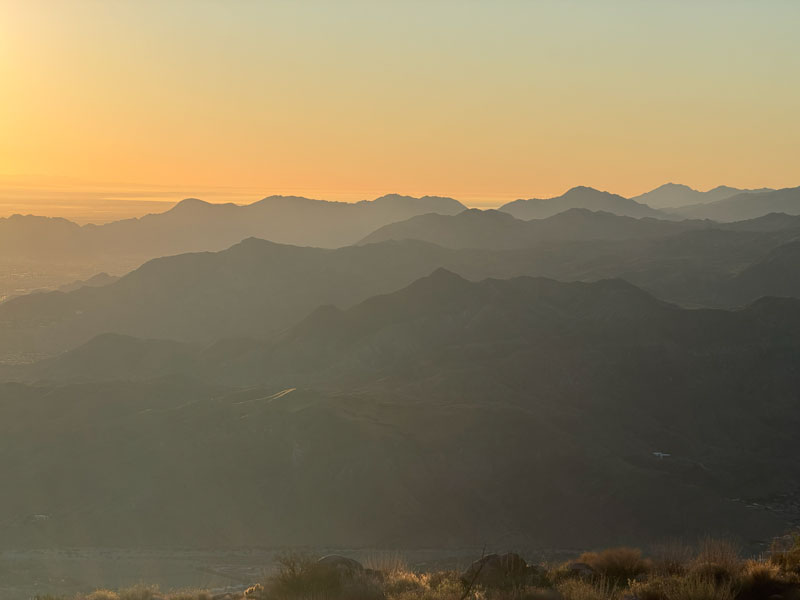
From the trail, you can’t see the summit or anywhere near it, so it’s mostly a matter of just pushing yourself to keep getting to the next level. As the valley floor drops below you, you’ll be able to see farther into the distance, including vast arrays of wind turbines, layers of distant mountains, and the Salton Sea glistening in the burgeoning sunlight.
At different points along the Skyline Trail, you will come to Rescue Station 1 and Rescue Station 2. These are metal boxes with supplies inside for hikers in distress or hikers who have to turn around early unexpectedly. We saw things like water, gloves, and snacks inside. We heard a local hiker complain that people have been taking things they don’t need. The etiquette here is to only take what you really need. Hopefully you are prepared and can leave a snack or water for someone else! (Rescue stations are marked on my GPS map)
At around seven miles in, you’ve already gained more than 5,000 feet in elevation, and you can begin to see parts of the aerial tram atop the mountain ahead. Not gonna lie, this part looks like it’s going to suck, mainly because it looks really steep and rugged, and you’ve already worked hard to get where you’re at. It’s not as bad in reality as I imagined, but there are definitely some really steep parts and what feel like endless switchbacks. I may have said, “I hate this part,” more than once. Hey, at least you have trees now!
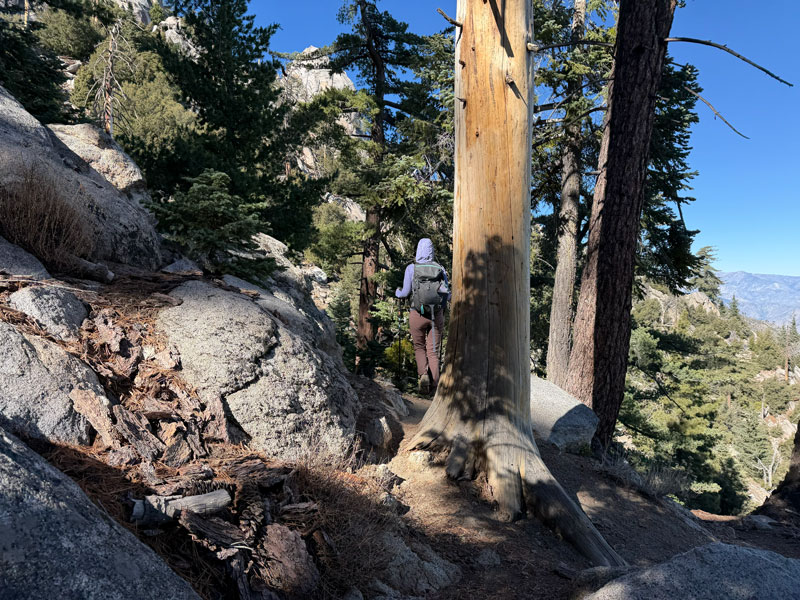
The other thing about this section is that it has a few large logs blocking the trail (as of November 2026), so you’ll either have to hike around, under, or over them. This was the least maintained, roughest section of the entire route, but there was nothing that posed any significant problem or delay.
Grubb’s Notch
At this point, you’re slowly working your way up to Grubb’s Notch, the spot where you’ll emerge onto the flat area where all the lazy/smart people who took the tram up are hiking. And let me tell you, those last 500 vertical feet to get through the notch feel like a lot.
But, once you get up there you’ll get some sweet relief. You might spontaneously declare to all those fresh hikers up there that you just hiked 9.8 miles and ascended 8,326 feet—and then ask for a cheer. “Hip, hip. . .” but alas, the volunteer ranger was the only person who was willing to join in my celebration. “HOORAY!” No matter how you celebrate, be sure to save some energy. You may be 75% done with the elevation gain, but you’re only half way through the mileage.
Ranger Station
Past Grubb’s Notch, the first thing to do is hang your first right on the service road and head toward the ranger station. There you will find bathrooms and a hose out back for refilling your water (potable water here). Be sure to check in at the ranger station to fill out your free permit (and do some bragging to the other hikers who are also heading to the peak but just arrived on the tram). The top copy stays at the ranger station, and you carry the bottom copy with you. On your way back, you’ll drop it in their box by the flagpole so they will know you made it back.
The ranger wanted to give us his spiel about the hike to the peak, but he kept getting delayed by the newly arriving hikers, so we just blew that pop stand. We needed to be back in Phoenix that night, so there was no time to lose! If you have GPS and a headlamp (and you should), you’re golden. They do have paper maps, if needed.
Round Valley Trail
From the ranger station, follow the signs pointing toward San Jacinto Peak on the Round Valley Trail. Don’t be too alarmed when the sign says it’s 6 miles away. My Garmin recording says it’s only 5 miles. This first part heading to the peak feels like a walk in the park compared to what you’ve just been through, and one person even described it as a “sidewalk.” It doesn’t last long like that, but it is a nice change for a while. Soon, the all too familiar uphill push starts again. This time, though, it’s an easier grade, though there are a lot of rocks.
Seasonal Ranger Station and Toilets
A little over a mile-and-a-half from the main ranger station, you’ll see more toilets along the trail, followed by the seasonal ranger station at 2 miles. There is water available at the seasonal ranger station, but it must be filtered, so. . . just get what you need the first time.
Wellman Divide
Continue on the Round Valley Trail for a total of 3 miles until you reach the Wellman Divide at 9700 feet of elevation. You’ll have a beautiful view to the other side of the mountain and a great place to stop and take a break.
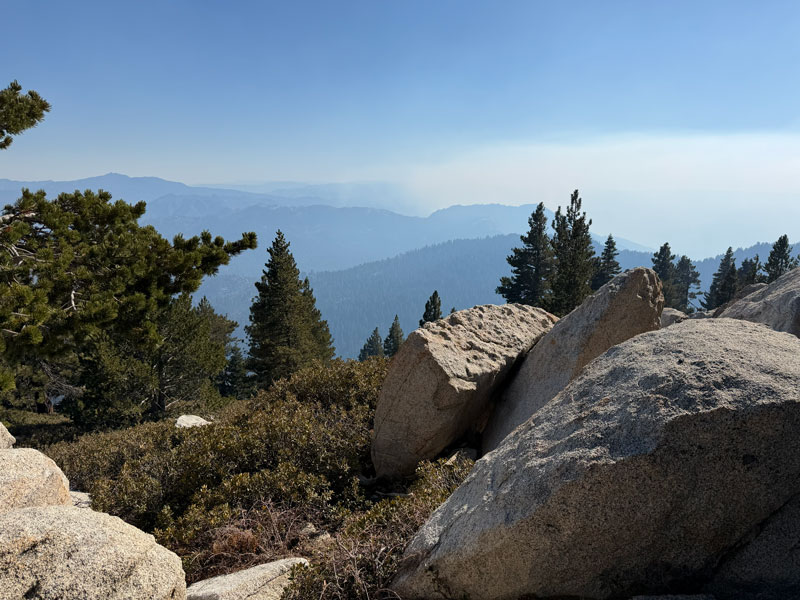
Take a right at the divide to go on the Peak Trail toward the summit. This trail is also labeled the Wellman Divide Trail on Google Maps.
Now the elevation is high, and those who aren’t acclimated might start feeling the effects of the lower oxygen levels. At this point, you will have distant views into the valley below, and it might be hard to comprehend that you HIKED ALL THE WAY UP THAT! But you’re not done.
San Jacinto Summit Trail
This section is essentially one really long switchback that ends at a saddle where the Deer Springs Trail (from Idyllwild) meets up with the Peak Trail. By the time you’re at the saddle, there’s just 0.3 miles left to go to the peak. Turn right at the junction to continue on the Mt. San Jacinto Summit Trail. From here, the trail gets a bit hard to follow at times, but if you can stick with it, you’ll see a cool cabin near the summit.
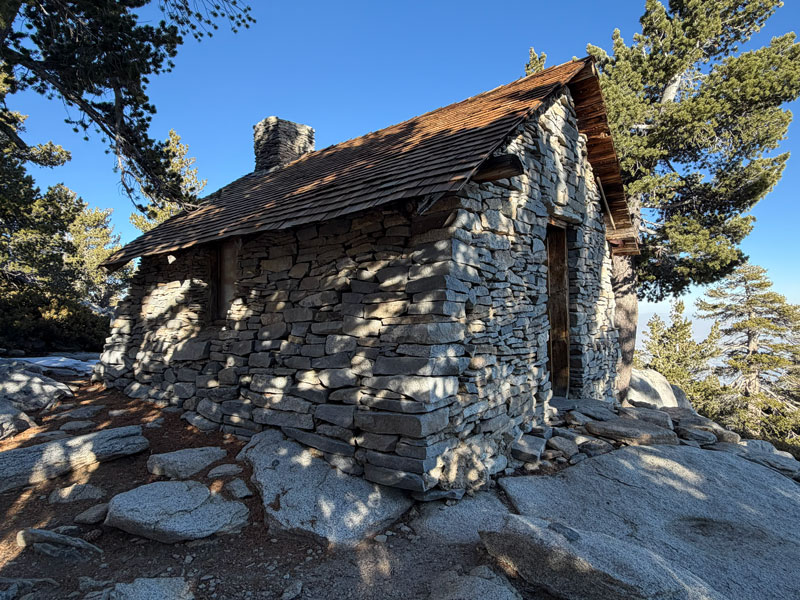
There are bunks inside that make it look like it’s still in use today.
The final push to the summit involves picking your way through a boulder pile. We could not stay on the “trail” on this section no matter how we tried, so eventually we just took the shortest path we could find to the top. And boy, that was a sweet moment.
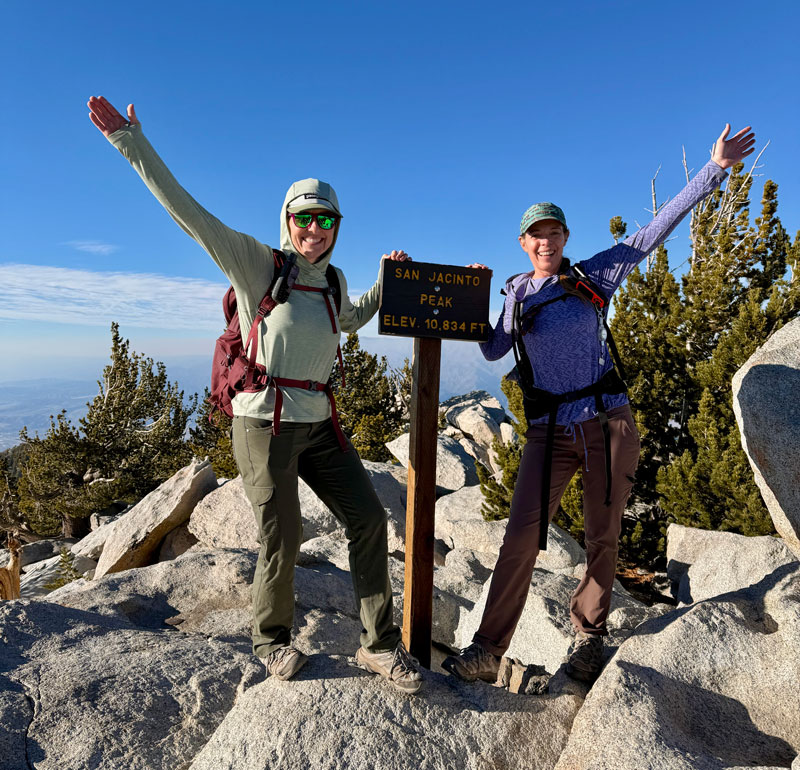
I literally kissed that sign because I was so happy there was nothing left to go up.
Soon enough, we were finding our way down. Going back, we were moving so much quicker that it took about 2/3 of the time it took to go up. Just two hours later, as the sun was sinking below the horizon, the lit up ranger station came into view. Woohoo!
Tram Station
As usual, we celebrated a little too early. Although the path to the tram station was paved, it was UPHILL and had a bunch of switchbacks. When my friend realized the tram was leaving in 5 minutes, she told me we had to run. It really felt like she didn’t like me at all in that moment. So, anyway, since it was probably impossible for me, even if a bear had been chasing me, I just walked as fast as I could muster.
Tram Tickets When we got inside, the attendant announced there were only 3 minutes until the next tram. We rushed into the gift shop where we purchased two one-way tickets and got a hearty “congratulations” from the clerk. You can use cash or card for this.
One minute later, we were boarding the tram. As the tram left the station, a feeling of exhilaration overcame me. WE DID IT! We’re done, we conquered, we survived, we are going down the easy way. Party time! Soon the tram operator turned off the lights and turned up the music. “Ain’t no mountain high enough, ain’t no valley low enough. . .” and I thought that moment was made just for us.
Getting back to your car The lower tram station is a little over 7 miles from where you parked, so the next problem is getting a ride back to your car. They say Uber is easy enough to arrange, but luckily we didn’t have to because a fellow C2C hiker already had a friend on the way and said we might be able to get a ride. And so it was that we ended up riding with two dudes in a Mustang back to our vehicle. Perfection? I think so.
Thank you to HikingGuy for publishing a GPX file that I was able to download for my journey to the peak. Visit his site for even more detailed information.
Map & Directions
Location Santa Rosa and San Jacinto National Monument, Palm Springs, California
This trail starts near the Palm Springs Art Museum. Parking for hikers is not available at the museum, but you can usually park for free along the streets nearby. Be sure to check for any signs that prohibit parking. We heard of three vehicles that were towed because they were parked along Museum Drive when there was an event going on that day. We parked along Belardo Drive and had no problems.
Google Maps Cactus to Clouds Trailhead
Fees/Passes You must obtain a free permit from the ranger station near the upper tram station before continuing onto the peak.
Trailhead Facilities None, but restrooms and water are available at the ranger station.
Recommendations for you
Clouds Rest and Half Dome Loop | California
Humphreys Peak | Flagstaff
Kendrick Peak | Flagstaff
Leave a Reply