Fiery Furnace
TRAIL STATS
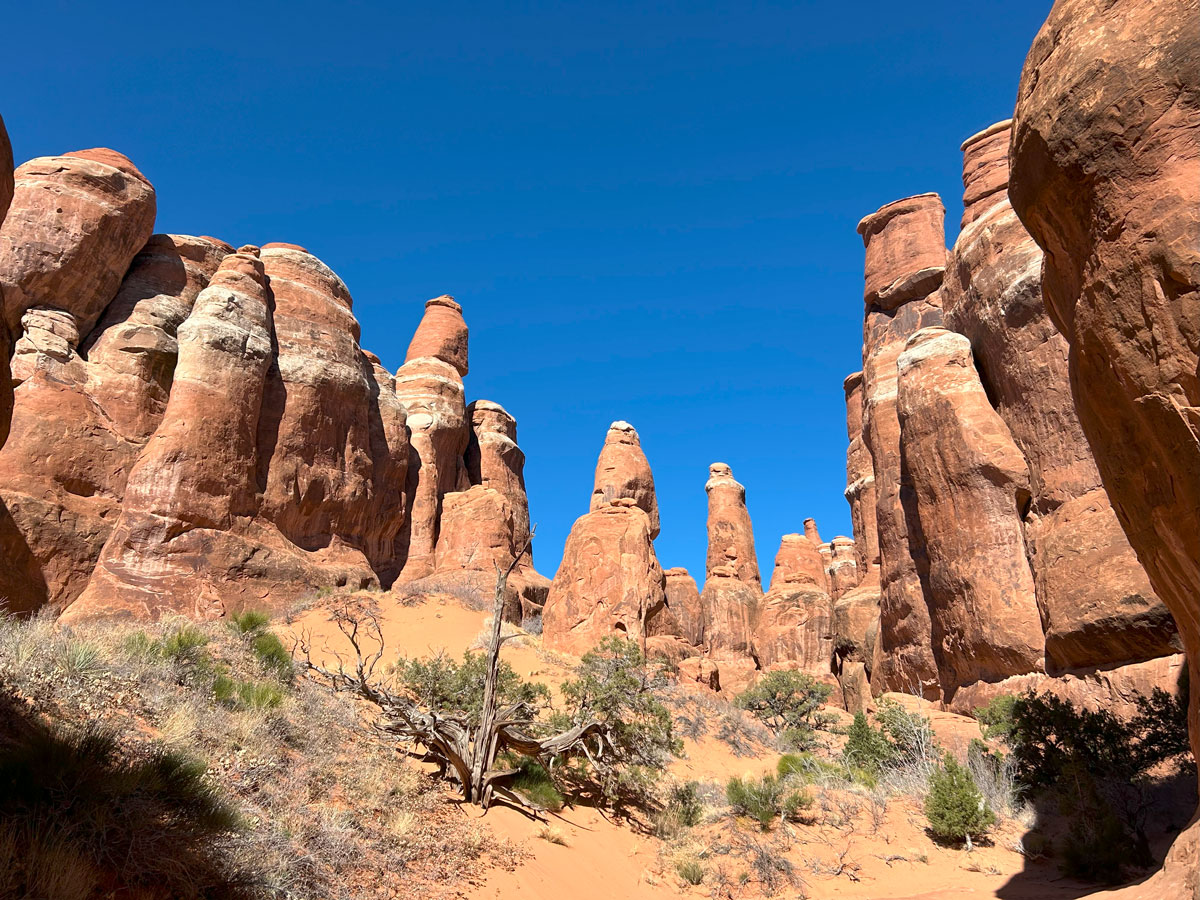
Within the Fiery Furnace, you’ll be immersed in a maze of towering sandstone fins where surprises lie around every corner. Small arrows installed by the National Park Service guide you on a counter-clockwise route through these magnificent formations, but the fun lies in discovering arches, caves, and narrow passageways as you stem, climb, and crawl into the hidden corners of this unforgettable place.
Trail Description
When I was a kid, my family had plans to join a ranger-guided hike through the Fiery Furnace. We heard it was nearly impossible to find your way through its corridors without a guide, and there was a serious risk of getting lost. Alas, we were an hour late due to the darn daylight savings difference between Utah and Arizona, so I never had the chance to go.
Until now. And let me tell you, this place is worth coming back for.
Nowadays, there are arrows that the National Park Service has installed that help you find your way. In addition, although GPS isn’t 100% reliable inside the Fiery Furnace, it’s good enough to help you keep your bearings. No need to worry about getting lost. You’ll find your way eventually, so just leave plenty of time to explore. This hike looks like a 2-hour hike on paper, but with all the places to explore, you could spend most of the day.
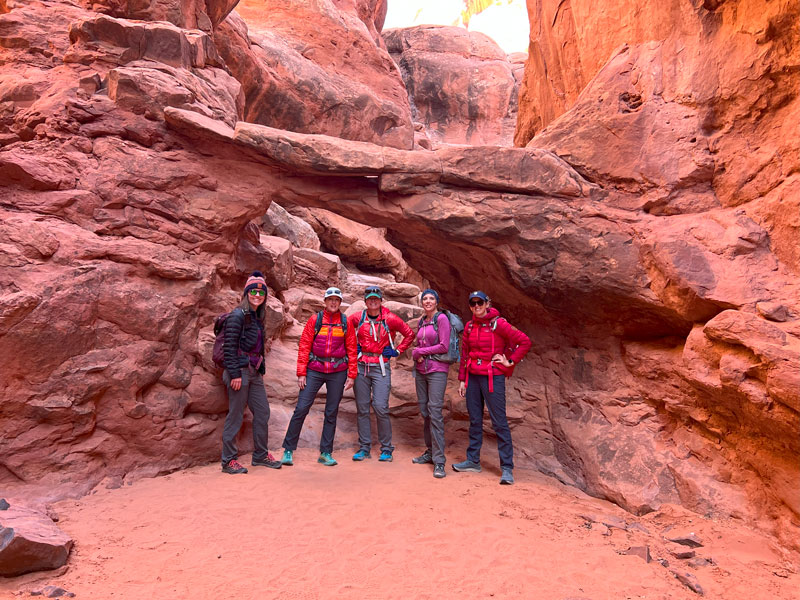
First things first, though. You need a permit to explore the Fiery Furnace, so it’s best to plan ahead to make sure you reserve one before you arrive. Before your hike, your entire group will need to go to the visitor center to attend a required orientation before your permit will be issued. It’s not too painful, I promise. Check Recreation.gov for more information.
Fiery Furnace Loop
From the trailhead, start heading down the trail to the right to follow the loop in the counter-clockwise direction. You don’t have to go in this direction, but the arrows installed by the park service are oriented for this direction, so they’re easier to see if you’re hiking that way.
Before you can pick up your permit, you have to attend an orientation where they’ll tell you to stay on hard surfaces, sandy washes, and established trails. This proves a little difficult right at the start because it’s apparent people have walked almost everywhere. Just do your best to stay on the most durable terrain, and don’t worry too much about staying exactly on the GPS track. There aren’t any cairns, but going in the general direction will get you there.
Just when you wonder if you’re going the right way, you’ll find your first friendly arrow to let you know you’re on track.
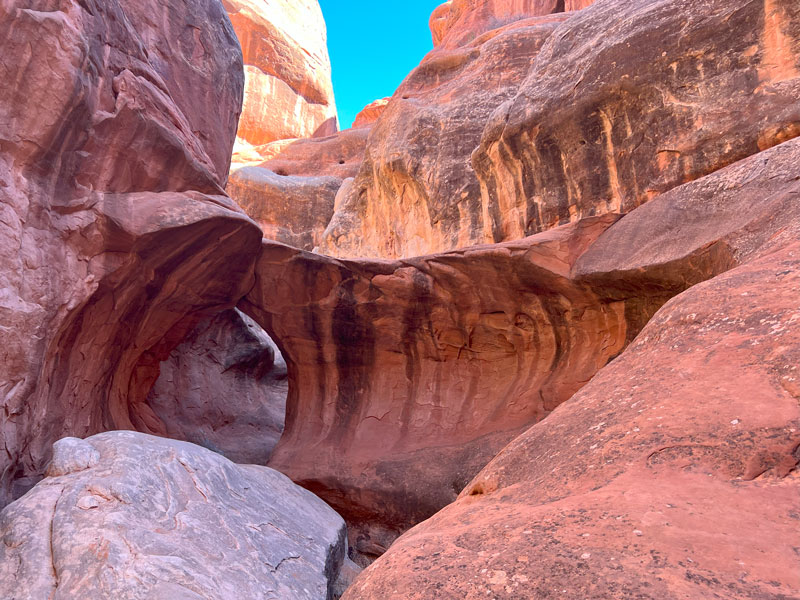
Once you’re down among the sandstone fins, it’s time to explore. I left all our detours on our GPS route so you can get an idea of just how many places there are to explore. I also marked some of the more notable features so you’ll know what not to miss.
And ignore those “dead end ahead” signs. That’s NPS speak for, “There’s something cool up ahead. Don’t turn around quite yet.” We figured this out after finding an arch beyond the first dead end sign we saw, which helped us realize the signs are mostly there to help you get back on the main trail when you miss an arrow.
Walk Through Arch
The first notable feature we found was Walk Through Arch off to the left of the main trail.
As the name suggests, you can walk under this arch and go a little farther up. Remember that walking on top of any natural bridge or arch anywhere in Arches National Park is prohibited.
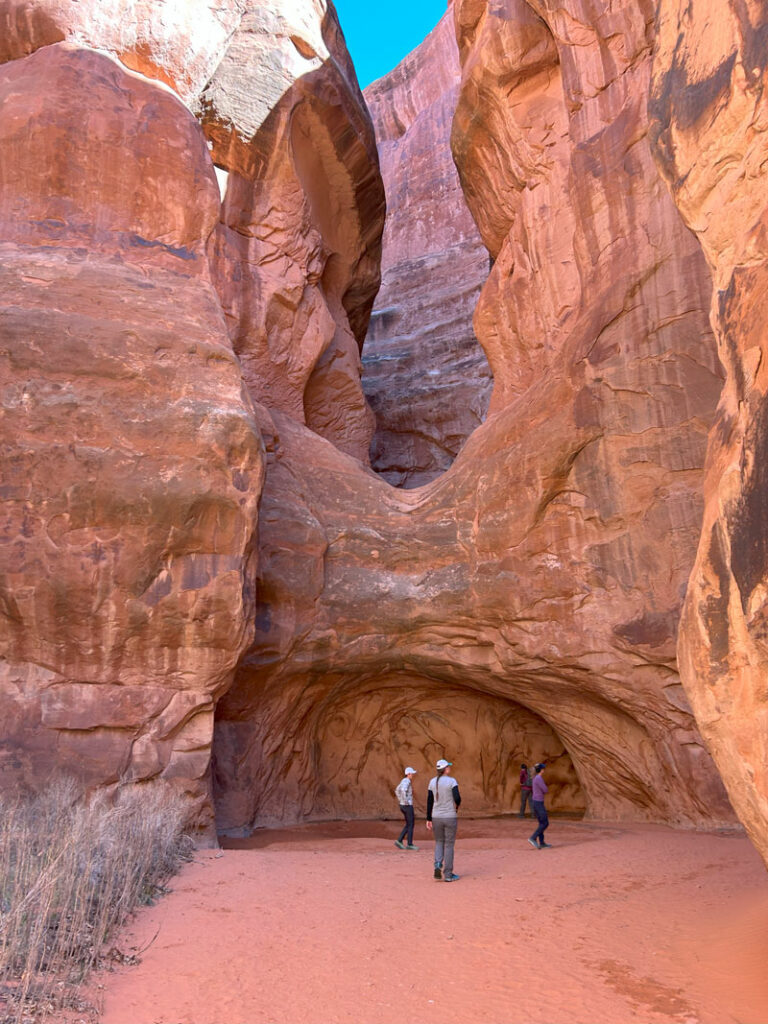
Cave with a Small Hole
Beyond the small arch is a shallow cave that has a hole in the ceiling.
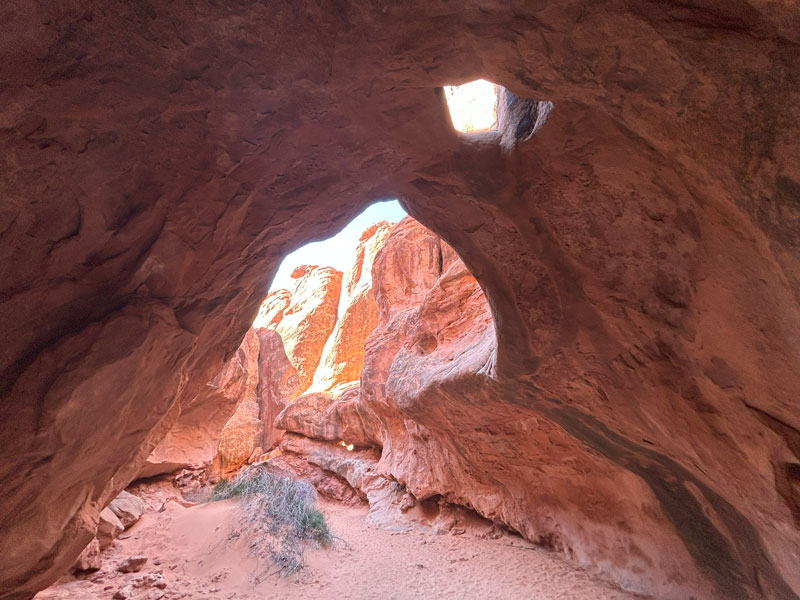
A wide angle lens makes it looks bigger than it really is, but it’s still cool!
Continuing down the main trail, there’s a major offshoot to the right. This one is long with a lot of its own offshoots, but it’s really worth your time.
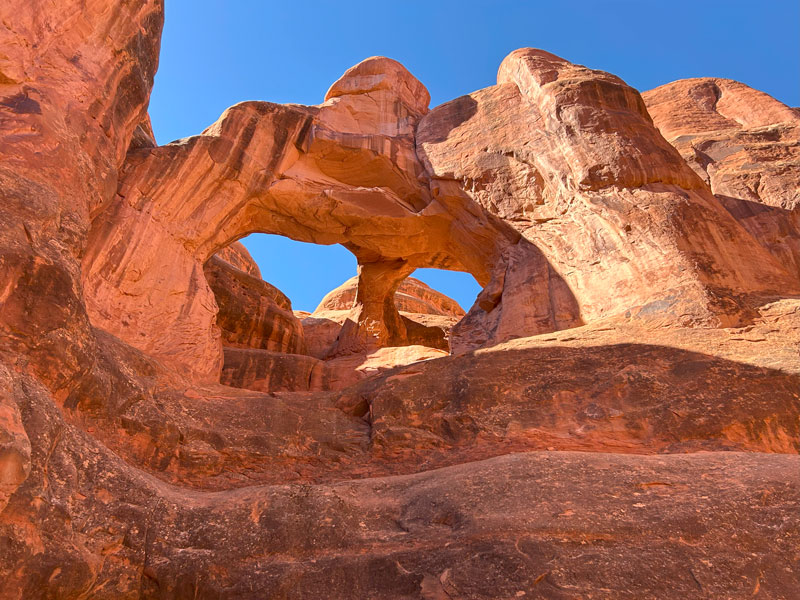
Inner Sanctum Arch
On one of the closer offshoots, you’ll find Inner Sanctum Arch.
You can climb up the rock to the right to get a view of it from above, but remember not to walk on top of it. You can also walk through the arch and continue a short way through a narrow corridor if you can do a tricky move to get up there.
Skull Arch
If you return to the larger offshoot and continue on, you’ll arrive at Skull Arch.
Continuing beyond Skull Arch, you’ll come to a large alcove.
After exploring this large offshoot to your heart’s content, you’ll return to the main trail to continue the loop. By now, you’re likely realizing that this hike is going to take a lot more time than you probably budgeted for it. No regrets.
Continuing to the northwest, you’ll pass what AllTrails calls “The Pit of Possible Return” on your left. We looked for an obvious way to get down there, but we didn’t find it. If you have done it, let us know how it went in the comments below!
Kissing Turtles Arch
After the pit, you’ll come to the adorable Kissing Turtles Arch.
By going up and around to the right, you can get under the arch without too much trouble.
If you’re running low on time, continue on the main trail to the south from here instead of exploring the offshoot to the northwest. We didn’t find anything particularly memorable up there (although there’s always the risk that we missed something).
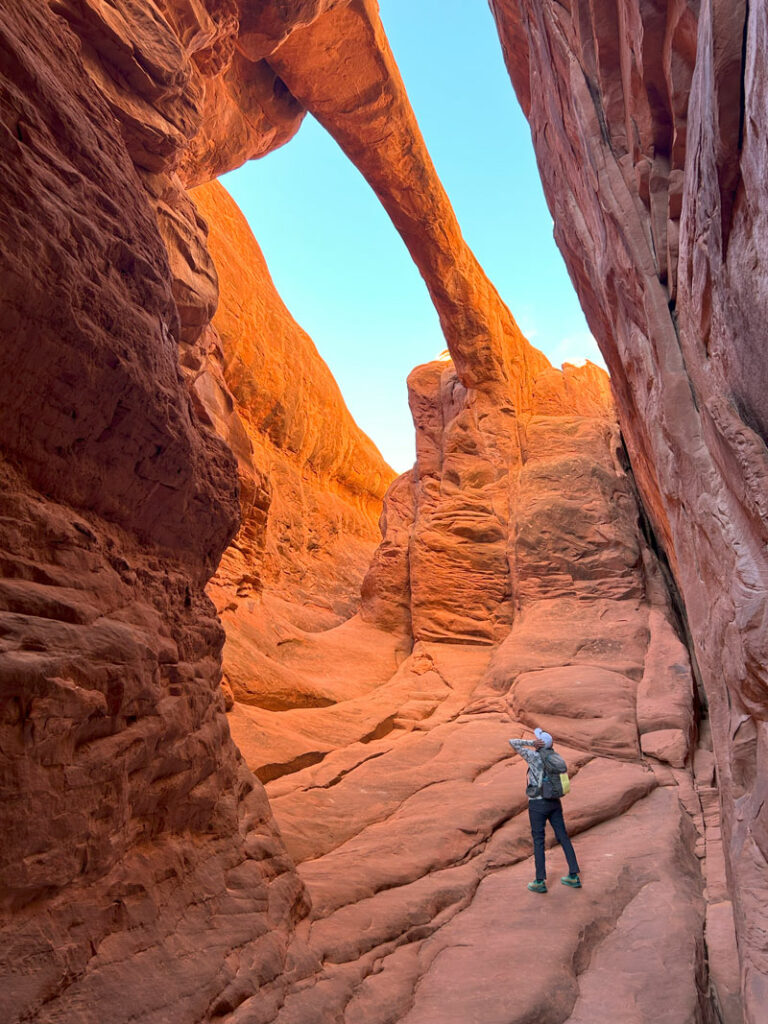
Surprise Arch
The trail will then make another turn back to the northwest, and it’s here that you’ll be looking for the path to Surprise Arch. If the path you are following is fairly wide and looks like it’s a little off, you’re in the wrong place! Go back to where you left the main trail and go left, and I mean ALL the way left to a narrow corridor. This will lead you to the magnificent Surprise Arch.
When you turn to leave, keep right for the exit. This part of the trail has a lot of uneven surfaces and is the trickiest part of the main trail. If you keep at it, you’ll soon be on the trail out of the Fiery Furnace.
Congratulations! You made it!
Map & Directions
Location Arches National Park, Moab, Utah
Google Maps Fiery Furnace Parking
Fees/Passes You need to pay an entrance fee to enter Arches National Park or use your America the Beautiful pass. In addition, you need a separate permit to access the Fiery Furnace. Check Recreation.gov for more information.
Trailhead Facilities Vault toilets and trash cans
Preview this Hike
Recommendations for you
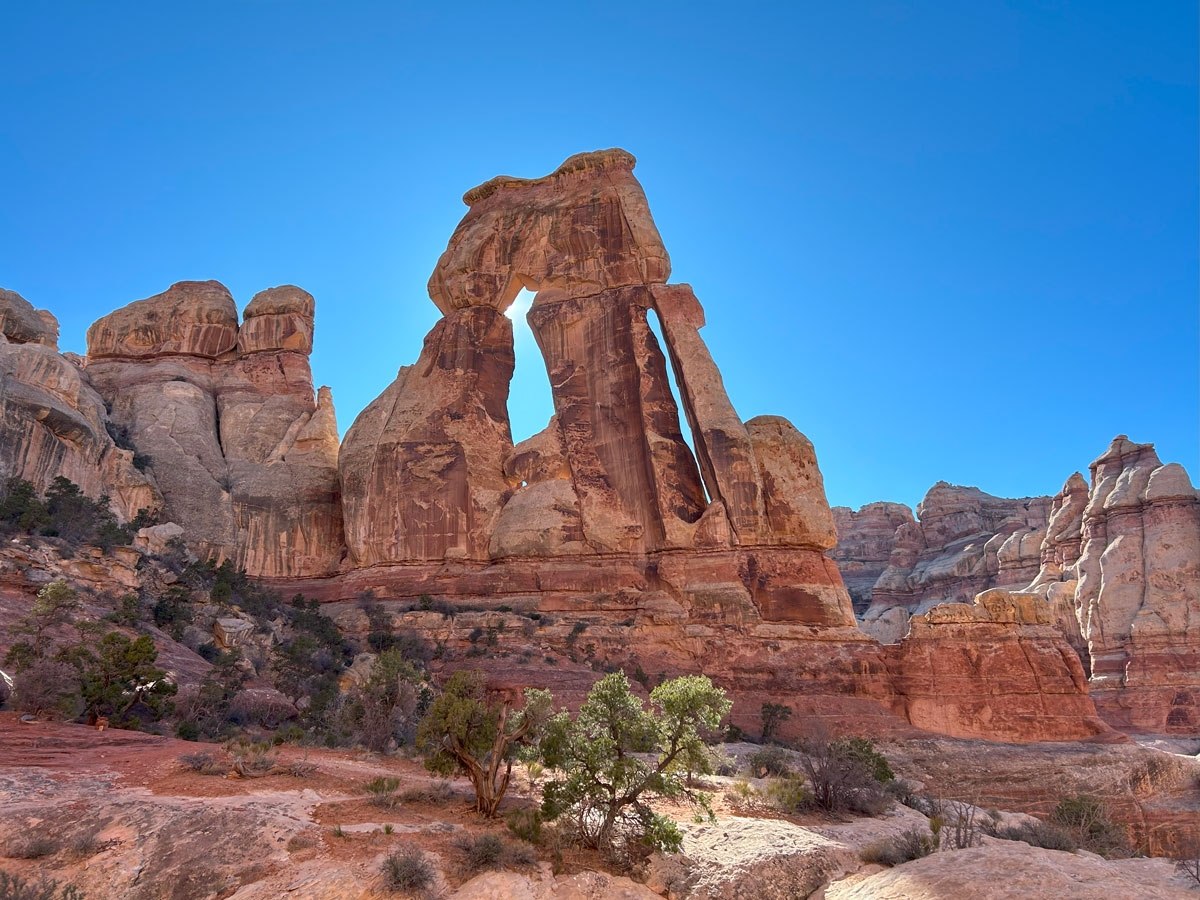
Druid Arch | Canyonlands National Park

Natural Bridges| Natural Bridges National Monument
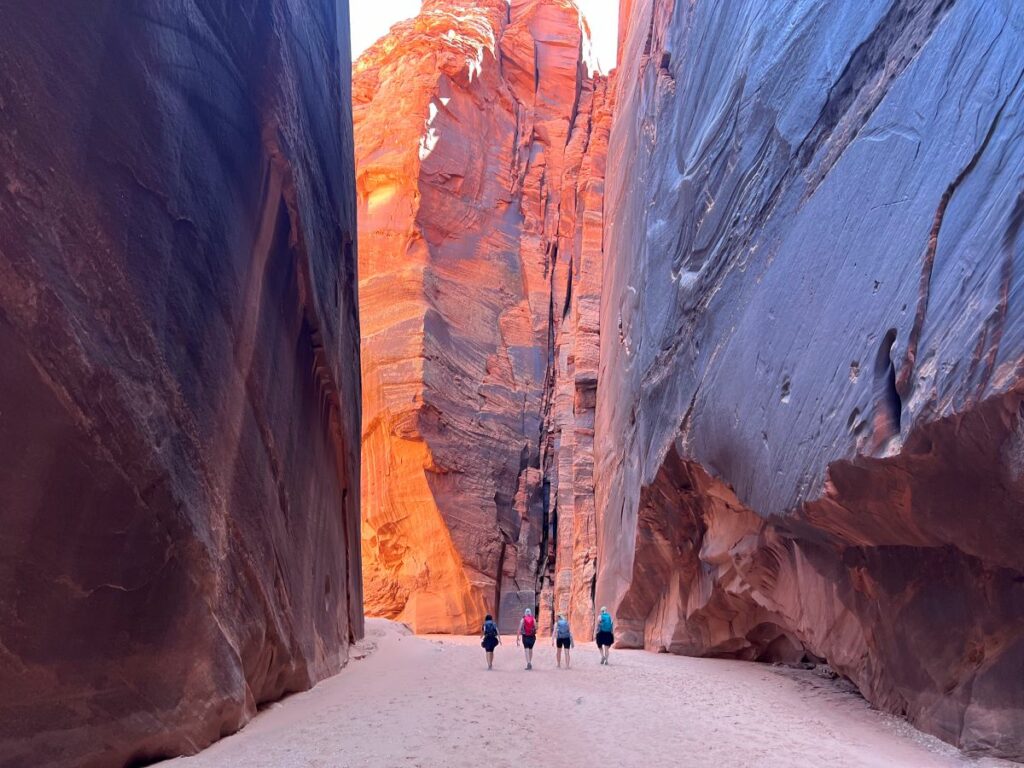
Buckskin Gulch | Grand Staircase Escalante
Leave a Reply