Sedona Subway Canyon
TRAIL STATS
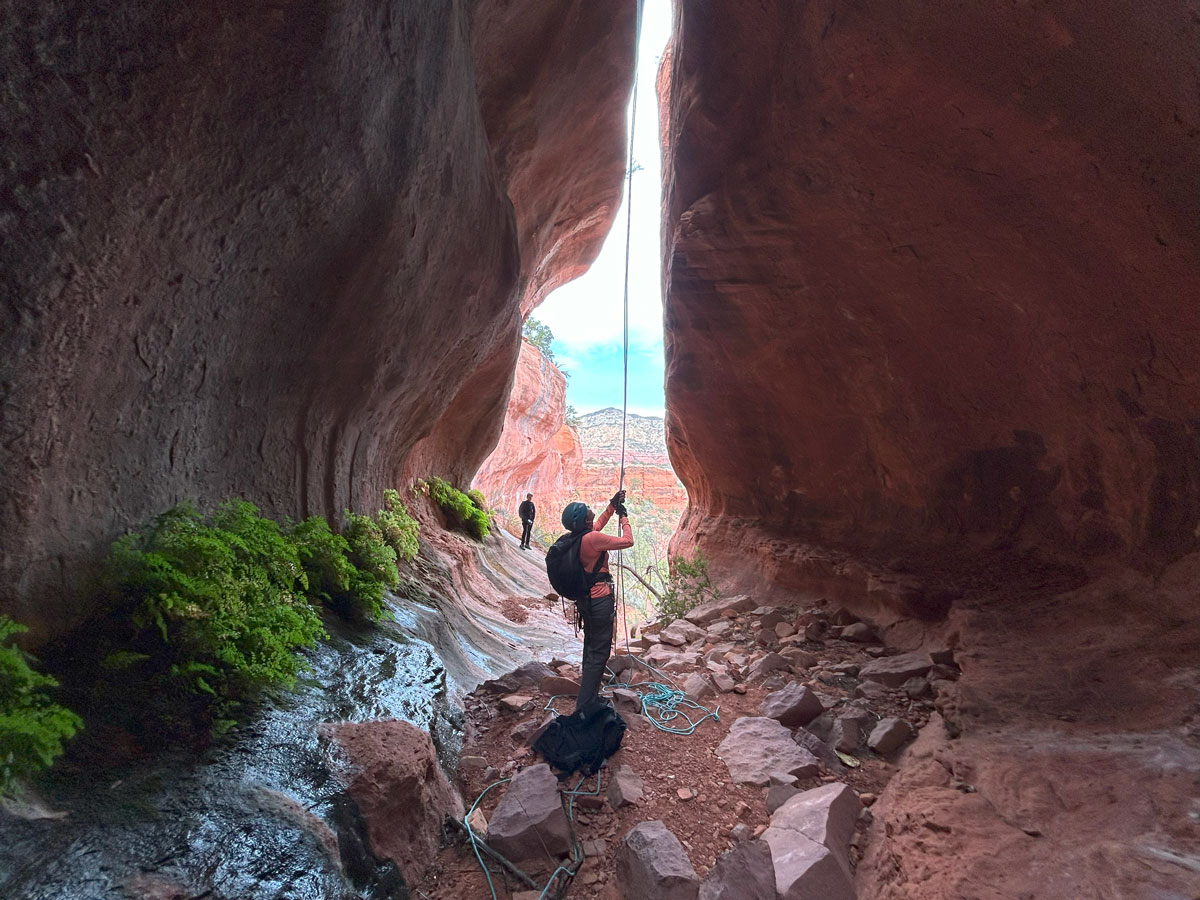
Rappel down a narrow chasm into an impressive chamber adorned with ferns on the Sedona Subway canyoneering route. This canyon only has two rappels, so it makes for a short and sweet adventure that can be easily combined with New Day Canyon.
Note This is not to be confused with the popular Subway Cave hike.
🪢 This is a technical canyon with two rappels up to 50 feet. You will need one 100-foot rope, plus all the required safety equipment for rappelling and knowledge how to use it. This guide is not intended to provide instruction on how to descend a technical canyon safely.
Trail Description
The start of this route is the same as if you were going to the Soldier Pass Cave.
Soldier Pass Trail No. 66
There are two trails marked on the map, and you can take either one, but the one on the left (west) is actually a forest service road, and you’ll likely see a couple Jeeps tours heading in. (A permit from Recreation.gov is required for all motorized access.) Just go ahead and feel happy about being on foot because chances are good you’ll all arrive at Seven Sacred Pools at the exact same time.
Devil’s Kitchen
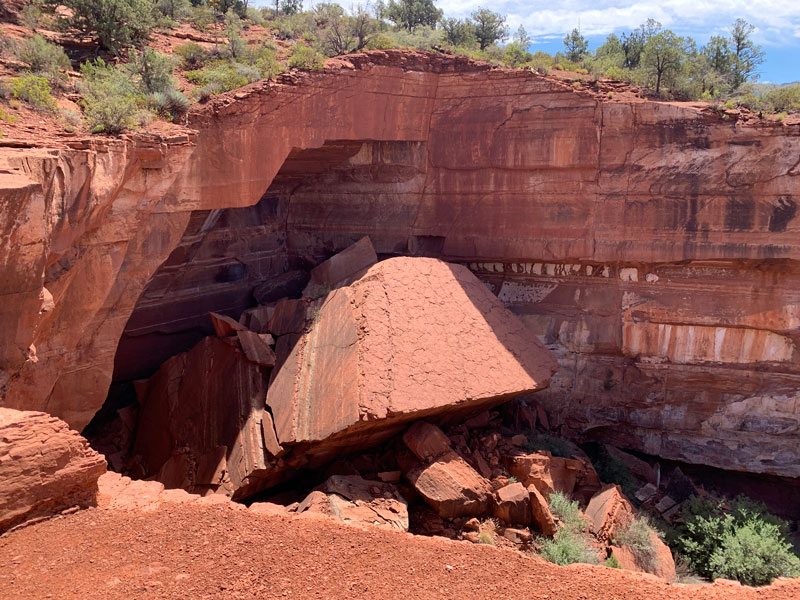
After two tenths of a mile, you’ll come to Devil’s Kitchen, a really cool sinkhole that appeared in the 1880s. We couldn’t help but think about rappelling into it, though the only way out seemed to be the same way you got in—a rope. Ah, too much work.
Be sure to visit the lower and upper viewpoints here because each is unique.
Seven Sacred Pools
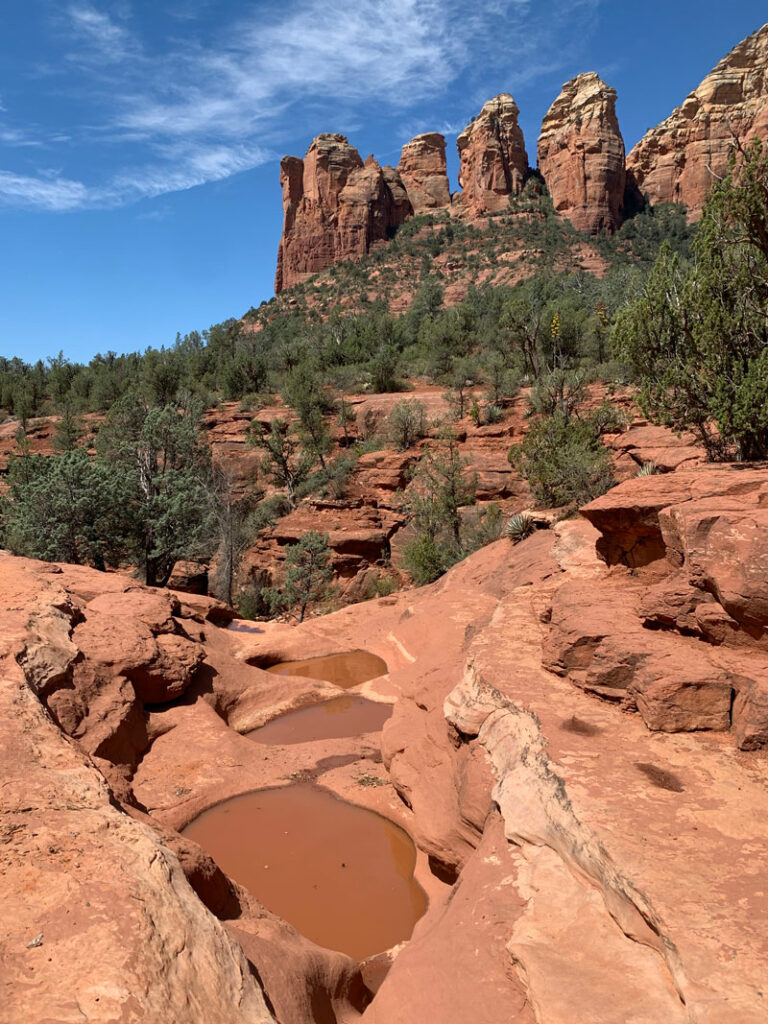
Continuing on the trail for just under half a mile more, you and the Jeeps you saw at the beginning will arrive at Seven Sacred Pools. The pools were filled, though muddy, and I couldn’t help but think about the powerful influence of a great name. The truth is, we saw a lot of other pools that I guess weren’t sacred, but it was all sacred to me.
After continuing along the trail for almost 3/4 of a mile, you’ll see the turn off for the Soldier Pass Cave. Continue on the Soldier Pass Trail. Just before the trail bends to the right to link up with the Brins Mesa Trail, you’ll leave the trail and begin a route that loosely follows the contours of the canyon along a large ledge.
On this part of the trail, try to stay in natural washes, game trails, or durable surfaces to avoid disturbing the cryptobiotic soil that is plentiful here.
Depending on your route, you may find yourself at the edge of a chasm that drops abruptly into a drainage below. Go right to find the point where you can cross this drainage and continue on.
As you approach the technical section, you’ll be able to see the “Sedona subway” in the cliff face ahead.
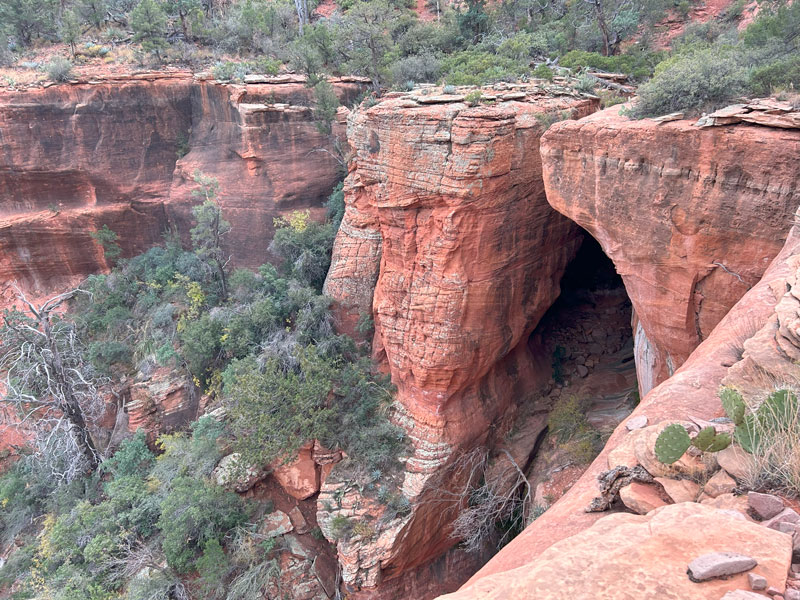
Again, once you’re at the edge, you will need to go right to find a place where you can get to the other side to find the anchor for rappel 1. Some of us leaped over the chasm, and some chose the safer but longer route up the drainage a little farther.
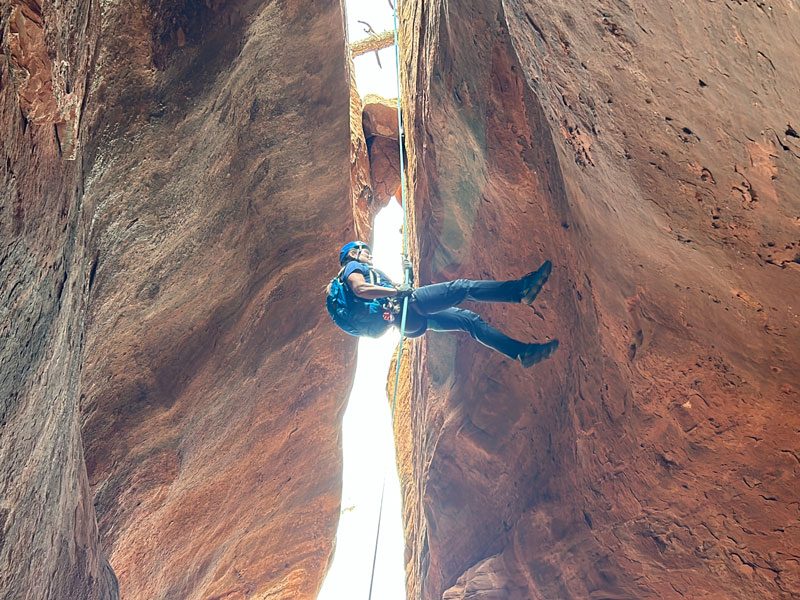
Rappel 1
Length 50 feet
Anchor Two bolts at the edge
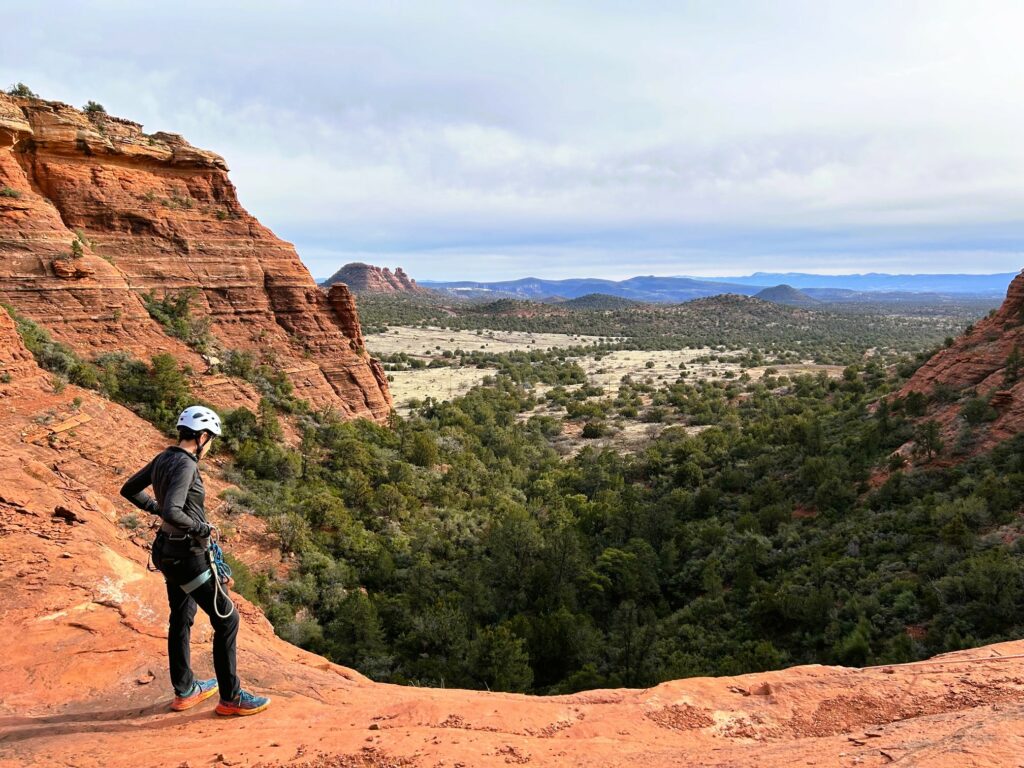
Rappel 1 has a very interesting start. Basically, you’re scooting yourself off the edge into a chasm and hoping you survive it.
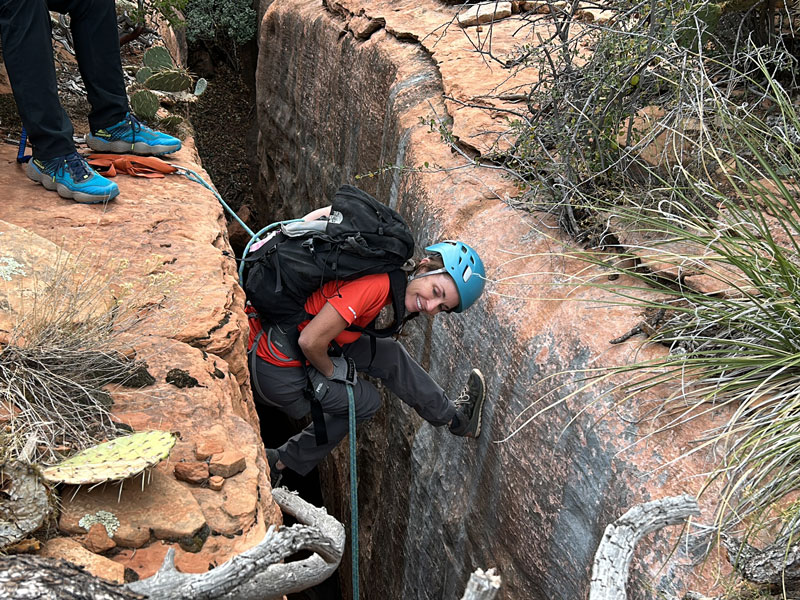
Our strategy was to scoot to the very edge with only a sliver of butt cheek still on the wall, and then put our foot against the opposite wall. Then we used that position to get ourselves turned around in an orderly fashion to begin the rappel. It’s mostly freehanging into a beautiful alcove (hint: see the cover photo).
Rappel 2
Length 25 feet
Anchor Tree RDC
Rappel 2 immediately follows rappel 1. Stay RDC to find the tree that serves at the anchor for this rappel.
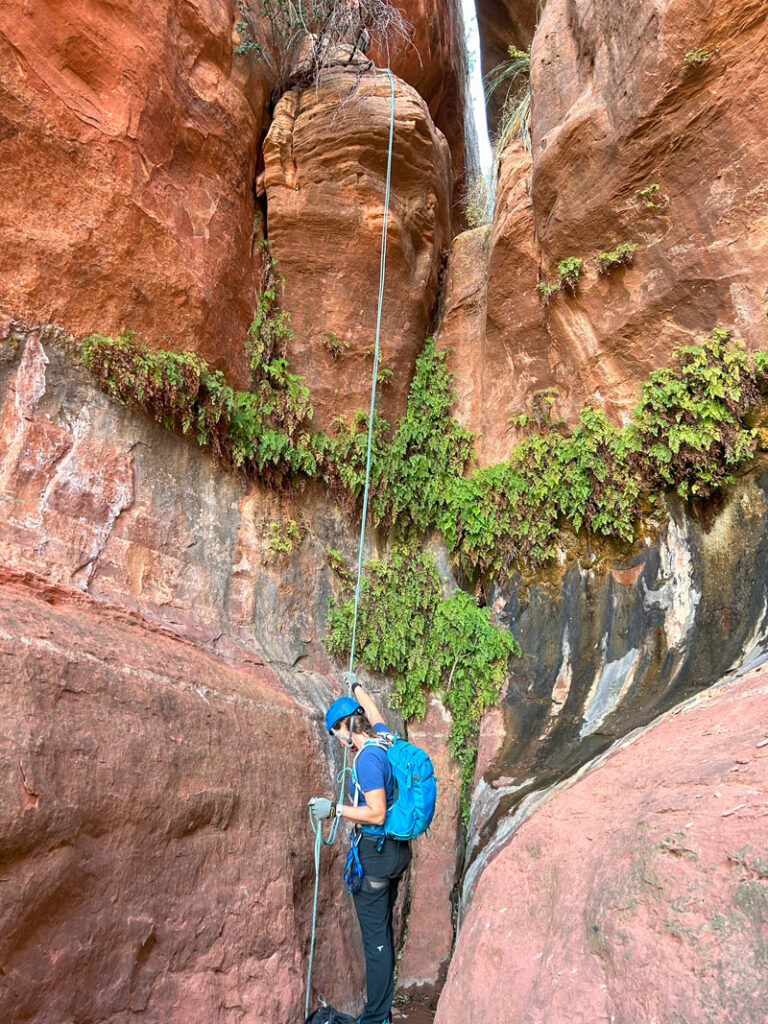
After rappel two, you’ll encounter some easy downclimbs down water chutes as you continue down the drainage. You’ll naturally want to follow the drainage, although the GPS route we were following showed the route going up onto the right side of the drainage. We did some bushwhacking to try to get on route, but it didn’t end up being anything good. What we didn’t know was that the beta description mentioned staying in the drainage, so that might be your best bet. You will encounter some fallen logs and other obstacles along the way.
All the obstacles will just help you appreciate it more when you link up with Soldier Pass Trail again. Keep an eye on the GPS, and when you get close to the trail, find the best place you can to exit the drainage and cross over to it. Then turn right to get back to the trailhead.
Or, link up with New Day Canyon for the perfect day.
Map & Directions
Location Soldier Pass, Red Rock Secret Mountain Wilderness, Sedona, Arizona
From Highway 89A in Sedona, go north on Soldier Pass Road. Take a right on Shadow Rock Drive and then a left on Forest Service Road 9904.
Shuttle If the Sedona Shuttle is running, you can’t park at the trailhead, so you will need to make a left into the Carruth Dr from Soldier Pass Road and then right on Posse Ground Dr and park there. Hopefully the shuttle is there or will be soon. Our driver told us it runs every 50 minutes. If it’s not and you’re eager to get going, you can take the pedestrian path to the trailhead (marked in black on the map). You can also walk on the way back, if you prefer.
Fees/Passes A Red Rock Pass or America the Beautiful Pass is required if you park at the trailhead. If you take the free shuttle, no pass required.
Trailhead Facilities Portable toilets available

Leave a Reply