Pine Creek Canyon
TRAIL STATS
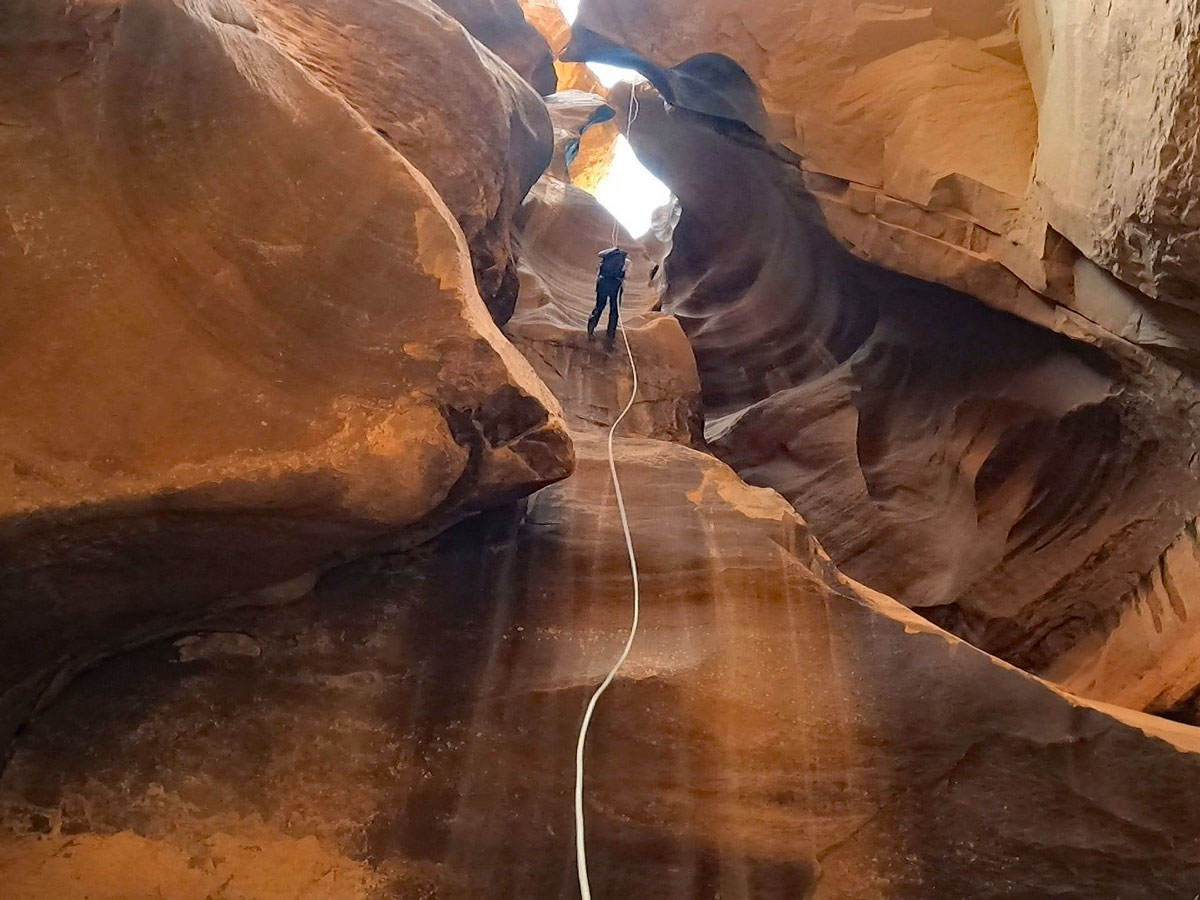
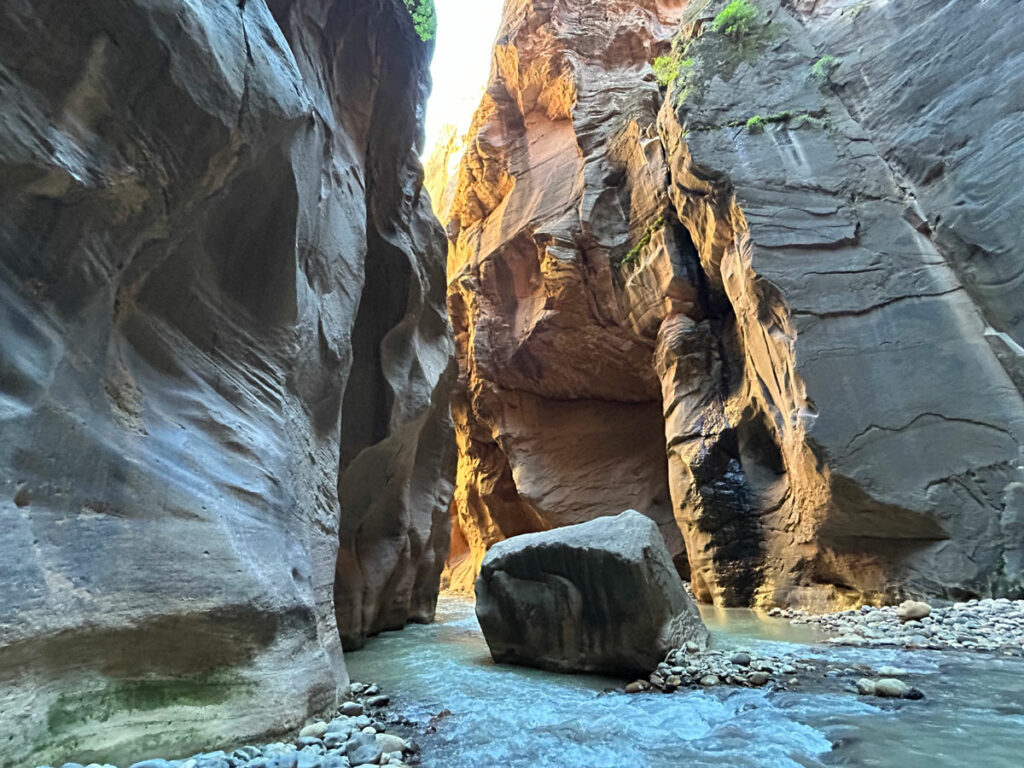
One of the absolute gems of Zion National Park, Pine Creek Canyon lies quietly next to the historic tunnel where cars zoom by without knowing what they’re missing. In a series of eight rappels, you’ll follow Pine Creek through the twists and turns of its dark corridors, beautifully sculpted narrows, dramatic pour offs, and deep pools. The hike out involves lots of route finding and boulder hopping, but it’s all worth it in the end. Car shuttle required.
🪢 This is a technical canyon with eight rappels up to 140 feet. You will need one 200-foot rope, a 200-foot pull cord, plus all the required safety equipment for rappelling and knowledge how to use it. Alternatively, for the last rappel, you can use the first rappel station. This might require you to get wet and do a sketchy downclimb, but you’ll only need one 200-foot rope and no pull cord if you choose that option. This guide is not intended to provide instruction on how to descend a technical canyon safely.
Trail Description
First off, you’ll need two vehicles to complete Pine Creek Canyon. The route begins above the historic tunnel and ends below it, and pedestrians are not allowed in the tunnel. So, you’re either setting up a car shuttle or hitchhiking.
Exit vehicle Park your exit vehicle at the “second switchback” on the way up to the tunnel. I’m not sure how switchbacks are officially counted—it’s the third hairpin turn. There is parking available on both sides of the road.
Entrance vehicle Try to find a spot in the parking lot that’s immediately after the tunnel on the right. Blink and you’ll miss it, and it can be challenging to get back to. If that is full, there’s another parking lot farther down on the left, or you can parallel park beyond that.
Pine Creek Approach
Hopefully you parked in the first lot, but if you didn’t, you’ll need to go back there. The path down to the creek starts right behind the employee restrooms. Once in the creek, navigation is simple—follow the canyon!
Chances are good you’ll come upon some waist deep pools of water not far into the hike. We decided to put our wetsuits on then because it won’t be long before you’ll want them anyway.
Technical Descent
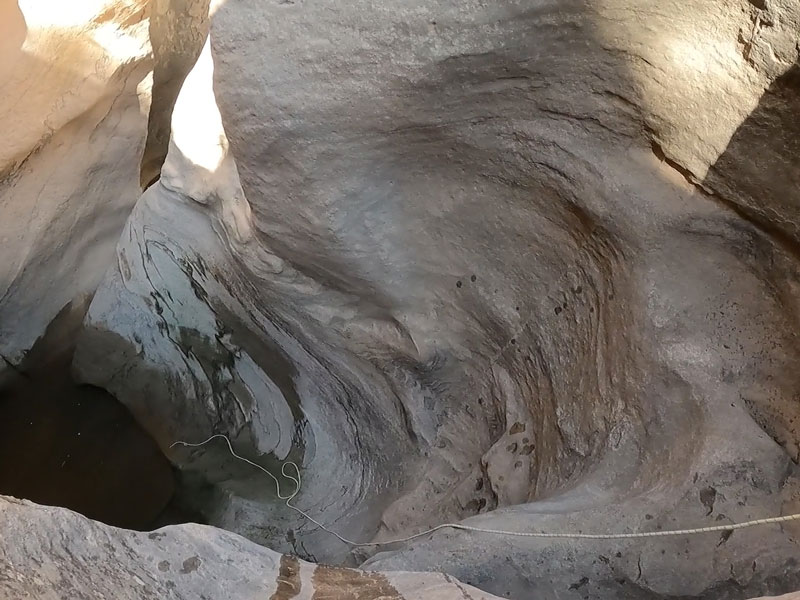
Rappel 1
Length 25 feet
Anchor 2 bolts RDC
You’ll have to climb onto the lip of this rappel to rig. Start by swinging one leg out and continuing down a chute into a shallow pool.
Rappel 2
Length 10 feet
Anchor 2 bolts RDC
This used to be a second stage of rappel 1, but bolts have been added to eliminate rope pull issues. Short drop into a deep pool.
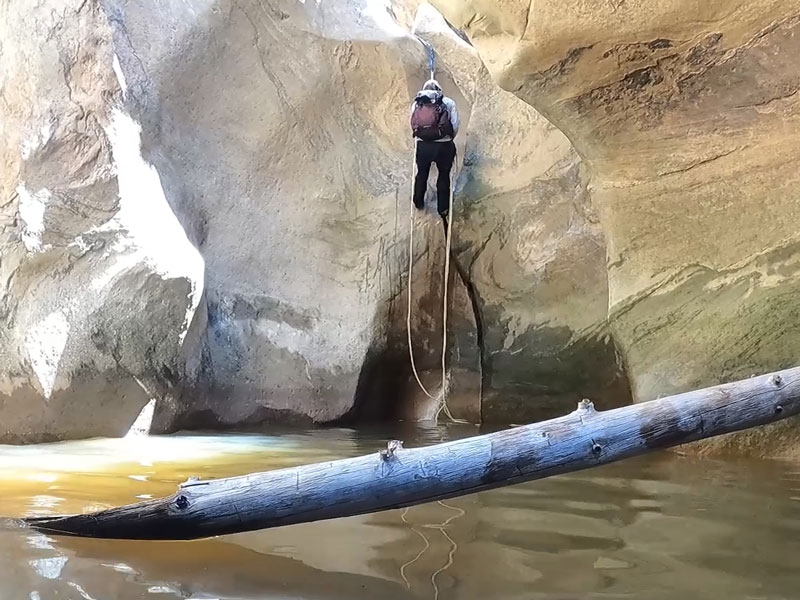
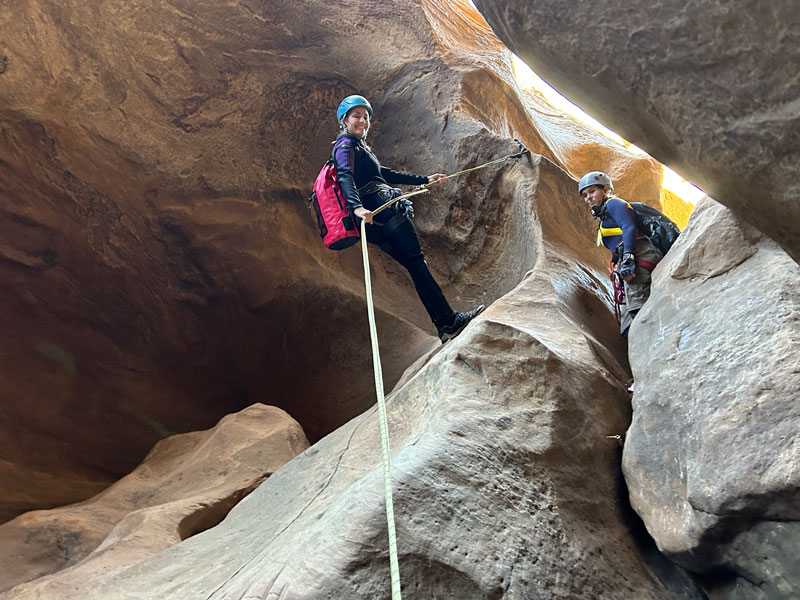
Rappel 3
Length 25 feet
Anchor 2 bolts RDC
There are two ways of doing this one: stay left for the pros, fall to the right for the newbies. Yeah, that happened.
Rappel 4
Length 10 feet
Anchor log jam
If you can do this one gracefully, kudos to you. We kind of sat and swung out, lowering into a pool.
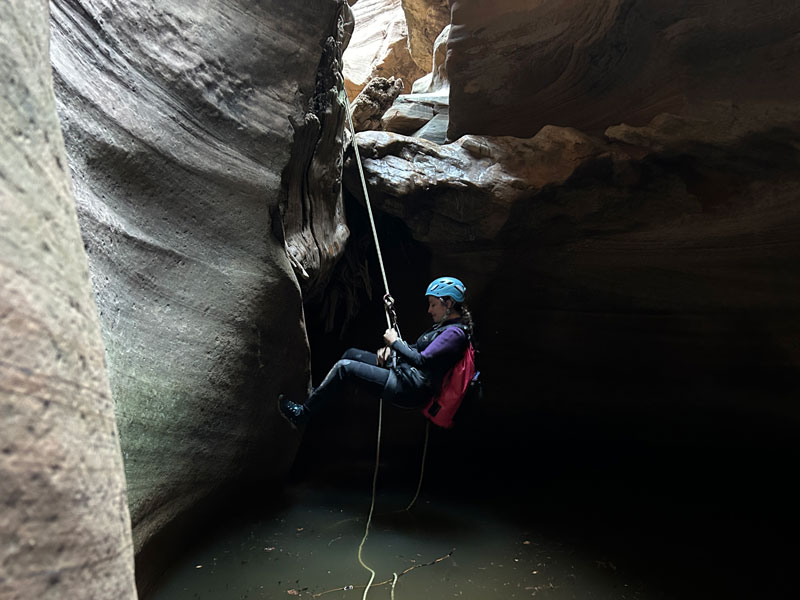
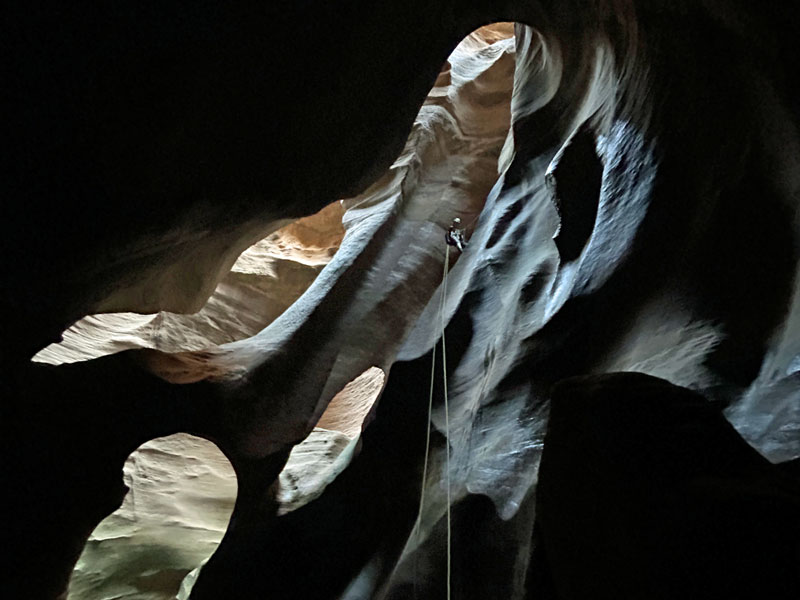
Rappel 5 The Cathedral
Length 40 feet
Anchor 2 bolts LDC with chain
Carefully reach out and grab the chain to rig. The first person can swim to the left to find a ledge where they can take pictures. Swim across a deep, cold pool to exit the room.
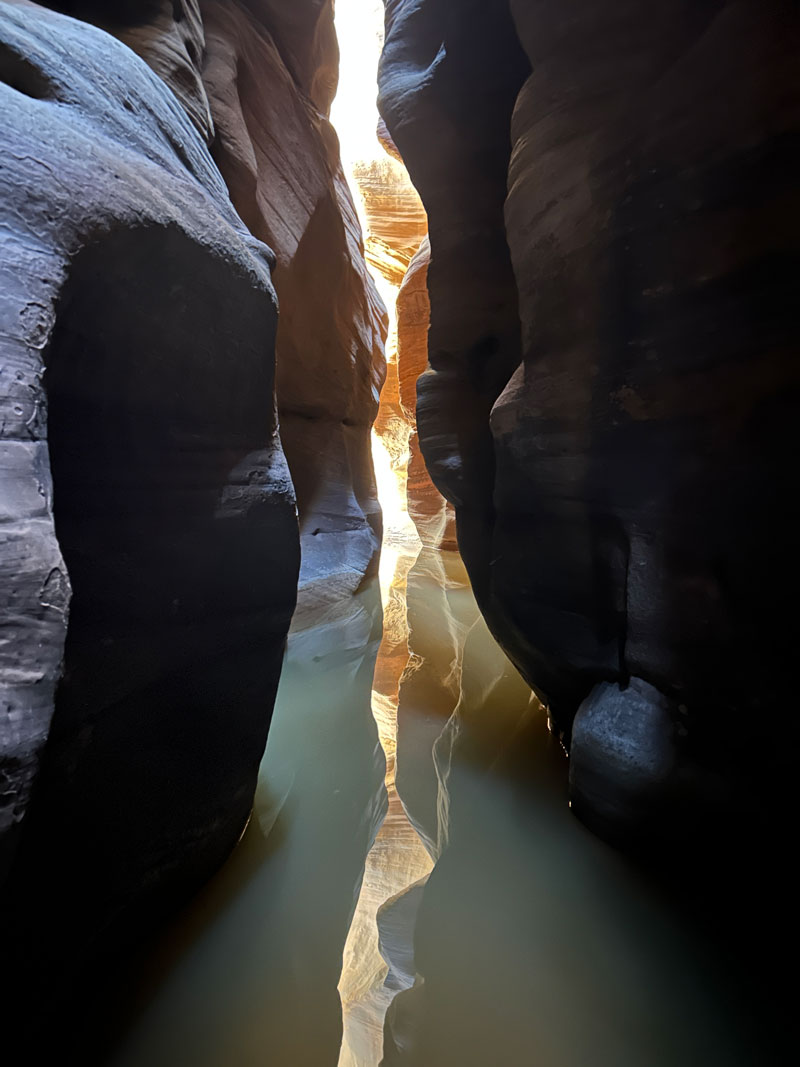
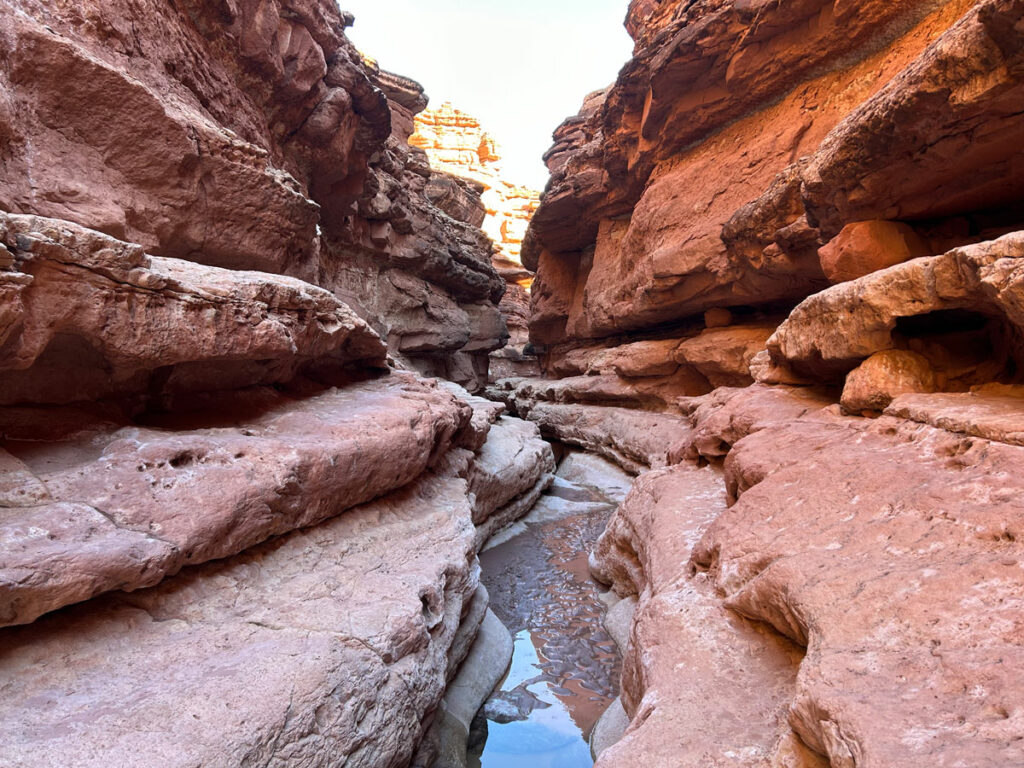
After rappel 5, you’ll pass through some of the most beautiful sections of the canyon. If you’re lucky, you might get a sliver of sunlight to warm up in, but most likely it’ll be cold as you make your way through sculpted narrows and corridors.
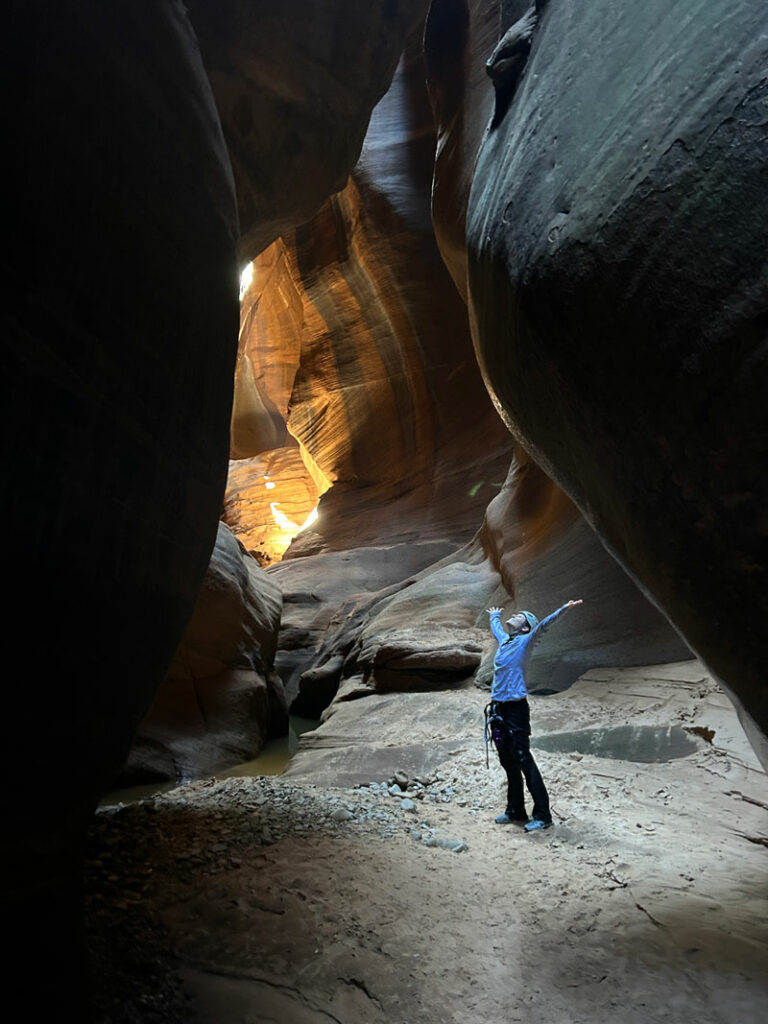
There are several swims and possibly an optical illusion. When April saw me standing next to this perfect reflection, she thought we had to rappel “down there” and about had a heart attack that I was standing so close to “the edge.”
Rappel 6
Length 10 feet
Anchor 2 bolts RDC
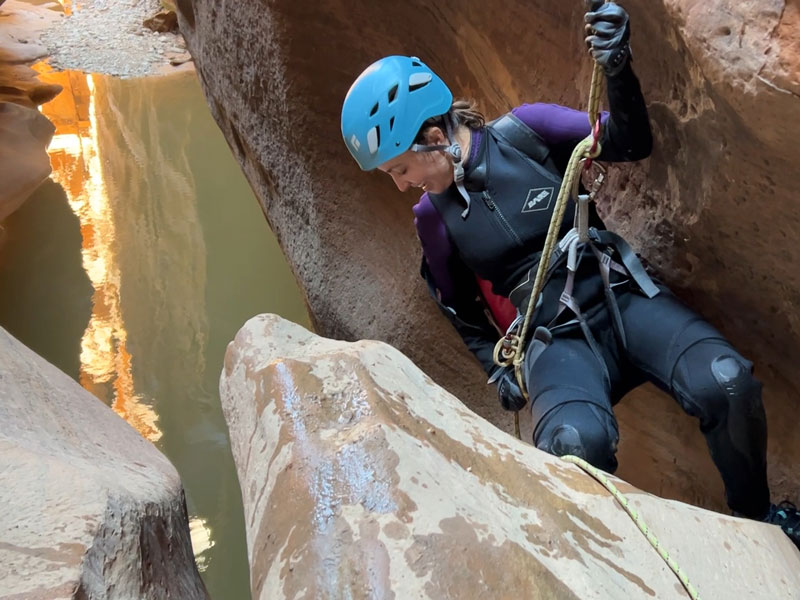
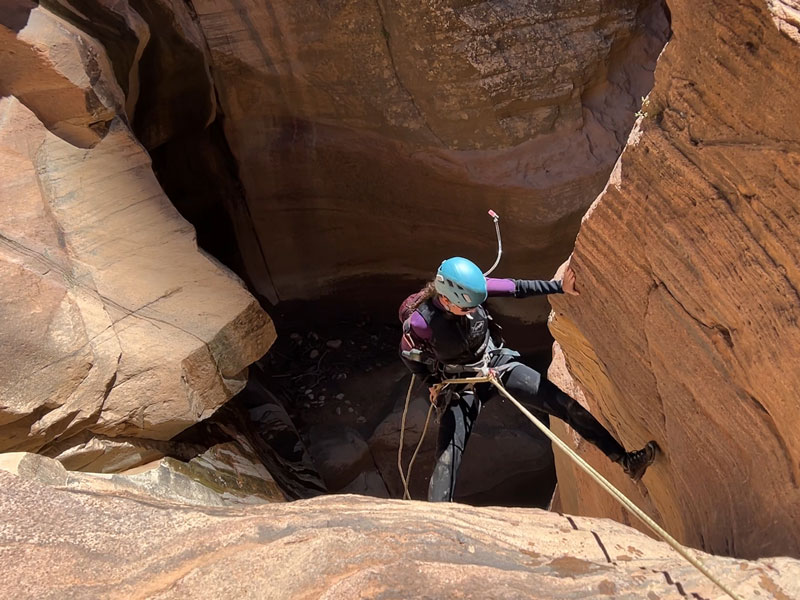
Rap off a chock stone into deep water.
Rappel 7
Length 35 feet
Anchor tree RDC
Short overhanging section, but a pretty straightforward rappel. “Don’t get off rope until you’re all the way down.” You’ll know what we mean.
Rappel 8
Length 140 feet
Anchor 2 bolts LDC
There are two choices for this rappel, and we chose the one where you climb up and over to the left. This lets you avoid a pool and sketchy downclimb but requires more rope.
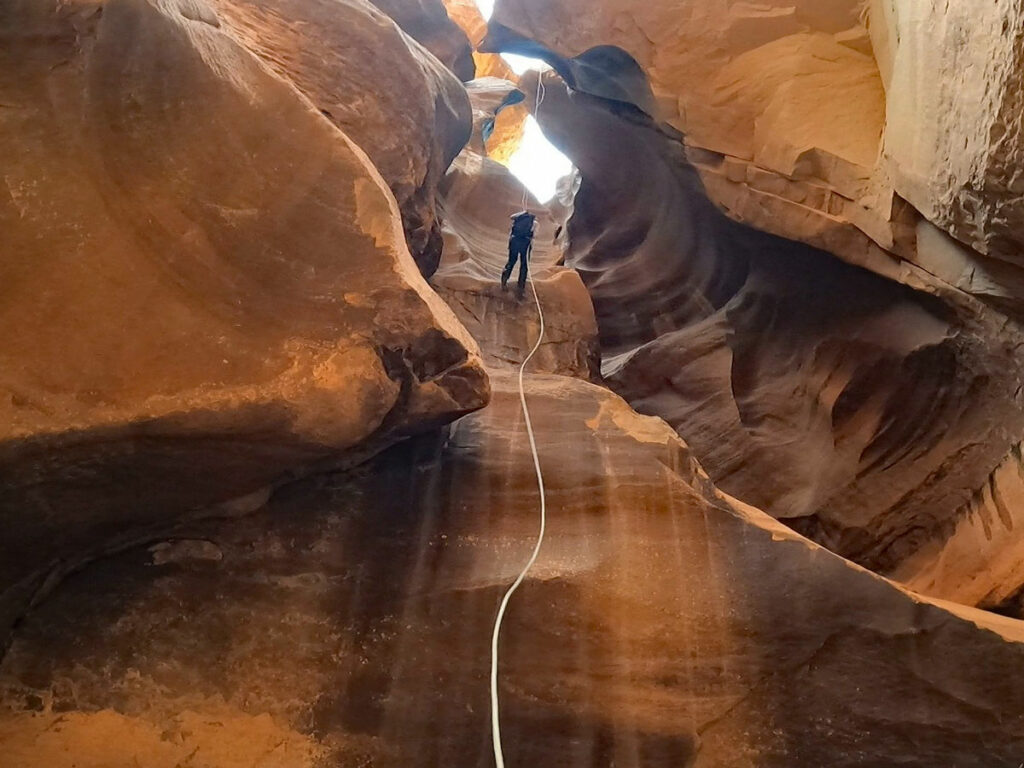
We brought the pull cord just so we could use the second rap station for the last rappel. This makes it a little more thrilling, as you dangle like a chandelier on a mostly free-hanging rappel down into a stunning grotto. Those who don’t mind getting in the water one more time and coming down a sketchy, slick-looking downclimb can use the first anchor. All I’m sayin’ is, you came all the way, so you might as well get the real views.
Pine Creek Exit
This part of the hike would normally be fun if you were fresh and hadn’t just gone through such an amazing canyon. Instead of a challenging romp through a water-laden boulder field, it’s just an obstacle-filled chore to get back to the car.

Be sure to stay in the drainage long enough to pop out at the correct switchback, or someone in your group is gonna be jogging down the road to fetch the car.
Not that I know anything about that.
Getting a Permit
To canyoneer Pine Creek, you must obtain a permit in advance from Zion National Park. This canyon has a daily limit of 60 people and a group limit of 12. Check the calendar on the Zion National Park Canyoneering Permits page to check availability and make a reservation.
Preview this Hike
Map & Directions
Location Zion National Park, Springdale, Utah
From Springdale, Utah, follow highway 9 through the South Entrance to Zion National Park. The Zion Canyon Visitor Center is on the right, and you’ll pick up your wilderness permit there.
Fees/Passes There is an entrance fee for Zion National Park, or you can use your America the Beautiful pass. In addition, a permit from Zion National Park is required.
Trailhead Facilities Flushing toilets and water available at the Zion Canyon Visitor Center. The bathrooms at the start of the route are employee only.

Leave a Reply