South Kaibab to Hermits Rest
TRAIL STATS
Get miles of breathtaking views of the Grand Canyon as you descend below the rim and backpack along the Tonto Trail on a wide and relatively flat plateau high above the Colorado River. You’ll hike between South Kaibab or Bright Angel Trail at one end of the route and Hermits Rest at the other, giving you a complete sampling of everything the south rim has to offer. This makes a great backpacking trip for those who want to get away from the crowds on the corridor trails but still have the convenience of park amenities, including a shuttle you can take back to your car March 1 through November 30.
Trail Description
For most people, their first big hike into the canyon is either Rim to River or Rim to Rim. Both are excellent hikes or backpacking trips, but they follow the Grand Canyon’s corridor trails, so there isn’t much opportunity for solitude. This route is a great alternative to Grand Canyon’s most popular trails, but most people will want to backpack it due to the distance.
Why Choose this Route?
Elevation gain/loss Since this hike follows the Tonto Trail, you will not be descending all the way down to the river (unless you want to!), saving you a bit of elevation gain and loss.
Park shuttle Between March 1 and November 30, you can take advantage of the park shuttle to travel between the trailheads.
Reliable water This route passes close to Havasupai Garden, which has potable water year round (assuming no water line breaks). It also passes by Monument Creek, which has reliable water year round (but must be filtered).
Most of Grand Canyon’s trails are remote, rugged, and extremely difficult, and the harsh desert environment can be challenging for people who are not used to it. This is one of the few routes that is easy to access from the south rim’s main roads and has the convenience of reliable water sources, campgrounds, and toilet facilities. For these reasons, it makes a reasonable choice for the majority of experienced backpackers.
Warnings
Now that I’ve said that, I feel like I should take some time to warn you about some of the risks involved with hiking in the Grand Canyon.
Heat Summer hiking temperatures inside the Grand Canyon can easily soar past 100 degrees Fahrenheit. Even when it’s cool on the rim, it can be 20 degrees hotter at the bottom. Plus, there is little to no shade available during most of this hike. Don’t hike in the heat, wear hats and protective clothing, use sunscreen, and rest in the shade when possible.
Water In any desert hiking situation, you should always carry plenty of water and know where your next water sources will be. The arid environment can dehydrate you faster than you realize, especially if you’re not used to a desert climate. Some water sources only run during certain times of the year, so be sure to ask a ranger about water if you’re unsure.
Okay, if you made it through the warnings and still want to go, awesome! As long as you’re smart about it and well-prepared, you will absolutely love it. Let’s get to it!
South Kaibab Trail or Bright Angel Trail?
For this route, you have the choice of using the South Kaibab Trail or the Bright Angel Trail at the eastern end of the route.
South Kaibab Trail
- Boasts the most stunning views and makes a particularly good choice for the hike down.
- For this route, taking the South Kaibab Trail is longer (28.6 miles total).
- Slightly steeper than the Bright Angel Trail.
- No water along this trail.
- You’ll share the trail with mules, including their poo and pee.
Bright Angel Trail
- For this route, taking the Bright Angel Trail is shorter (23.7 miles total)
- Less steep than the South Kaibab Trail.
- Narrower view into the Grand Canyon.
- Water is usually available along this trail (unless water lines are broken). Water at Mile-and-a-Half and Three Mile rest houses is available seasonally while water at Havasupai Gardens is available year round. Always bring a backup water treatment method.
We chose the South Kaibab Trail because we had never hiked it before, we heard it had great views (true!), and we had plenty of time to complete some extra miles.
We backpacked this route from east to west, starting at the South Kaibab Trailhead and ending at the Hermit Trailhead. The rest of this guide will describe the route going in that direction, but you can hike it in either direction just fine.
Parking
Backpackers Parking Lot Between March 1 and November 30, the park shuttle is running and private vehicles are not allowed on Hermits Rest Road. However, if you have a backcountry permit, there is a backpackers parking lot beyond Hermits Rest where you can leave your car. The code to access the lot will be printed on your permit. Aren’t you special?
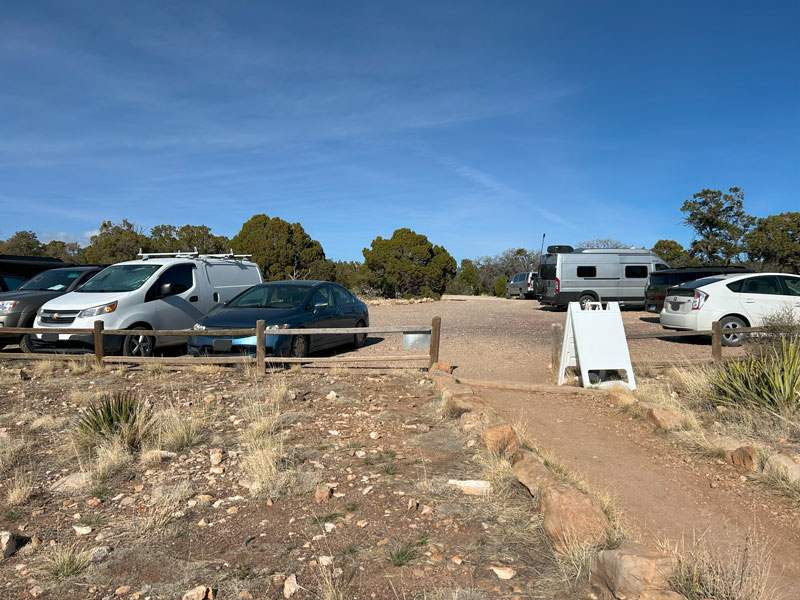
Backcountry Information Center If you’re not leaving a car at Hermits Rest, you can leave your car overnight at the Backcountry Information Center (BIC) parking lot. It’s within walking distance to the Bright Angel Trailhead.
Shuttles From Hermits Rest, you can take the red line shuttle to the Bright Angel Trailhead. This takes around 30 minutes. From there, you can walk to the Backcountry Information Center. Or, if you’re going to the South Kaibab Trailhead, you will have to transfer to the blue shuttle to get to the Visitor Center and then to the orange shuttle to get to the South Kaibab Trailhead. This also takes about 30 minutes. The last shuttle from Hermits Rest leaves one hour after sunset, so if you’re catching the shuttle after your hike out, plan accordingly. Check with a park ranger for exact times.
Hiker Express Shuttle If you plan ahead, you can catch the hiker express shuttle that leaves from the Backcountry Information Center at 6am, 7am, and 8am and goes directly to the South Kaibab Trail. You’ll avoid all the other stops and shuttle transfer, but the catch is that the BIC does not open until 8am, so if you were planning to have a chat with a ranger before catching the hiker express shuttle, too bad.
Winter Between December 1 and the end of February, there are no park shuttles running, and you’ll have to arrange your own transportation between trailheads.
We planned to park at the backpackers lot at Hermits Rest, but we ended up not wanting to take the extra time that morning to drop our car off there and take three separate shuttles to the South Kaibab Trailhead. So, we left our car at the Backcountry Information Center, caught the blue line and then the orange line to the South Kaibab Trailhead. Then, at the end of the trip, we caught the red line at Hermits Rest back to our car.
South Kaibab Trail
Okay, enough with the boring logistics. Time for the fun stuff. Hitting the trail!
So you chose South Kaibab for the descent? Lucky you! Unless, of course, there’s been a recent snowstorm. It snowed about a week prior to our trip, and we were told the top section of the trail was covered in ice. That turned out to be a bit of an exaggeration, but I did hit a frozen patch of mud that sent me sliding just when I was saying, “It’s not too bad.” Just know that the top of this trail is steep and shady and can still have icy spots even when other trails are clear. Good shoes and poles got us through, but it may require shoe traction at times. Ask a ranger for current conditions.
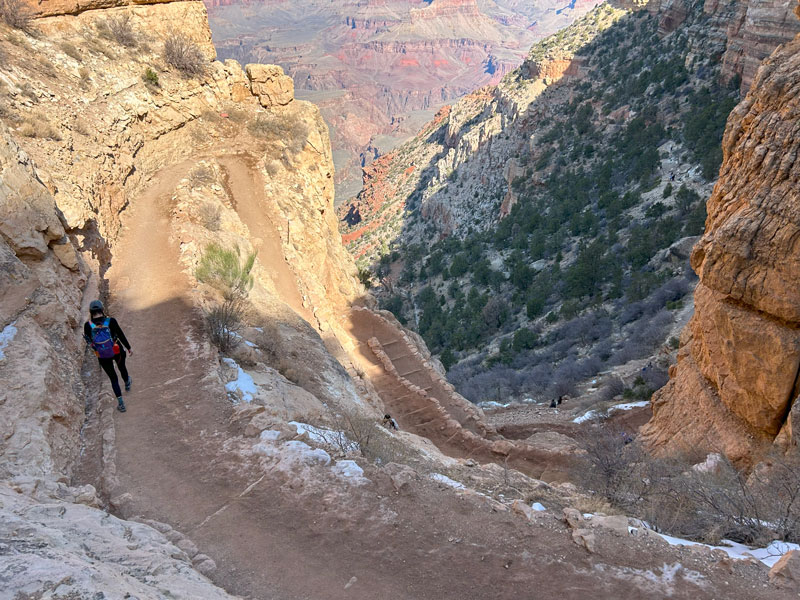
South Kaibab Trail is one of the corridor trails in the Grand Canyon, so it is a well-maintained trail. There are logs forming stairs for the steep parts and rocks lining much of the trail to keep you on track.
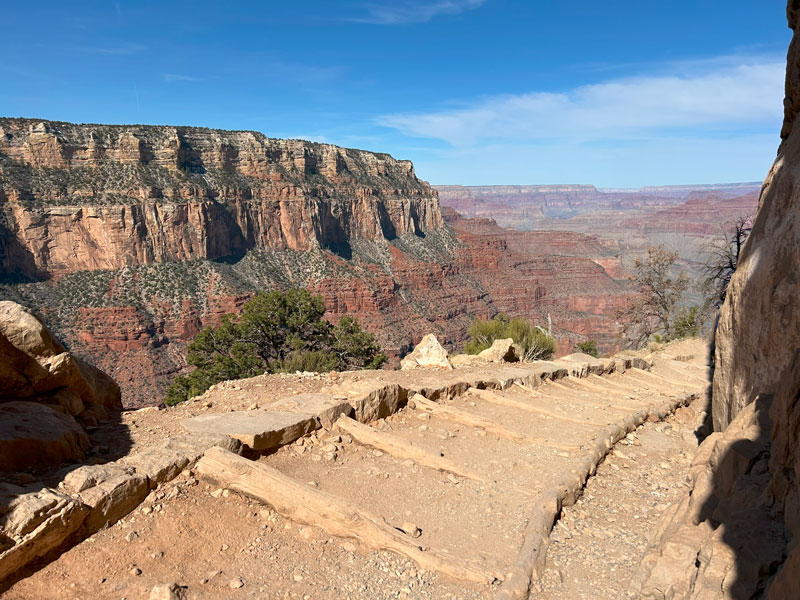
The mules that deliver supplies to Phantom Ranch also use this trail, so you will see their hoof prints and all the smelly stuff they leave behind.
Don’t worry, I promise it’s worth it!
Ooh Aah Point
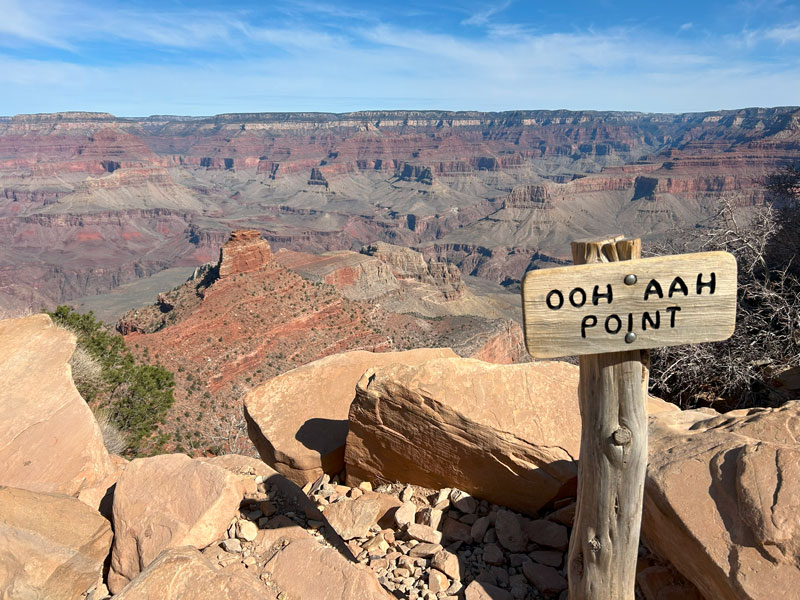
After about a mile, you’ll arrive at Ooh Ahh Point, which offers spectacular views into the canyon ahead. A lot of people turn around here, so you’ll see less traffic after this point.
Cedar Ridge
Continuing another half mile, you’ll come to Cedar Ridge. There are bathrooms here, along with—you guessed it—a ridge with cedars on it that makes a magnificent viewing platform. Walk out to the edge to get a great view of O’Neill Butte.
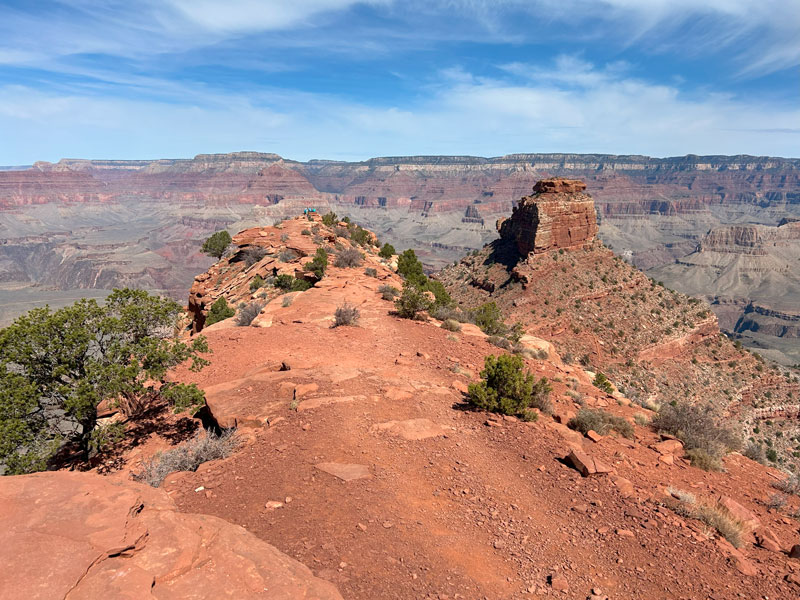
Most of the people who didn’t turn around at Ooh Aah Point will turn around here, and just the hearty few will accompany you beyond this point.
As you pass Cedar Ridge and continue toward O’Neill Butte, look to your left to get a good look at the Tonto Bench. It’s a wide, relatively flat plateau, and you’ll be following the Tonto Trail along this plateau.
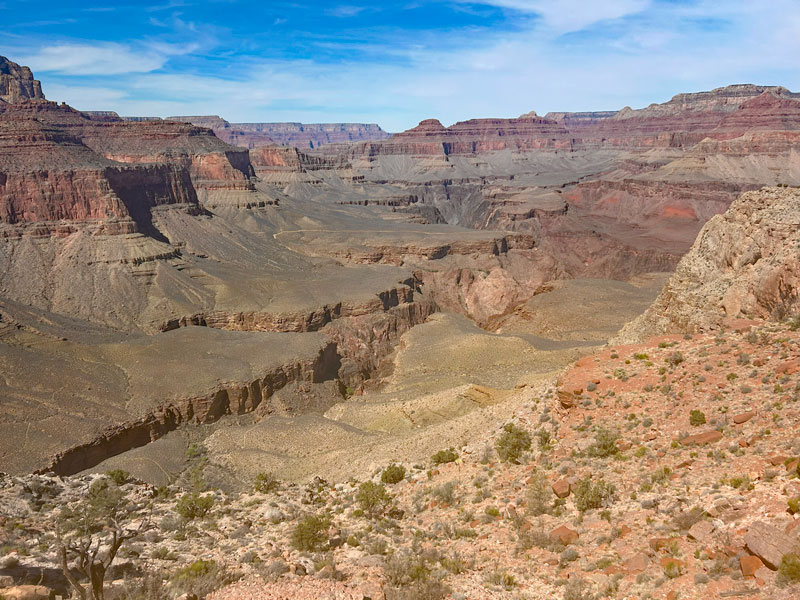
You might even be able to see sections of the Tonto Trail from here.
Skeleton Point
Just before the trail drops down onto the Tonto Bench, you’ll arrive at Skeleton Point.
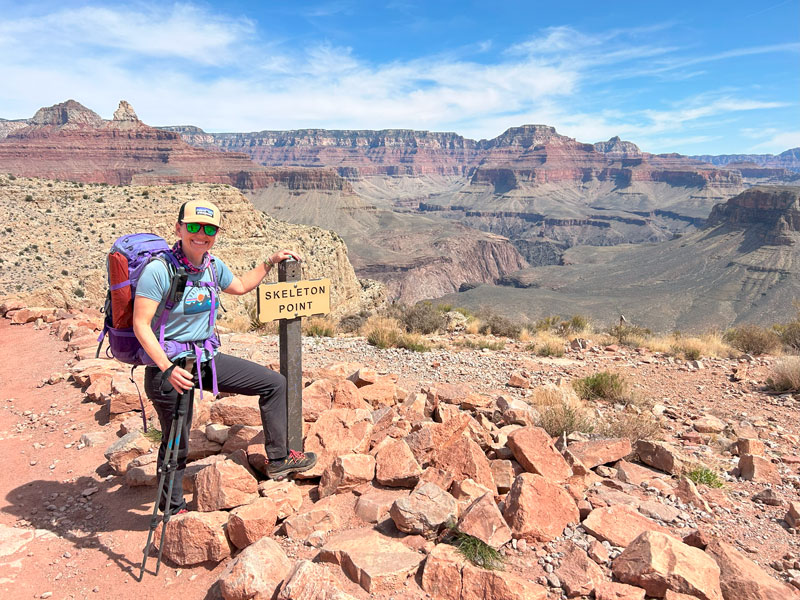
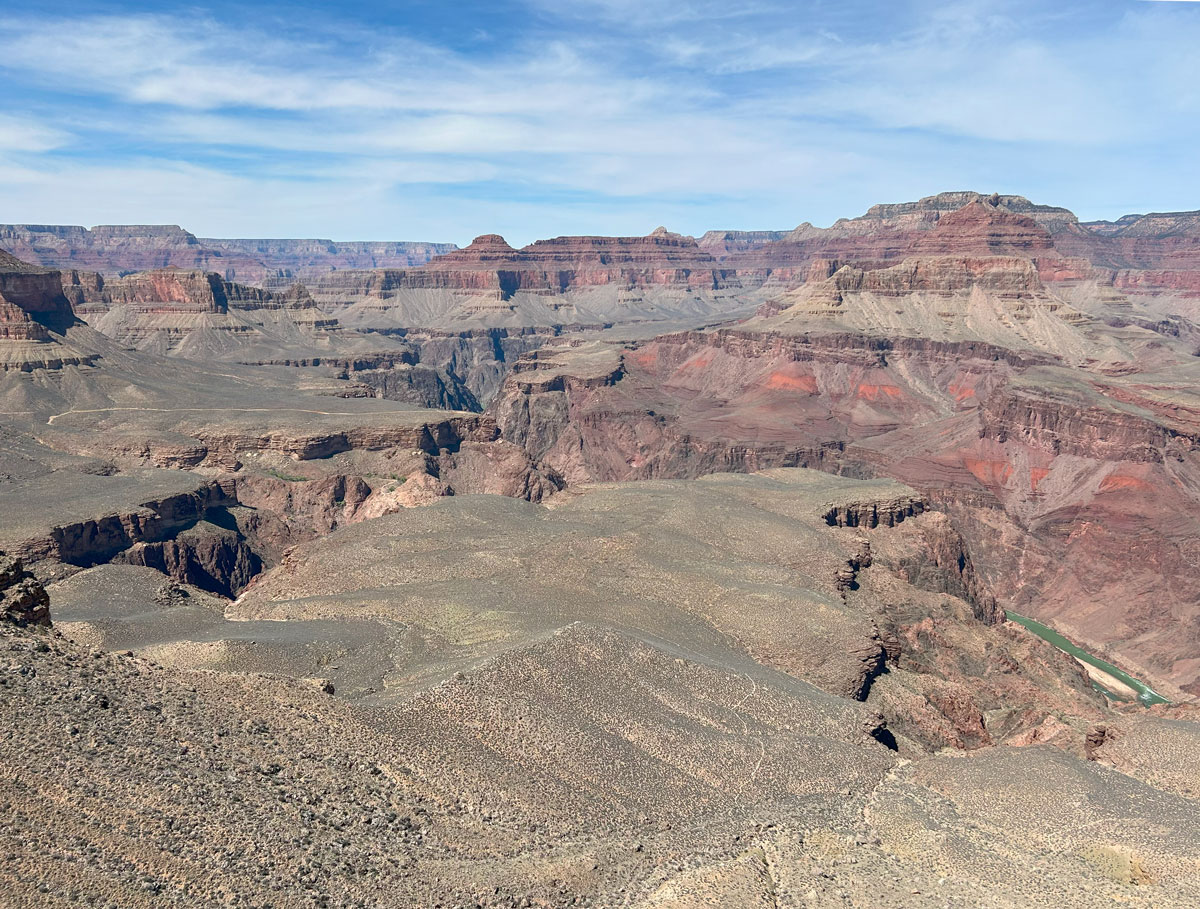
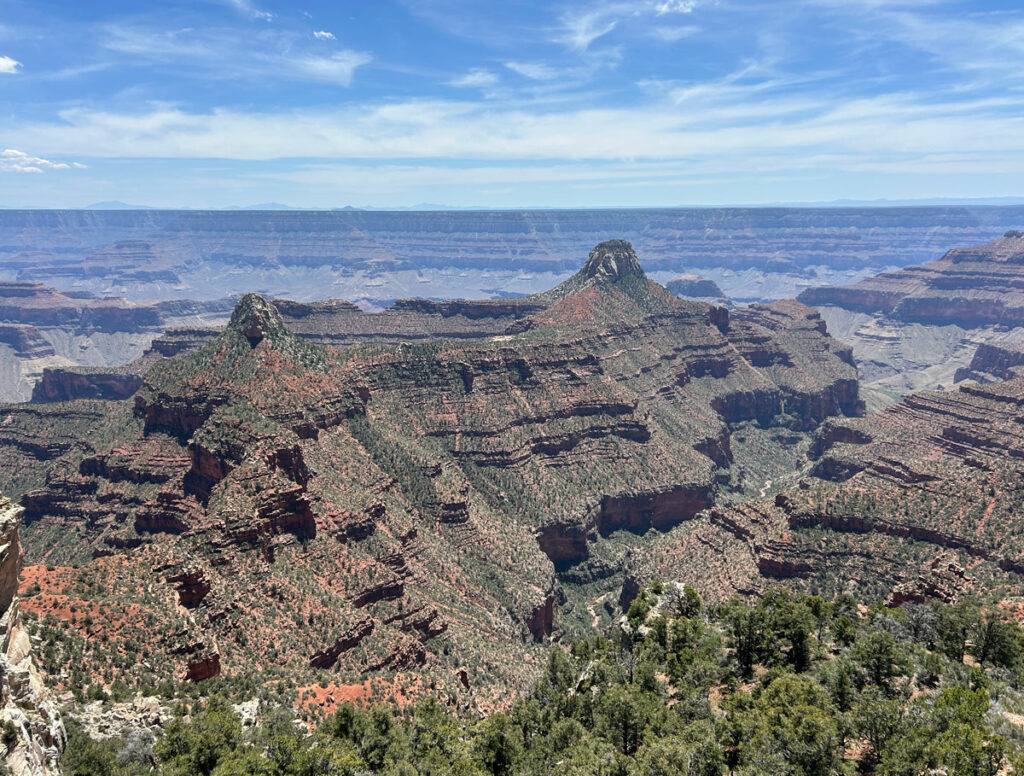
Follow a short spur trail to the left to the best viewpoint (hint: it’s the cover photo!).
The Tipoff
Beyond Skeleton Point, you’ll drop down a bunch of switchbacks onto the Tonto Bench, at which point the trail will flatten out as you approach The Tipoff. Here, there is a shade structure with benches inside, an emergency phone, and restrooms. It looks like the shade structure is built to catch rainwater, so apparently there is sometimes non-potable water for cooling off or filtering. However, the spigots had no handles when we were there, so there was no water available.
Annnnnd. . . you get all types of people here, so you might have to part the cloud of marijuana smoke to get inside. Or stay out in the fresh air. Just sayin’.
Tonto Trail (West)
As you approach Tipoff Point, you’ll see a sign for Tonto West to your left and Tonto East to your right. Since you want to go west, you’ll follow the sign for Tonto West.
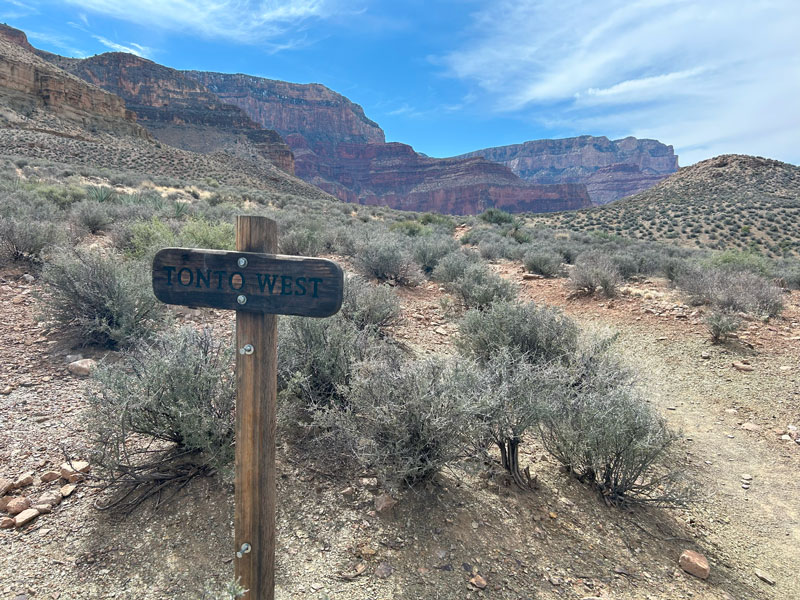
If you’re doing this trail in the reverse, you’ll be following Tonto East signs the whole way.
Now this is the part where I mentally prepare you for the Tonto Trail. First the good news. There isn’t much elevation gain or loss for the entire length of the trail, so you can settle into a steady cadence and enjoy the beautiful views around you. The bad news is that because this trail tries to stay at a relatively constant elevation, it has to follow all the contours of the canyon instead of going the most direct route. This means you might have to walk a mile or more back toward the canyon wall, winding your way around every single drainage, before you can finally get to the other side. Then you’ll have to walk another mile back out toward the river just to travel a quarter mile as the crow flies. If only you could fly.
The long hikes around the side canyons give you a lot of time to contemplate your situation and think up crazy ideas for how to get across faster. Rappel and then rock climb? A staircase? How about an elevator or a zipline? We wouldn’t actually want any of that installed in this beautiful canyon, of course, but it’s fun to imagine.
Pipe Creek
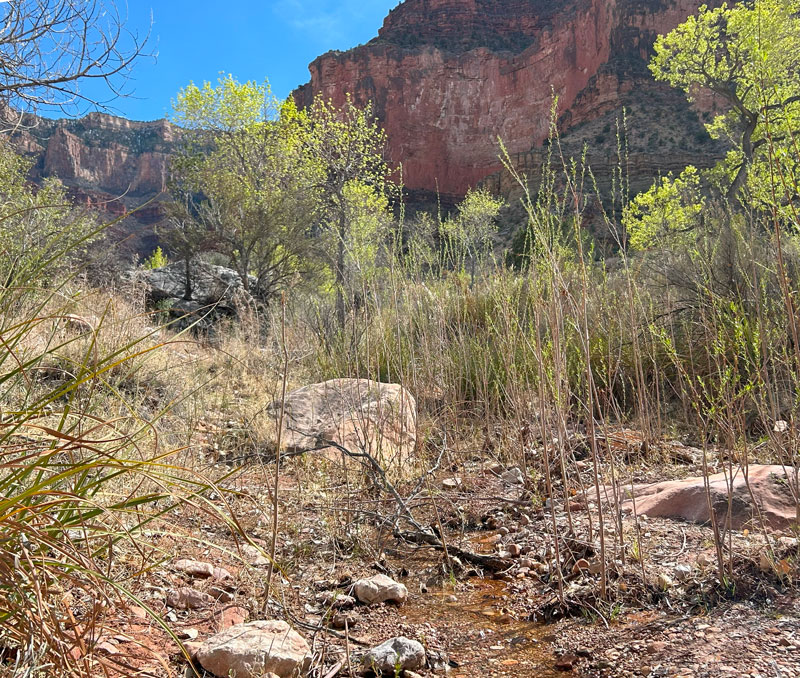
When we saw some big trees ahead in the first major canyon, we got excited a little too early that we might already be at Havasupai Gardens. Nope, but we did find ourselves at Pipe Creek, and there was a little bit of water running when we were there.
Havasupai Gardens
One more big canyon over, and we saw even more big trees. We were closing in on Havasupai Gardens.
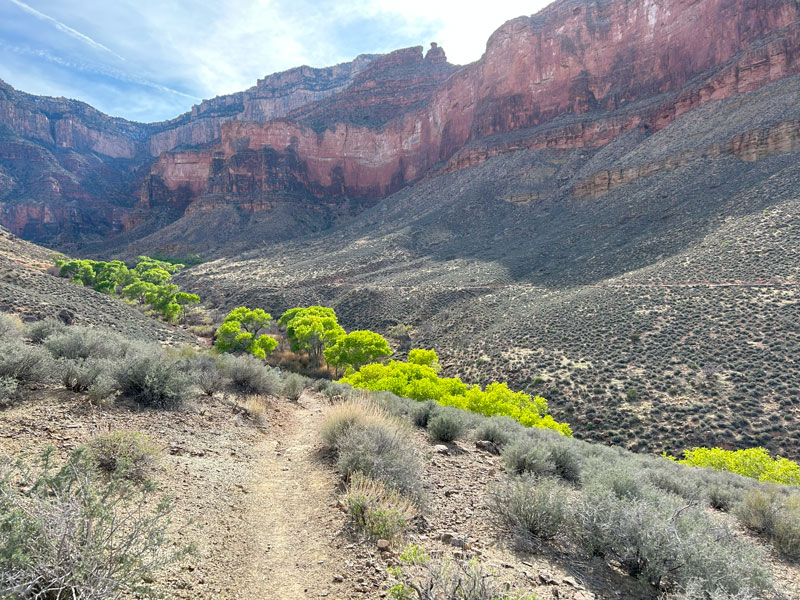
In a desert like this, those trees look like paradise. To get to Havasupai Gardens, normally you would intersect with the Bright Angel Trail and make a left to follow it up to Havasupai Gardens. As of March 2025, the Bright Angel Trail was closed for major water pipe renovation. I’m talking earth movers and everything! So, we followed the trail detour up to the Plateau Point Trail (yes, there were metal stairs involved), and then turned left there to follow that back to Havasupai Gardens. The project is slated to be finished by May 2025.
Havasupai Gardens makes a great place to camp, but if you’re just passing through, it usually makes a great place to refill water. There are spigots with potable water available year round, as long as the water pipe isn’t broken. There’s also a ranger station and an emergency phone.
Havasupai Campground
As you approach Havasupai Gardens, the campground will be on your right. Snagging a permit for this campground can be challenging because it’s along a corridor trail, so it’s a popular stop for this route as well as Rim to Rim. If you do manage to get a permit for this campground, you’ll have a shade shelter, picnic table, food storage box, and pack hanger available. A nice bathroom is also there. It’s pretty nice! But you will have neighbors.
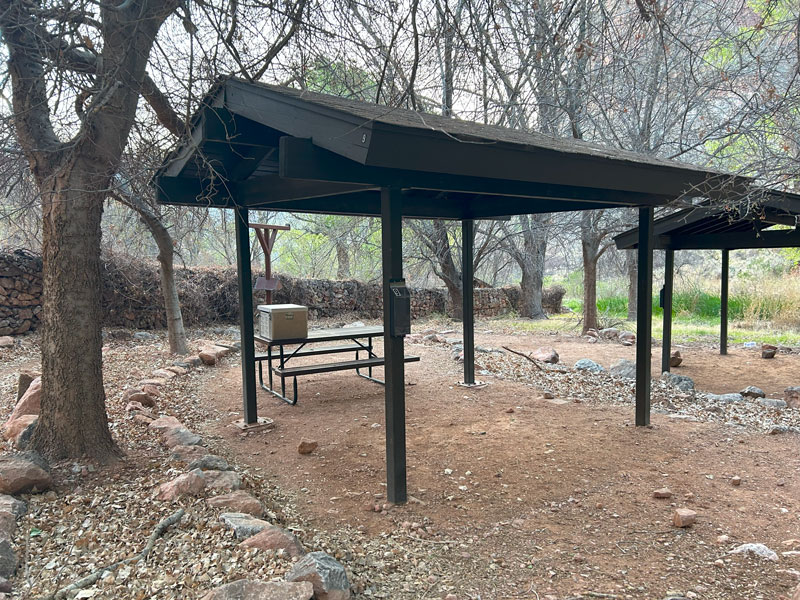
A ranger will definitely be coming around to check permits, so be sure to display yours in the clear box located on one of the posts of the shelter.
Bright Angel Trail Variation
Total Mileage 23.7 (4.9 miles less)
Total Elevation Gain 5520 (952 feet less)
If you want to shave a few miles off this route, you can choose to come down the Bright Angel Trail to Havasupai Gardens. It is also a very well-maintained trail and probably the most popular trail that goes down into the canyon. There are rest houses at the mile-and-a-half point and the three-mile point, giving you opportunities for shade, a potty break, and water (seasonally).
Once at Havasupai Gardens, the route is the same for the remainder of the trip.
Continuing on Tonto Trail (West)
To continue on the Tonto Trail, take the Plateau Point Trail until it intersects with the Tonto Trail and turn left to continue west.
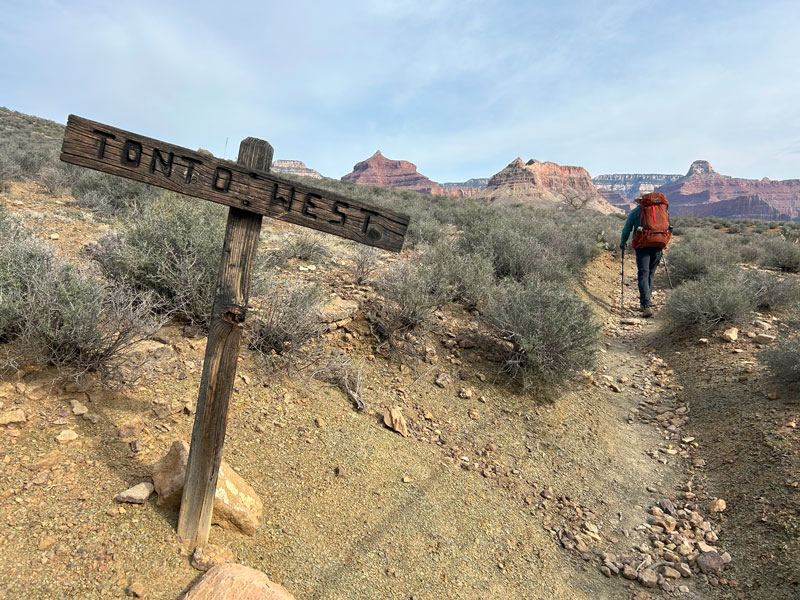
Today is a lot more of the same type of trail. You’ll be following Tonto Trail around all the side canyons as you slowly make your way west. Near your feet, there are about a billion of the same type of little bush, so the prize is definitely in the distant views.
At the first major canyon, you’ll arrive at Horn Creek. There is one campsite there and one toilet with a 3-sided stall for a little bit of privacy.
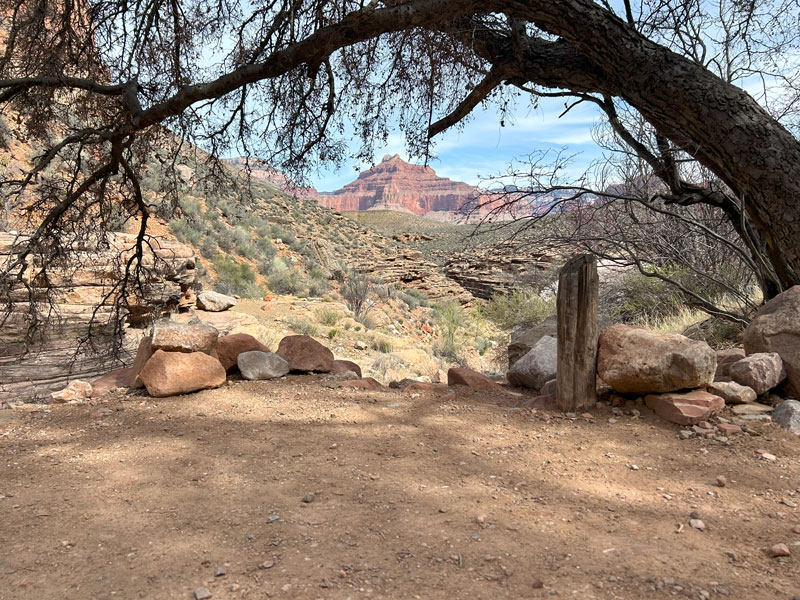
The campsite was nice enough, but there was no water in the creek even though the ranger thought there was. That didn’t matter much because all the maps warn you not to filter water from there since there are radioactive materials in it. The ranger told us they have done more testing on that water recently and found it is safe to drink for the short term. Personally, I would just haul all the water I need to get me through.
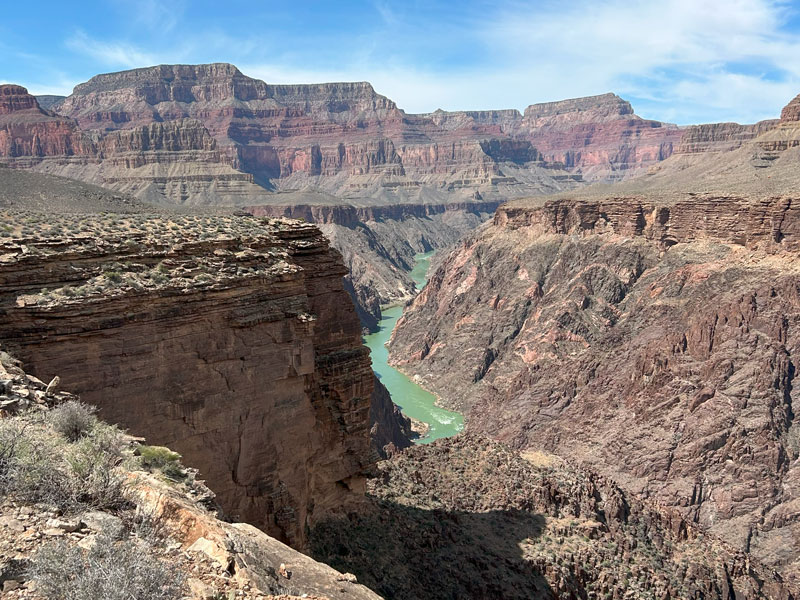
Beyond the Horn Creek Campsite are some of the most spectacular views of the trip. You’ll come close to the edge of the cliffs where you’ll have a birdseye view into the inner gorge where you’ll be able to see the Colorado River and Granite Rapids below.
Salt Creek
You’ll find Salt Creek in the next major canyon to the west. This also was not running at the time we went, but there were some pools. The ranger told us the water is drinkable, but it’s highly mineralized and will have a funny taste.
There is also one campsite and a toilet at Salt Creek.
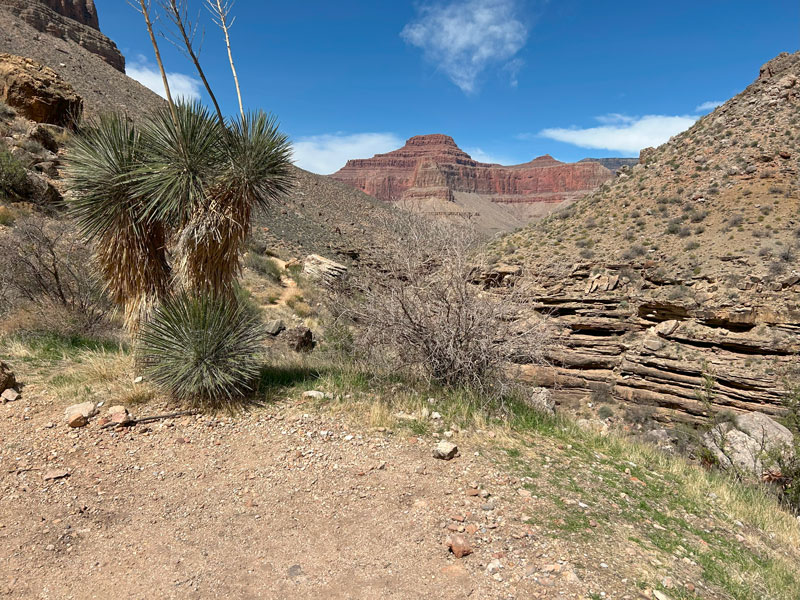
To get to the campsite, go up the hill on the west side of Salt Creek until you see a wooden sign marking the spur trail to the campsite. The only “trees” here are the yucca variety, so don’t put off eating your lunch thinking you’ll find trees to sit under here. It was disappointing.
Cedar Spring
Around the next corner, you’ll find the sign for Cedar Spring. There is a campsite there, but I guess I was focused on getting to Monument Creek at that point because I didn’t stop to check it out. Sorry, I hope that wasn’t your camp!
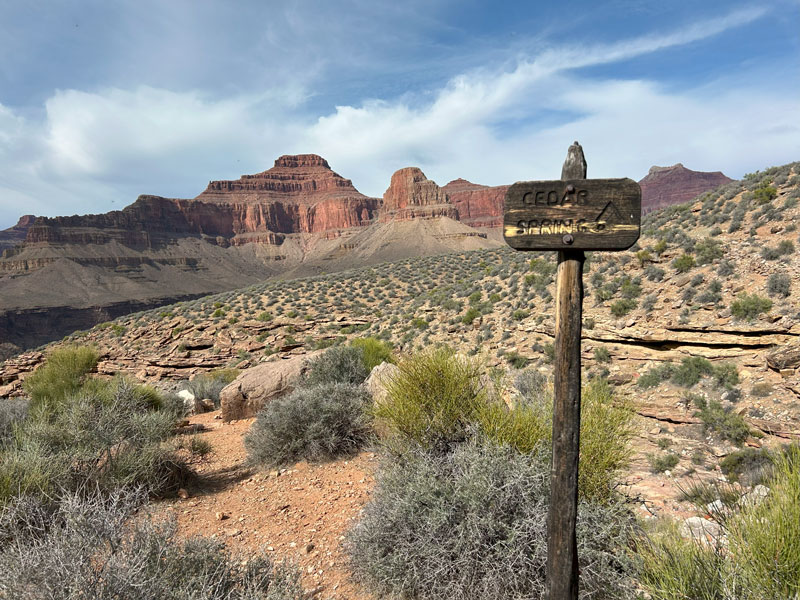
From Cedar Spring, it’s another 1.3 miles over to the next canyon where you’ll find Monument Creek. This time, you’ll actually hike down into the canyon. You’ll be able to see the layout of the campground from above and scope out a great spot if you’re camping there.
Monument Creek
The first few campsites you come to will be right along Monument Creek with easy access to water and some small trees (that had no leaves in March).
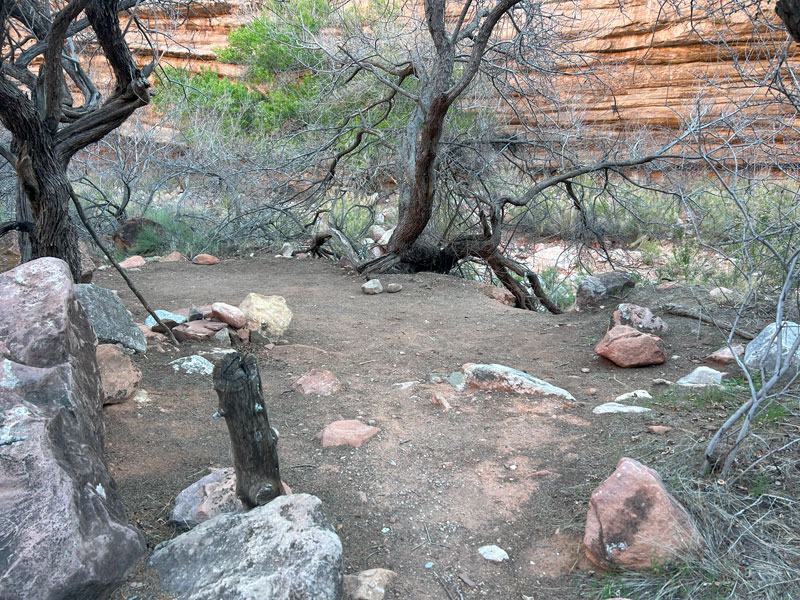
Farther down by the toilets are some campsites that are more out in the open, but if you really want to feel special, you’ll find the campsite up on a ledge on the left after you pass the bathrooms (marked on the map). You won’t be close to the water, but you will have a bit more privacy.
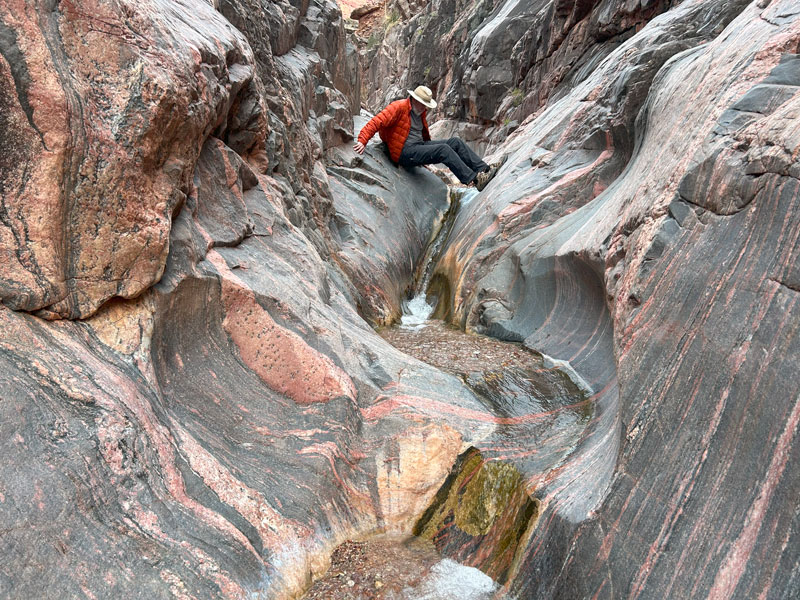
One of our friendly camping neighbors told us it was worthwhile to follow the creek downstream and explore the narrows. What a great tip! It was a little tricky to keep our feet dry, but we were able to pass all the way through the narrows. Then we connected with the Monument Creek Trail, which took us back to the Tonto Trail and back to camp. Such a cool place!
The Monument
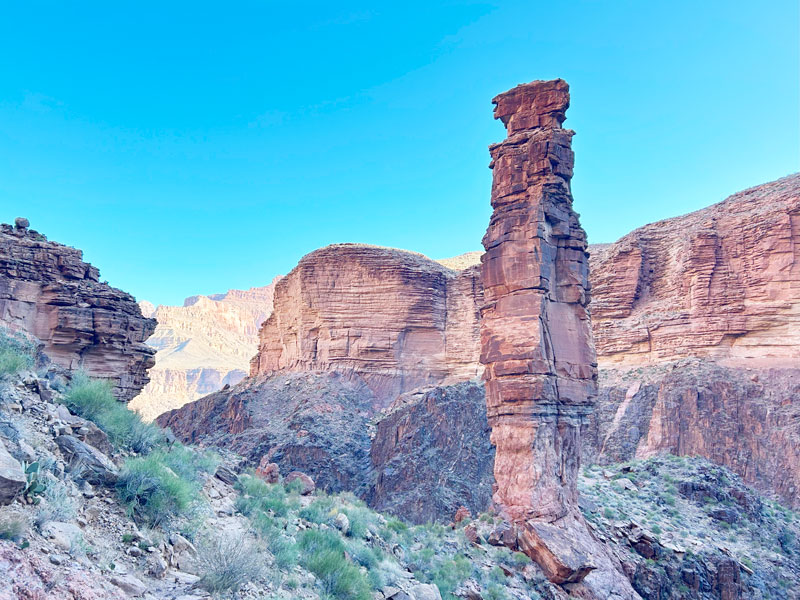
Just beyond the Monument Creek Campground, the Tonto Trail intersects with the Monument Creek Trail, which takes you down to Granite Rapids. Near the intersection, you’ll find the canyon’s namesake: The Monument.
Granite Rapids (optional)
Additional mileage 2.6 round trip
Additional elevation gain 1119 feet
Unfortunately, we did not have time or energy to take the side trip down to Granite Rapids. Our fellow hikers assured us it was worthwhile, and the National Park Service information said Granite Rapids is a favorite shot among photographers. We met a couple who camped there and said there was plenty of space down there, but the sound of the river made it so they didn’t realize until morning that other people were camping there with them.
Next time, I’m going down there!
After the monument, you’ll be hiking uphill and back onto the Tonto Bench. From there, you’ll have a view of Hermit Rapids in the distance.
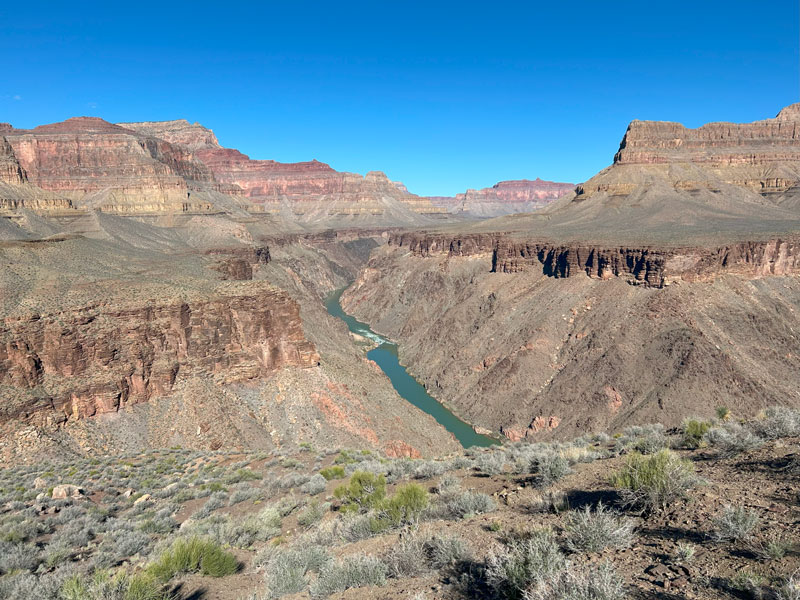
Hermit Trail
After two miles, you’ll get to the junction with the Hermit Trail. Veer left to start heading uphill toward the rim. You’ve probably been dreading this part, but it’s go time! The trail starts out with a steady incline that slowly crawls up the talus slope.
Once you get up to the redwall, you’ll start up the switchbacks called Cathedral Stairs.
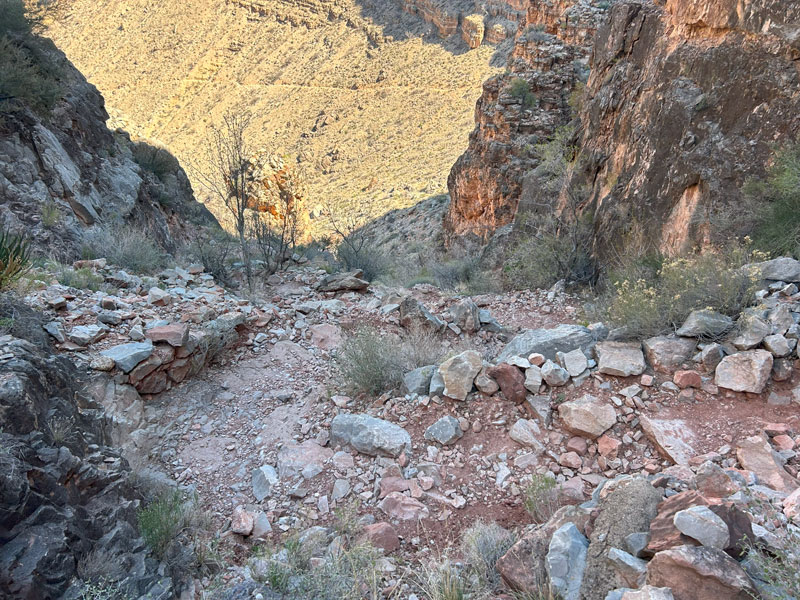
Luckily, these were in the shade for us at 11 o’clock in the morning.
Lookout Point
After all that hard work, the trail drops just a couple hundred feet as you curve around the next corner. Before the trail gets back to the uphill business, you’ll pass Lookout Point. It’s a very short 0.1 mile diversion out to a viewpoint. While it might be an epic view for the day hikers who haven’t seen the views you’ve seen, it’s not a must-do for you.
Most hikers will hike past the high point along the left side to take in the view, but if you’re a fan of scrambling, you can find your way to the top. The best spot for me was around the back where the hikers on the trail couldn’t see me struggle.
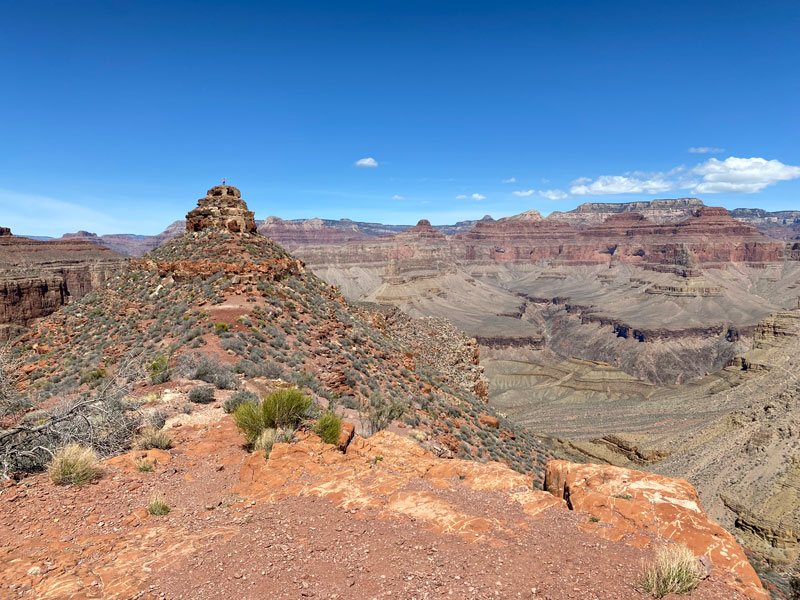
Beyond this point, the trail will alternate between steep ascents up the next rock layer and mostly flat stretches along a ledge. It’s kind of nice to get a breather between the steep spots. The trail is in decent shape, but there are a few rockslides you’ll have to traverse as well as some large boulders you’ll need to get past. The rockslides are stable, but the footing is very uneven, and your poles tend to find the deepest holes.
Two miles before the top, just before you get above all the red layers, you’ll come to the Santa Maria Spring. There is a nice, shady rest house there with benches. The spring fills a metal trough next to it.
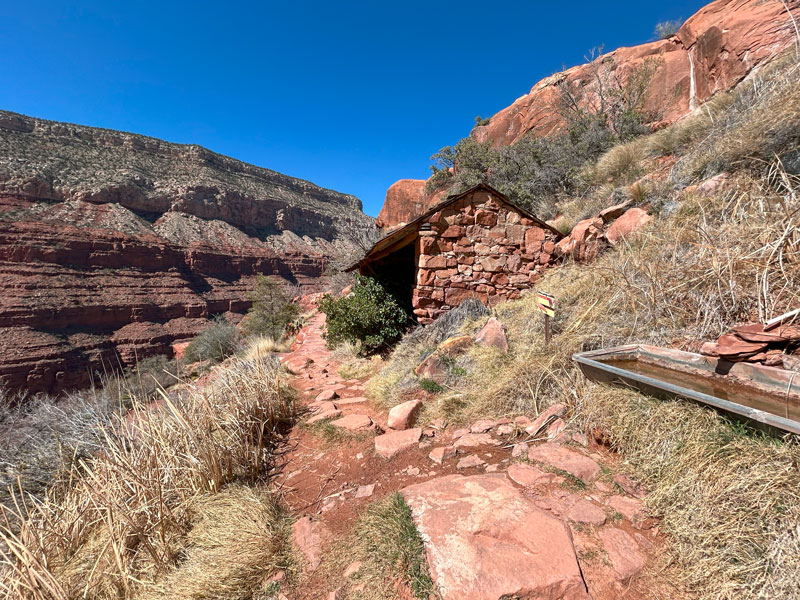
It wasn’t flowing when we were there, but there was water to filter if you needed to. We were glad we didn’t.
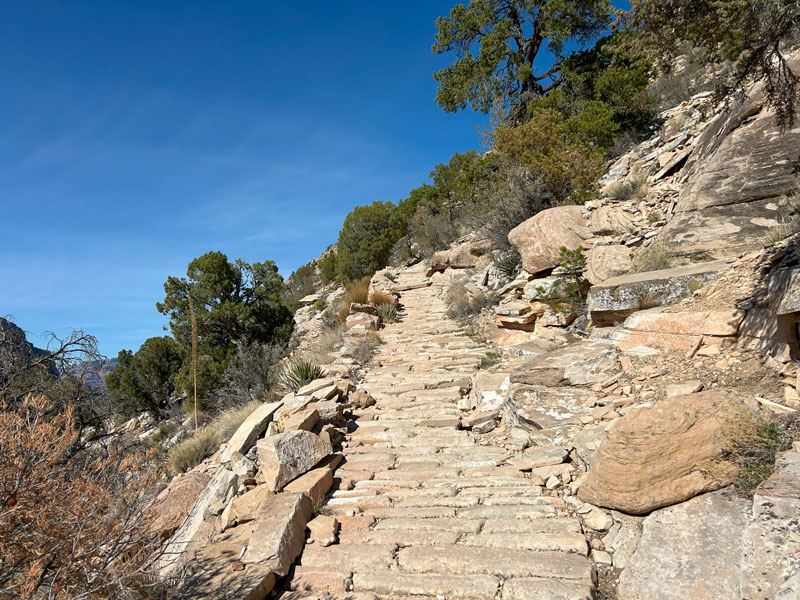
Right after the spring, you’ll go up the final red layer and enter a nice wooded area called Waldron Basin. As the trail begins to go up again, you’ll notice it’s a much more defined trail that was originally paved with hand-fitted rock slabs. Only segments of the original paved trail remain, but the whole trail is in great shape with well-defined switchbacks. It’s on these final switchbacks that you’ll ascend almost 1700 feet back to the rim.
I’m getting tired just thinking about it.
Hermits Rest
Once you crest the rim, you’ll be at the backpacker parking lot. Surprise! If your car isn’t parked here, it’s another quarter mile or so along the rim to the Hermits Rest gift shop, restrooms, and shuttle stop. But you just hiked out of the Grand Canyon, so you’ve got this!
Map & Directions
Location Grand Canyon National Park, South Rim, Tusayan, Arizona
Google Maps Backcountry Information Center
Fees/Passes You must have a backcountry permit from Grand Canyon National Park to camp below the rim. You can join the lottery to get a time slot for early access to the permits. Otherwise, you’ll have to wait until the remaining permits are released. Visit Recreation.gov to get all the information about obtaining a permit. In addition, you will need to pay a fee for entrance into the park or use your America the Beautiful pass.
Trailhead Facilities Restrooms and water bottle filling stations available at all trailheads.
Leave a Reply