Crack Addict Canyon
TRAIL STATS
Crack Addict Canyon is a very scenic and fairly straightforward crack system featuring 11-13 nice rappels without any major obstacles. If it’s been raining recently, there may be a few small pools of water, but they are all avoidable except at the bottom of rappel 12. The exit through Sterling Canyon is where the nightmare begins and where the difficulty rating came from. If you don’t exit to Highway 89A, be prepared to boulder hop, struggle up steep and loose embankments, fight your way through unforgiving thorns, and bushwhack dense bushes straight up the hill. It’s an all out torture fest.
But hey, the canyon was awesome, right?
🪢 This is a technical canyon with 11-13 rappels up to 85 feet. You will need one 200-foot rope, plus all the required safety equipment for rappelling and knowledge how to use it. This guide is not intended to provide instruction on how to descend a technical canyon safely.
Trail Description
The dirt road to the upper parking area is well-maintained until you turn off Forest Road 535. Then it becomes riddled with all sizes of potholes and would be impossible for a passenger car. If the holes are filled with water and you don’t have 4WD (ahem, Heather), then say your prayers because this could be a wild ride. When the road is wet or there is rain in the forecast, I honestly would leave the 2WD home.
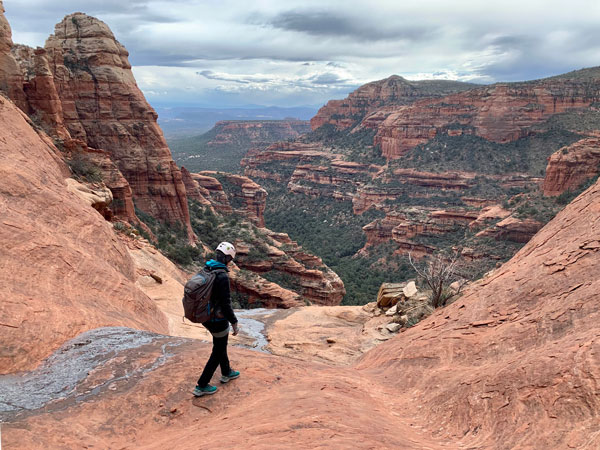
The Approach
From the Upper Parking
Depending on where you decide to park along the route, you may have to follow the dirt road for a while before dropping in. Once you find the drainage and begin to follow it, you’ll find a very typical approach hike for this area.
Lots of plants clogging the way, but enough use trails and rocky areas to make it not too bad. Pants are advised.
From the Lower Parking
We did not do this approach, but apparently if you park at the lower parking, there is a way to follow a ridgeline southwest of the parking area up to the head of the canyon. It has class 3-4 scrambles and some exposure, so use it with caution.
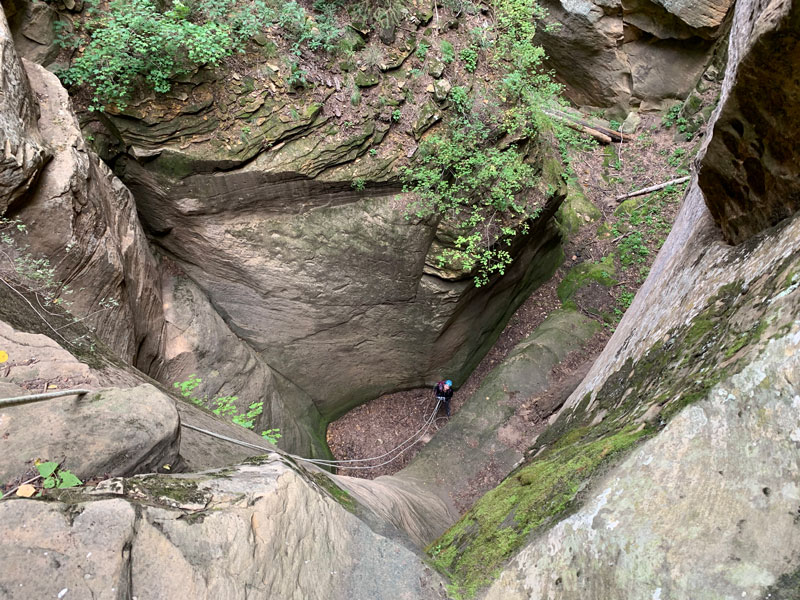
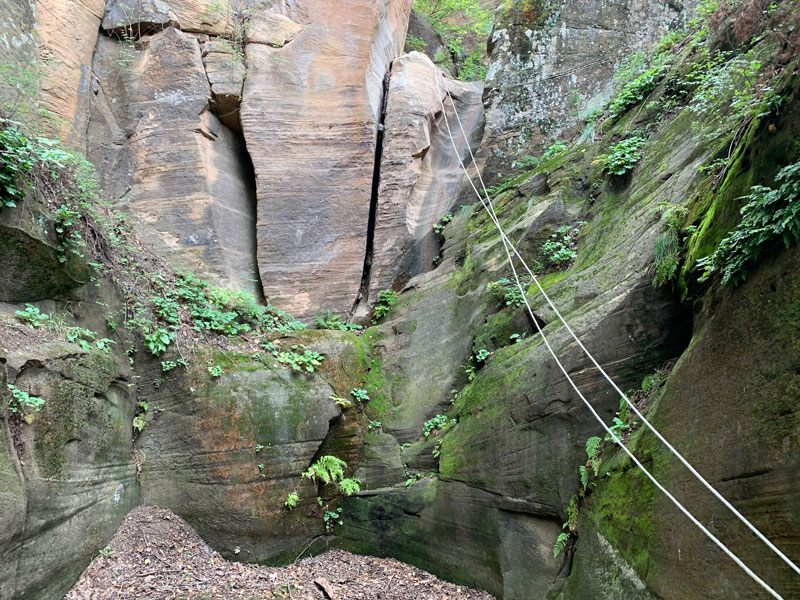
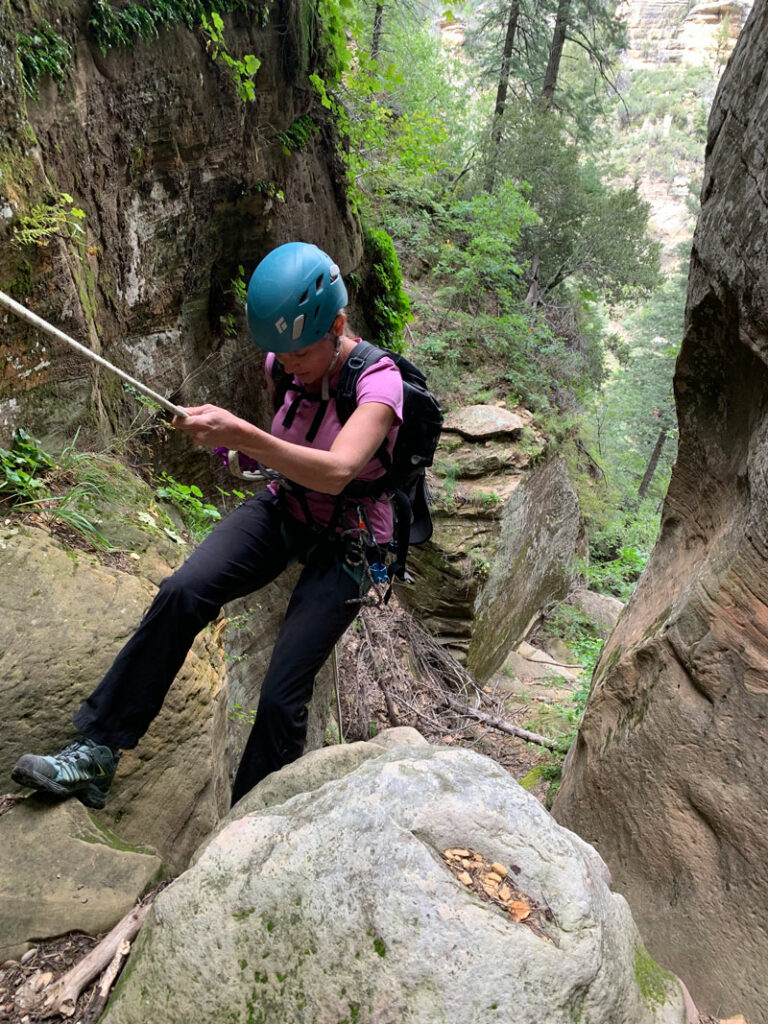
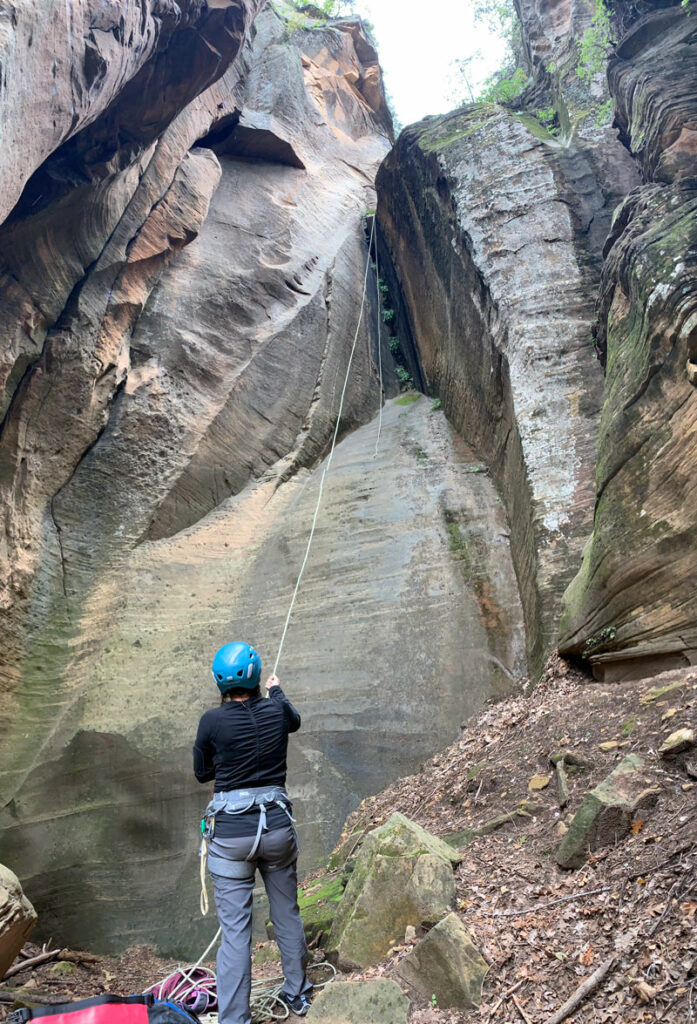
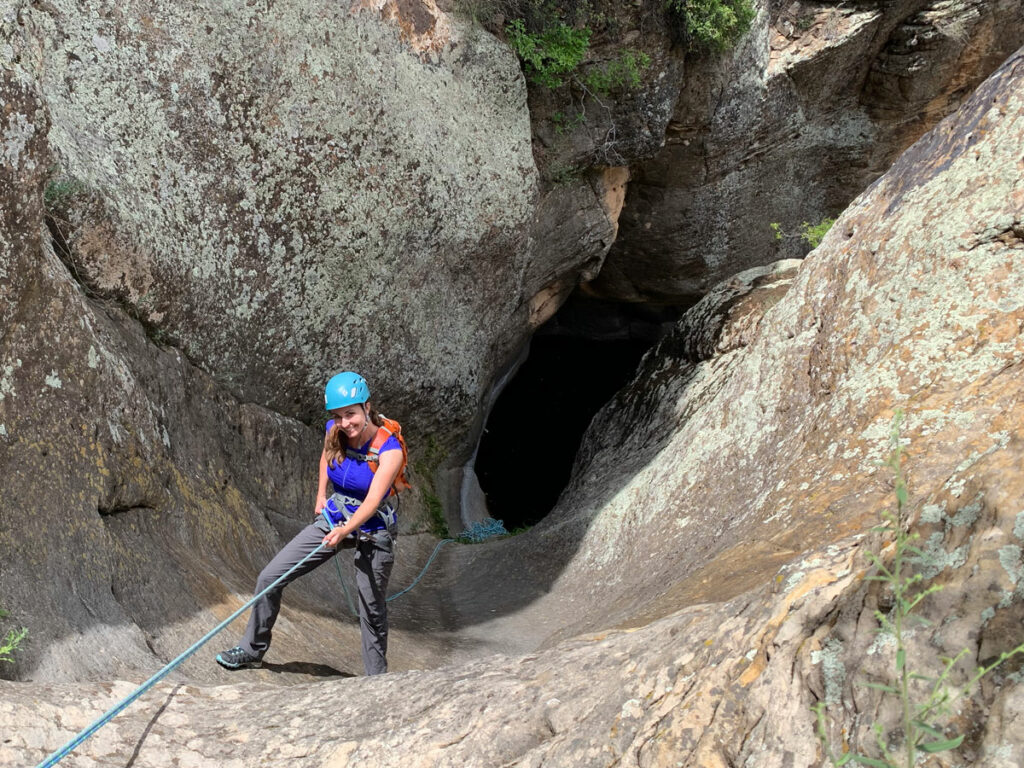
Technical Section
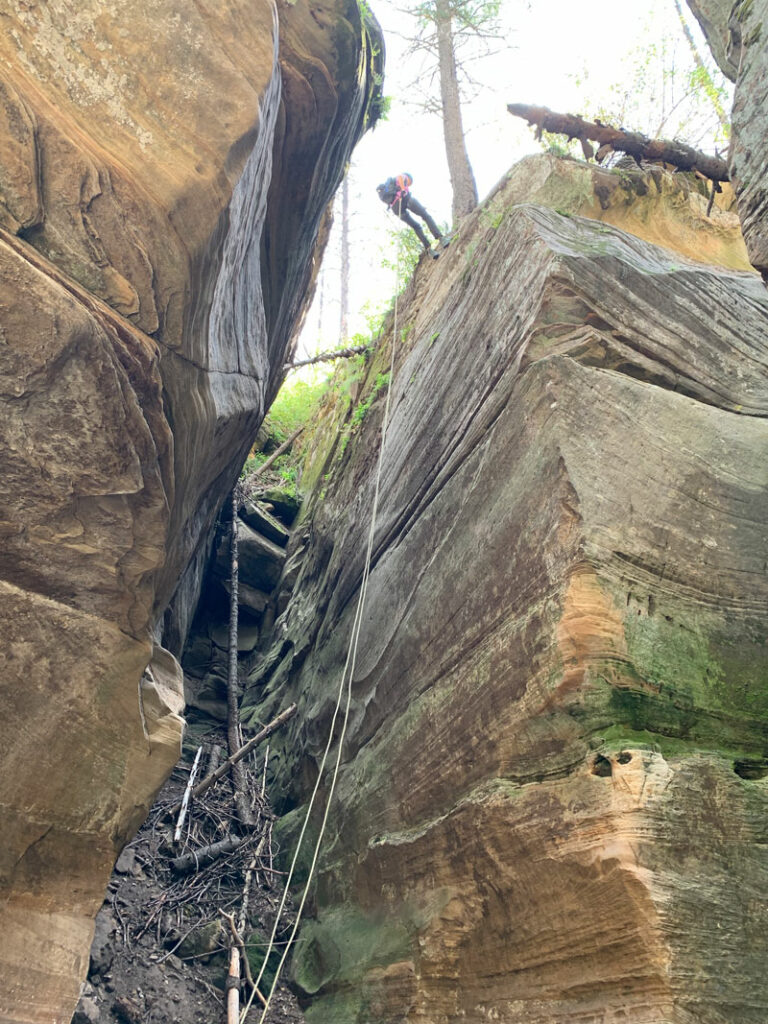
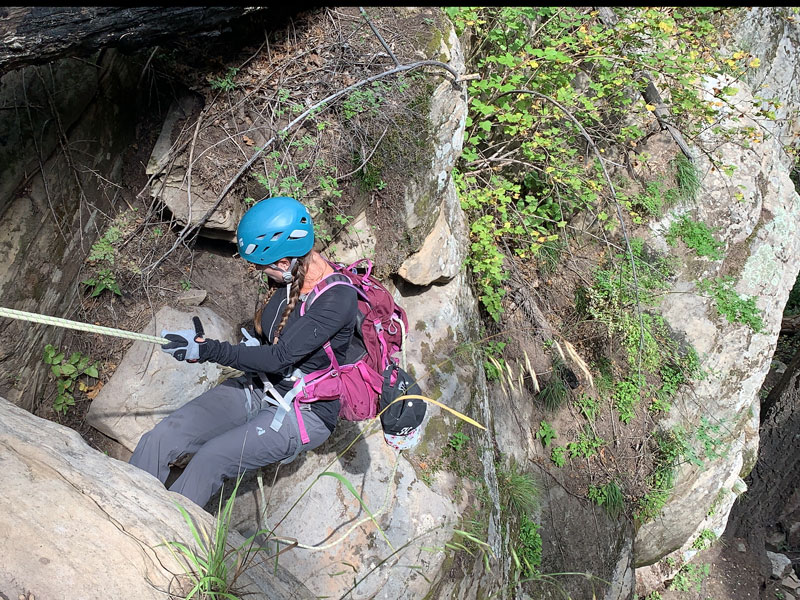
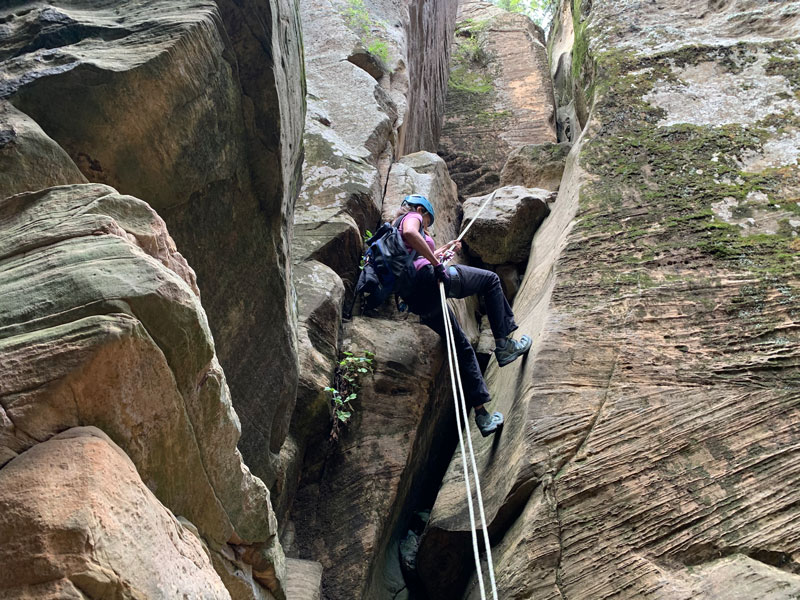
As the canyon gets deeper, you’ll find a series of rappels in fairly rapid succession. Rope!
Rappel 1
45 feet off a tree
An easy rappel that gives you a little glimpse into what this canyon is all about. Rad crack raps.
Rappel 2
40 feet off a tree
You have the option to rappel off a tree LDC or a new anchor at a rock pinch in the water course. We chose the tree and evidently failed to capture any meaningful pictures of the rappel.
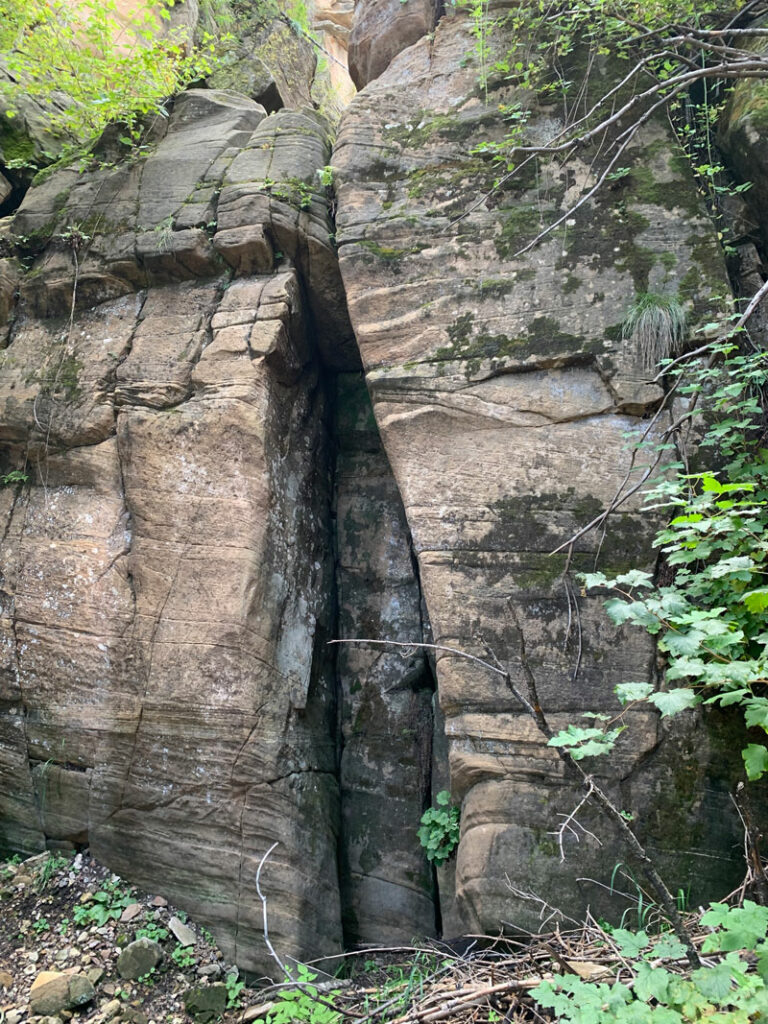
Rappel 3
20 feet off a rock pinch
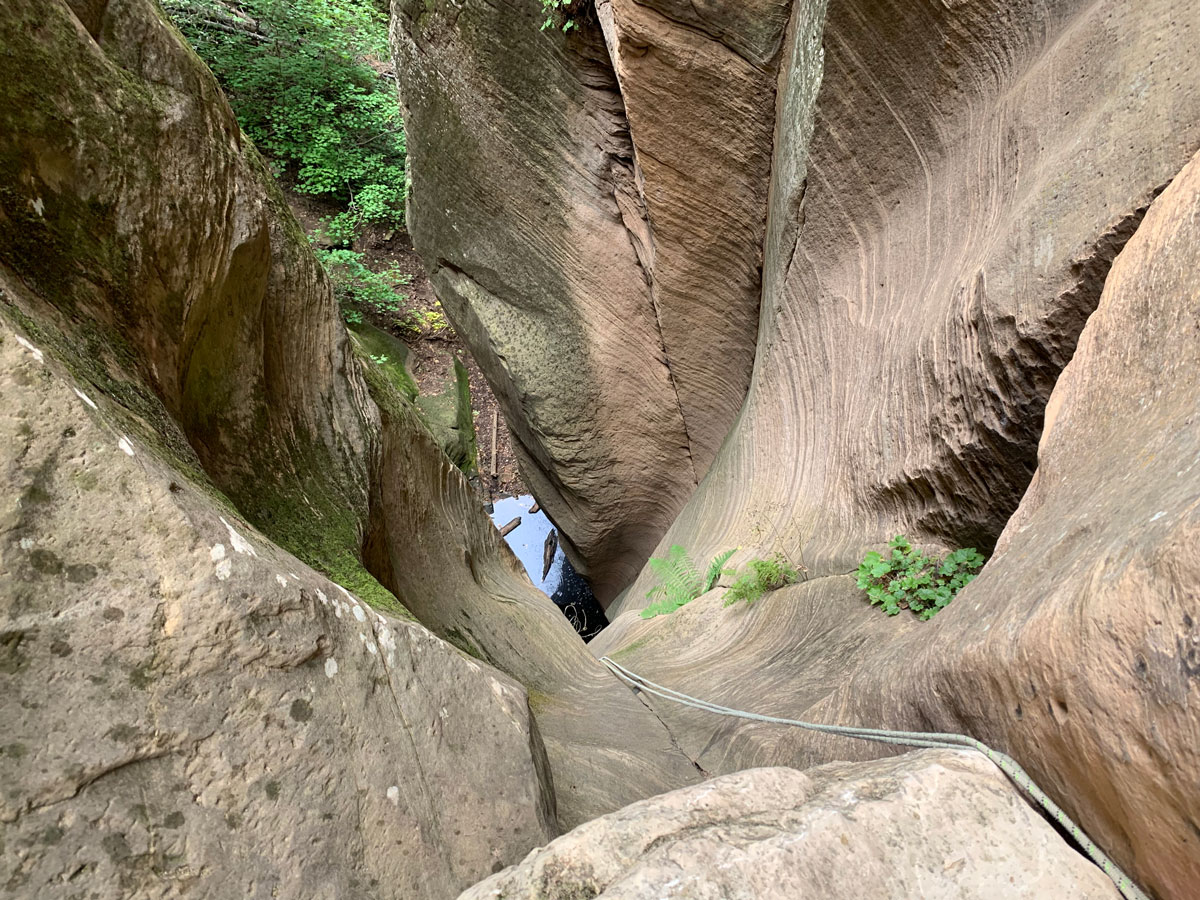
A very pretty rappel down the wall on the left side of the crack in this photo.
Rappel 4
70 feet off a tree
The technique we used for this rappel was to start off straddling the crack and then move to the smooth chute RDC. But the rope had its own plans for us closer to the bottom and swung us back into the crack, which widens considerably at the bottom.

Rappel 5
25 feet off a rock pinch
The first step of this rappel is a little awkward, but the rest is smooth and easy.
Rappel 6
85 feet off a tree
Another crack. Surprise, surprise.
If you land this one just right, you might find yourself seated nicely on a boulder at the bottom.
Rappel 7
25 feet off a rock pinch
Followed by a short downclimb or log slide. I use the term “slide” loosely.
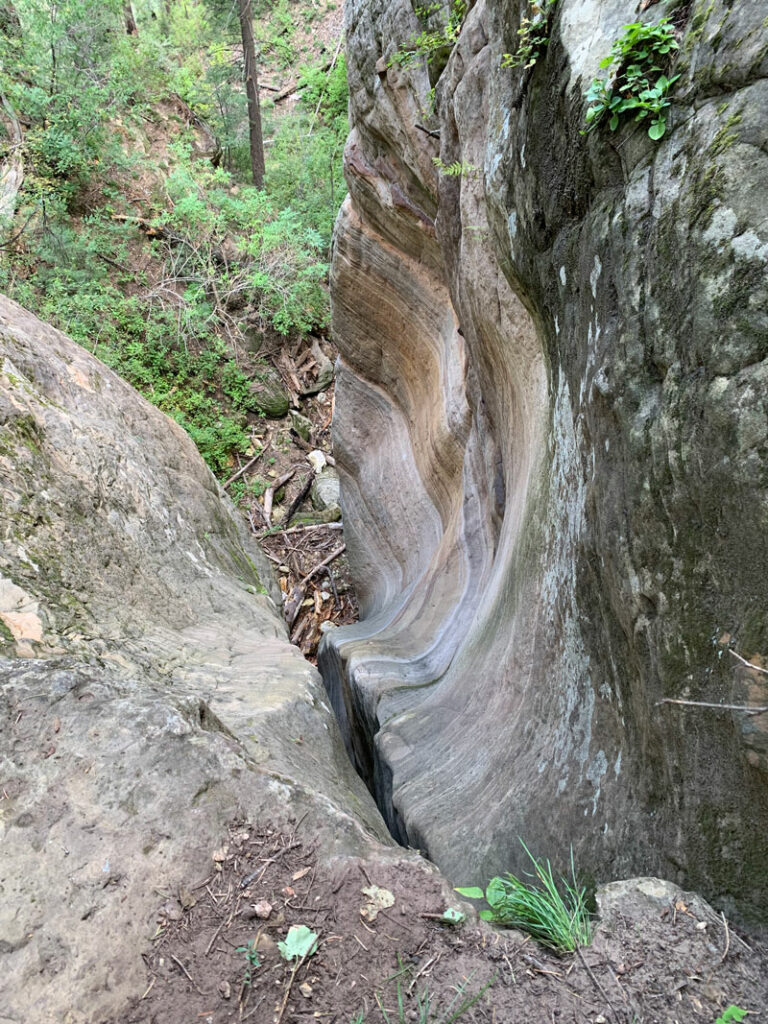
Rappel 8
50 feet off a tree
My favorite rappel of the canyon! Look how these beautiful canyon walls are sculpted into the perfect little landing place for your rappel. Stunning.
Rappel 9
25 feet off a pipe
It’s a tiny bit sketchy getting out to the anchor for this rappel. A pipe for an anchor? Where did that come from?
Rappel 10
25 feet off a rock pinch
Rappels 9 & 10 can be combined into one 80-foot rappel, which is what we did. The pull was easy enough, and we didn’t have to evaluate the anchor. Sweet!
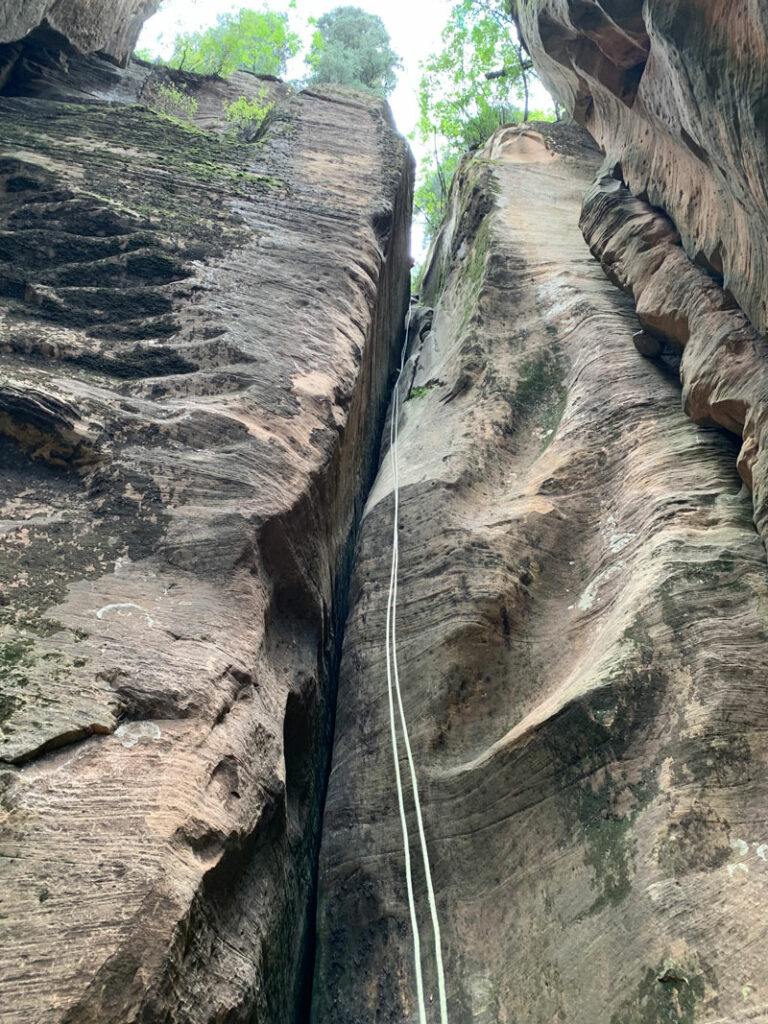
Rappel 11
85 feet off a tree
Guess what! Another epic crack rap!
Rappel 12
70 feet off a boulder
Okay, yeah, I brought a pool floatie for the “pool” at the bottom of rappel 12 because I read it was “deep” and didn’t want to get wet. When I saw that kiddie pool at the bottom, the teasing began.
But you know what? I only got my feet wet. . . and that was without the floatie.

The Exit
You’re feeling smug now, eh? Just because you successfully completed 12 rappels in short order without biffing it? Wipe that smirk off your face right now.
You’re not done yet!
Sterling Canyon Exit
At least, if you’re planning to make a loop by going up Sterling Canyon, you have only done the easy part. The next few hours are going to be straight up hell.
Just sayin’. And that’s truly the nicest thing I could say about it.
You’ll generally follow the main canyon drainage to the left, but it may try to trick you into going into a subdrainage to your right (traveling up canyon) after a short while. If you find yourself doing any class 4 scrambling, check that map, go back, and reevaluate your path.
To get back into the main drainage, we had to follow the large, dark gray vertical wall on our left (looking up canyon) until it led to a very steep and loose climb. Once we reached a large boulder, we had to shift left and climb over another boulder to access the drainage. Please tell me there is another way and that we just missed the turn! I’ll mark the location of our travails on my map to hopefully help you through this section in case you find yourself in the same situation.
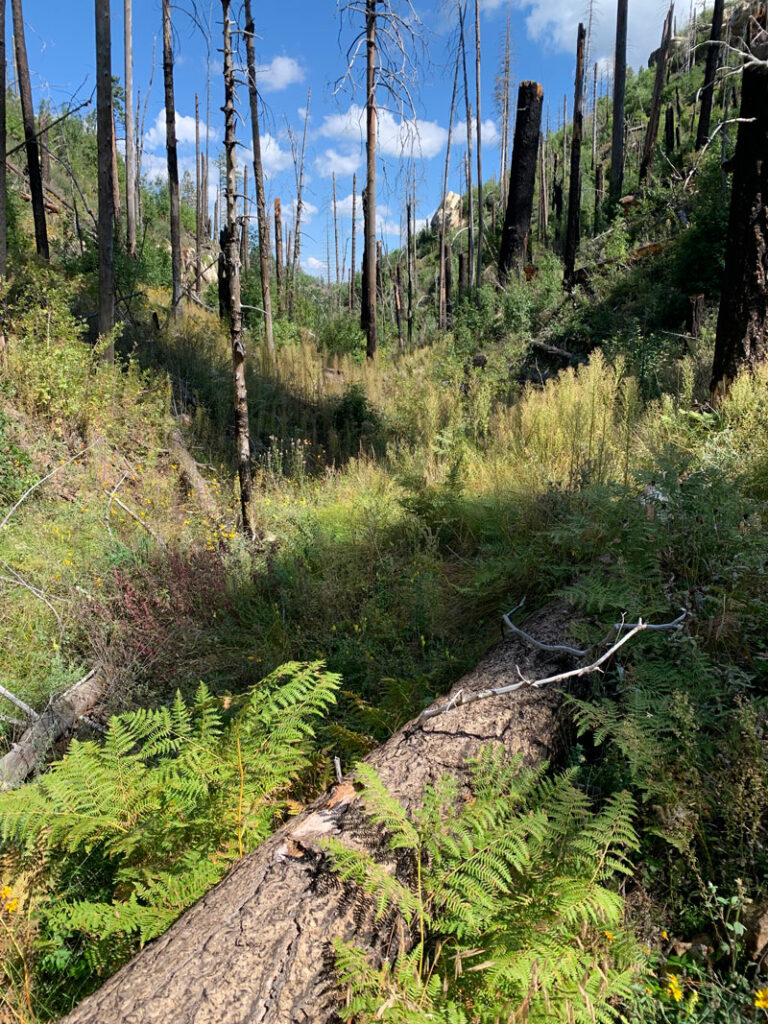
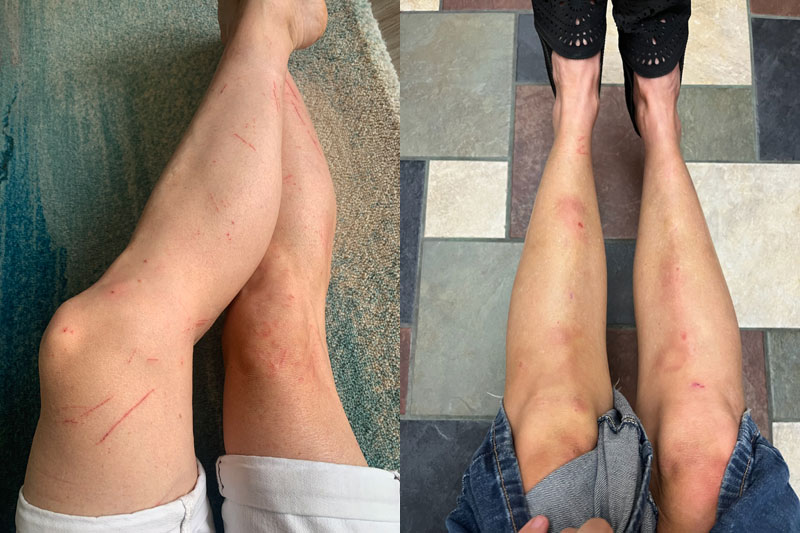
Once you’re back in the main drainage, you might feel like things are looking up, but they most definitely are not. You will face an uninterrupted barrage of boulders, fallen and charred logs, thick patches of thorned plants, and so many bushes. If you are not wearing pants, your legs are going to look like you had a date with Freddy Krueger, and if you are wearing pants (good luck to them), you’ll probably bang your shins on enough obstacles to make sure you’ll be wearing pants for the next two weeks.
Oh, you think I’m exaggerating?
Eventually, the route leaves the drainage to ascend its steep side back toward the road. Looking at my map later, I realized I stayed in the main drainage too long. If you see a spot that looks decent for heading up, take it! It appears the person who published the original map followed a semblance of a drainage, but I have no hope or faith that they had any easier of a time than we did.
Once it starts getting flatter, follow the depression back toward the road, keeping an eye on your GPS. At the road, we simply turned left and followed it back to our vehicle. . .
. . .which decided not to start. But that’s another story.
(Hey, by the way! If you’ve done this exit and didn’t experience what we did, please drop a comment and let us know how to do it better!)
Highway 89 Exit
We did not do this exit, but we heard it’s easy. Wow, wouldn’t that be nice? If you have the luxury of two high clearance vehicles, park one here, and park the other at the upper parking for a car shuttle.
There is an extra 15-foot rappel off a tree if you choose this route.
Map & Directions
Location Coconino National Forest, Sedona, Arizona
Upper Parking From Sedona, take Highway 89A north to Forest Road 535 and turn left. Take the second left turn onto County Road 535 alt. Or, use Google maps to navigate to Harding Point Tank.
Lower Parking From Sedona, take Highway 89A north. Park on the right side of the road inside the hairpin turn right after the fish hatchery.
Fees/Passes None
Trailhead Facilities None
Preview this Hike
Recommendations for you
Leave It to Beaver Canyon | Wet Beaver Wilderness
Grizzly Canyon | Sedona
Best Canyoneering Ropes
Leave a Reply