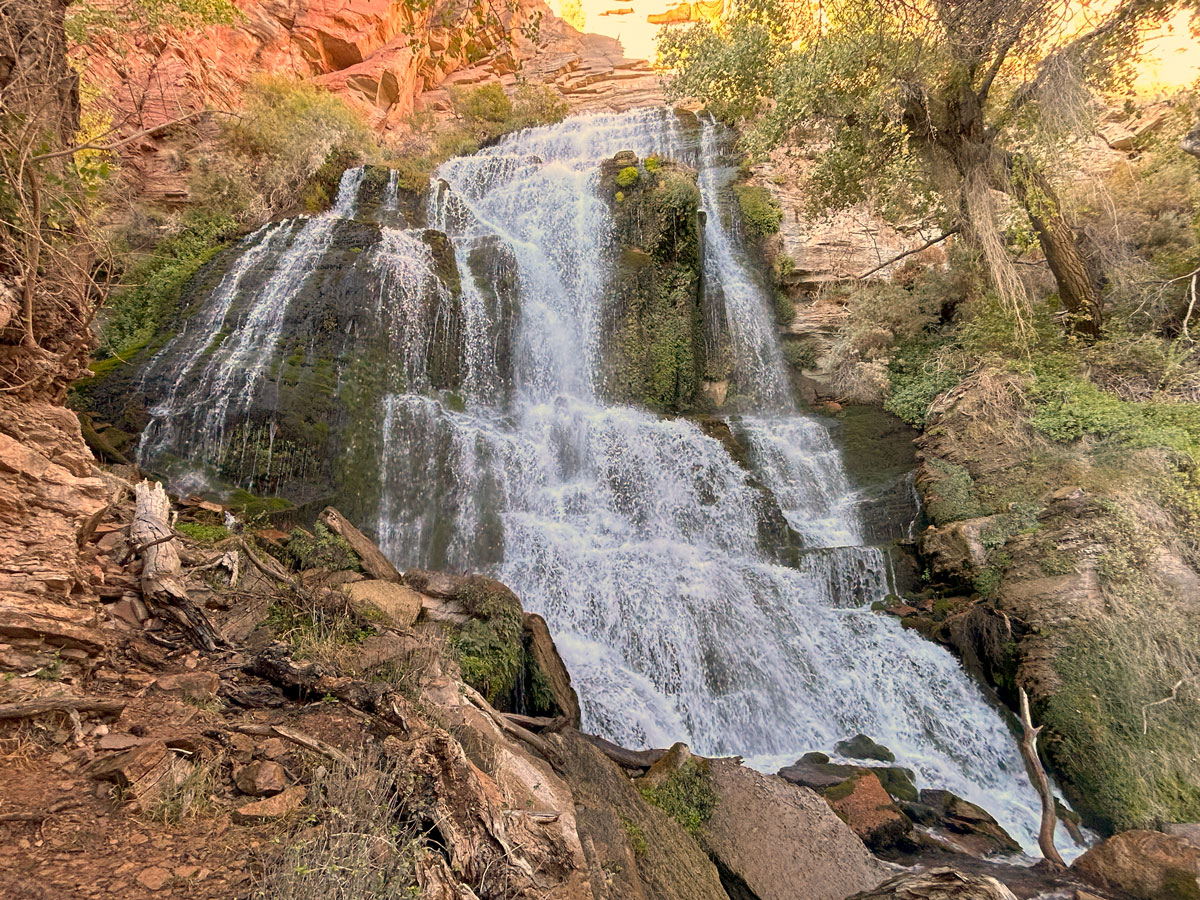
Thunder River Deer Creek Loop
TRAIL STATS
In the middle of the Grand Canyon lies an unlikely oasis on the Thunder River and Deer Creek Loop. See Thunder Spring gush out of the canyon wall, camp along the banks of a rushing creek, follow narrow ledges along the canyon walls, watch waterfalls plunge down toward the Colorado River, and gaze into the sky as the sun rises and sets over the grandest canyon of them all. This trail is very difficult and not for people with fear of heights.
Trail Description
To get to the trailhead, you’ll have to travel on 34 miles of dirt roads. For most of the drive, you won’t have cell service, so be sure to save the map so that you won’t be at the mercy of your vehicle’s GPS unit to get back. Trust us, it doesn’t know the way. Let’s just say we took the scenic route, and there were times when we thought we’d never see asphalt again.
Luckily, despite the maze of roads we followed to get back, all of them were in good condition and easily drivable. Snow notwithstanding.
Bill Hall Trailhead
At the trailhead, there is a big sign at the start of the trail where you’ll pass through a gate and start heading down the hill. We’re glad you’re here making a plan and not showing up with a dog and asking, “Where does this trail go?” Too far, my friends. Too far (and dogs aren’t allowed below the rim anyway).
The first nasty surprise of the trail is that you’ll have an uphill section right off the bat. You know, because the canyon isn’t deep enough as it is. We gotta start from the tippy top.
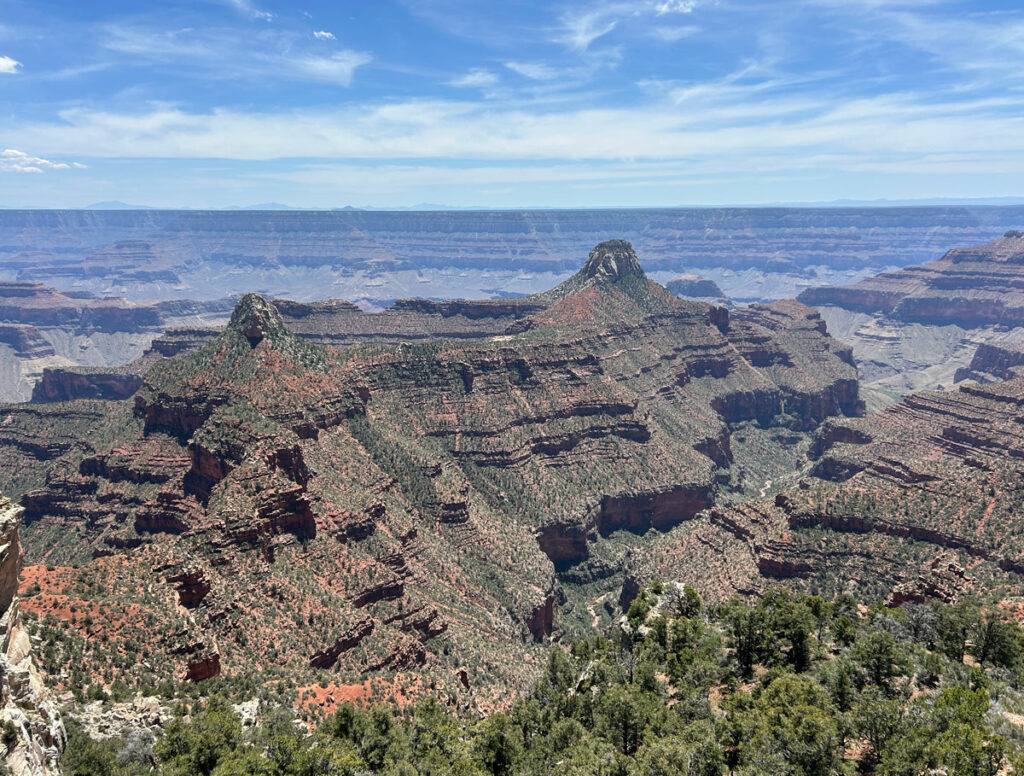
At this point, you’ll be dropping below the rim on a series of switchbacks that seem like they’ll suck on the way back. Let me tell you, they don’t just suck on the way back. They really suck. Don’t think about it yet, though. You have the Grand Canyon spread before your view, and it’s time to get stoked!
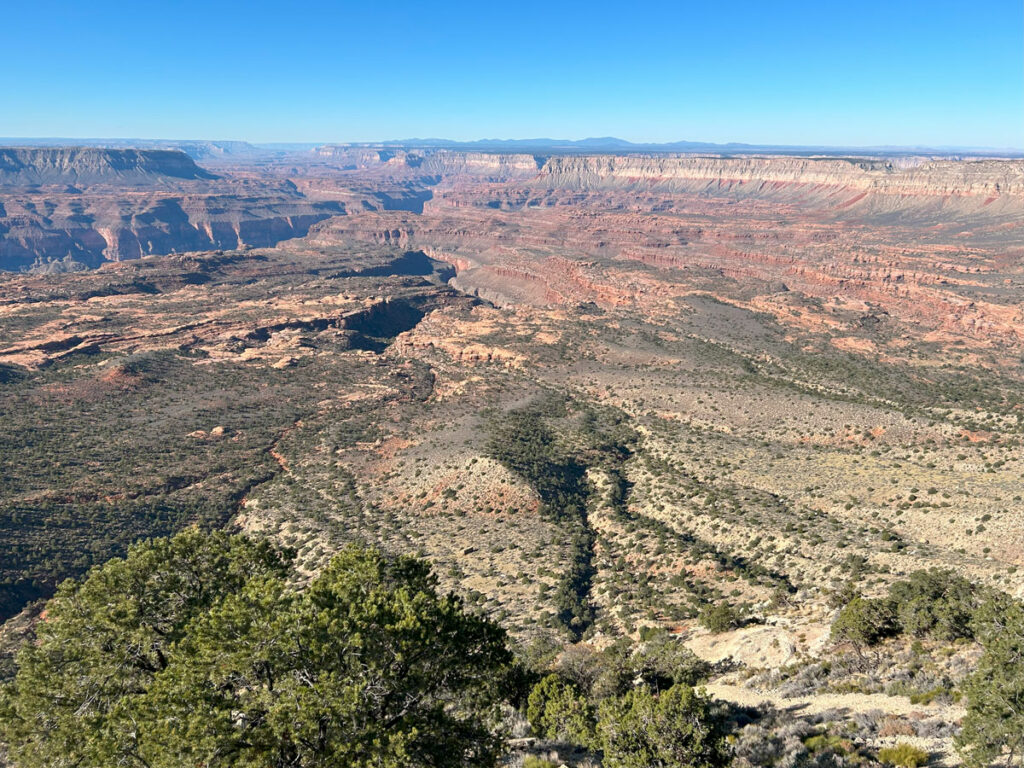
The trail bends around to the right with some ups and downs, sometimes right next to a steep drop-off. Get used to it. There’s more where that came from. Eventually, the trail will start dropping in earnest, going down what seems like a million zillion switchbacks. It’s all fun and games until you have to go back up those. Just sayin’.
The Esplanade
Those switchbacks really get the job done fast, though, and at the end of 2 miles, the trail will blissfully flatten out as it begins traveling across the esplanade. This is where you’ll reach the end of the Bill Hall Trail. Go left to get on the Thunder River Trail.
On the esplanade, you’ll find weird and wonderful rock formations as you make your way to the next drop.
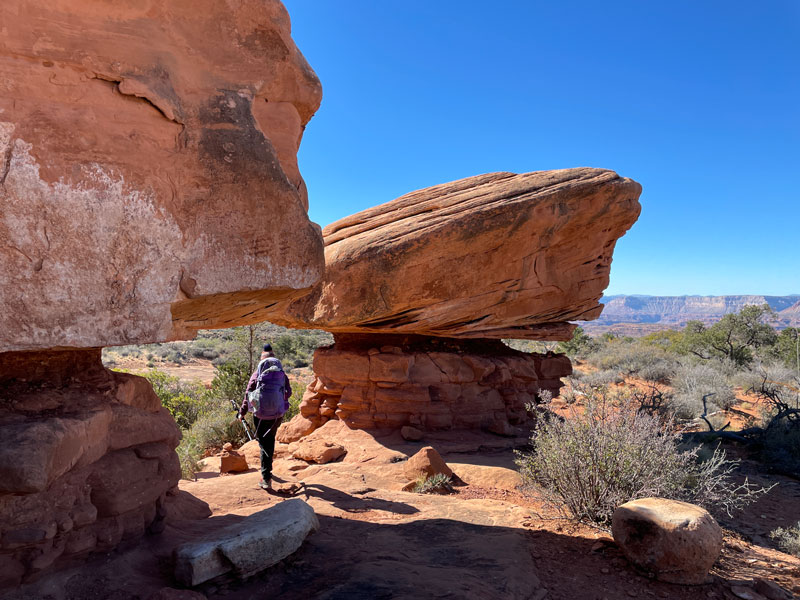
The esplanade is also your first camping opportunity, although it feels too early to camp on the way down. If you do decide to camp there, be sure to go to the edge (around the 5 mile mark), just above the red wall, where you’ll have amazing views down into the canyon. You’ll most likely have some company nearby, too, and maybe hear all about their butt butter anti-chafing cream since sound travels so well out there.
There are no water sources on the esplanade, other than possibly some small potholes if there has been recent precipitation. But, come on, that’s gross. Since you’ll be returning this way, it’s best to cache a few liters and whatever food you might want for your last day. If you do leave food, you absolutely must protect it from critters. We hung a rat sack in a tree, and everything looked exactly as we left it when we returned.
From the edge of the esplanade, you’ll start dropping quickly again as you make your way down the red wall. Oh baby, those switchbacks are back! Quickly you’ll drop down into Surprise Valley.
Surprise Valley
We decided the surprise about Surprise Valley is that it’s ugly as heck. The trees are measly, there’s lots of sand and bushes, and hiking through this desolate wasteland feels like a slog. The only saving grace is that you do have the towering red wall above you and some decent views down canyon when you hit the high points.
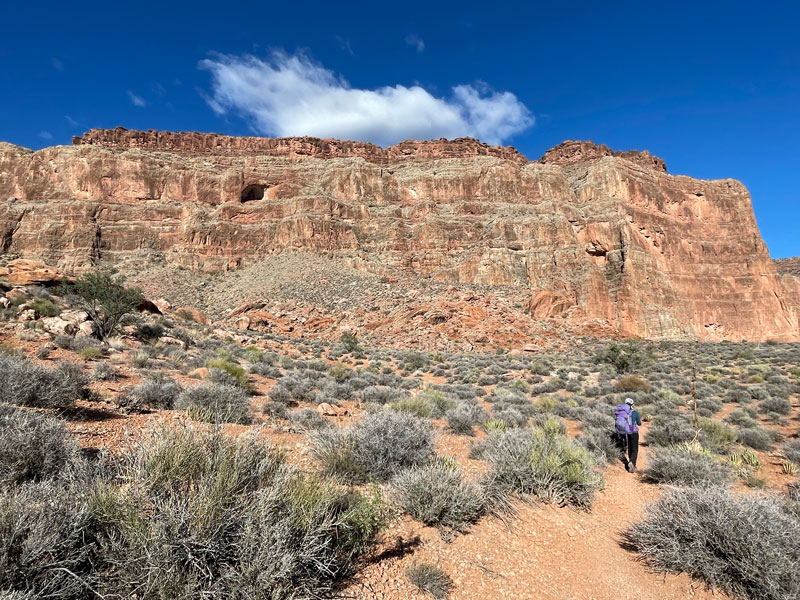
If you were thinking of camping in Surprise Valley, my best advice is: DON’T. I mean, unless it’s your only choice in a last ditch effort to put a trip together. I know, I sound so spoiled. And believe me, you’re about to be spoiled with what you’ll see next on this trip.
There are a couple junctions once you get down into the valley, and this is where you will begin the loop. You can do this loop in either direction, but we chose to go clockwise, so we veered left each time to stay on the Thunder River Trail. The rest of this guide will describe the clockwise loop.
As you approach the next canyon, you’ll start to hear the roaring sound of Thunder River. Hmm, wonder where it got its name. You’ll be super excited to get down to it, but just before you drop down into that canyon, there is a viewpoint that is so sublime you have to stop.
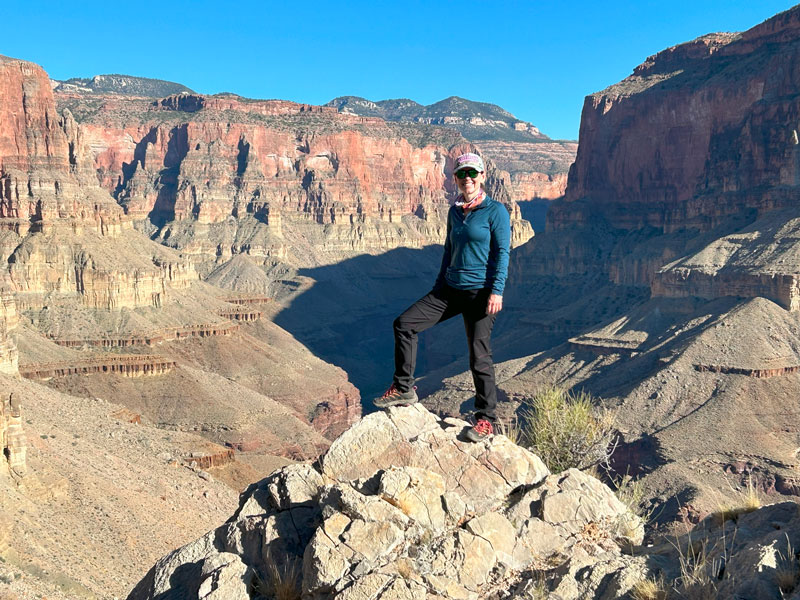
We thought it was good enough to make it worth marking on the map.
Thunder River Spring
Thunder River Spring needs no introduction. It’s gonna blow your mind.
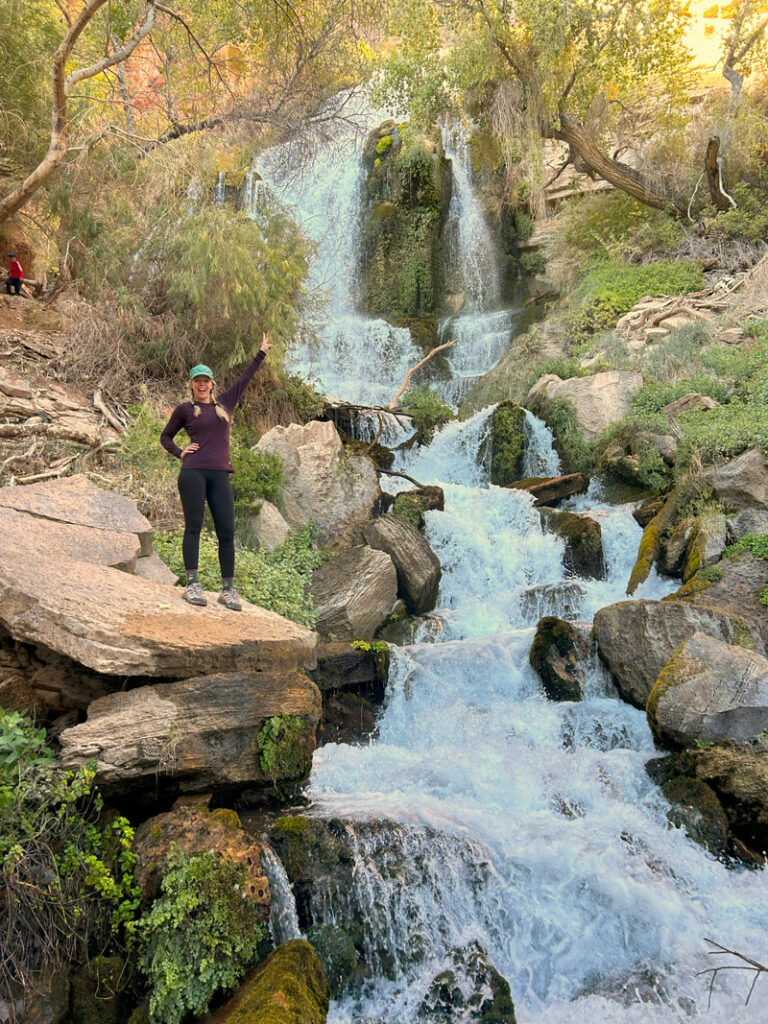
This spring is gushing right out of the wall of the Grand Canyon. If anything in this world seems more improbable than that, I don’t know what it is.
But wait, there’s more! As you hike away from it, you’ll find there are tons of waterfalls cascading down cliff after cliff. It’s truly a wonder. You’re thinking, “Dang it, we just saw the best of this hike, so it’s all downhill from here.” Well, no. You haven’t seen the best yet, and it’s most definitely not all downhill.
Also, remember the sketchy cliffs? I know your surroundings are amazing, but watch your step. The trail is flat, so it won’t feel like you’re about to slip off any moment, but there are a lot of places where not much separates you from the bottom of the canyon.
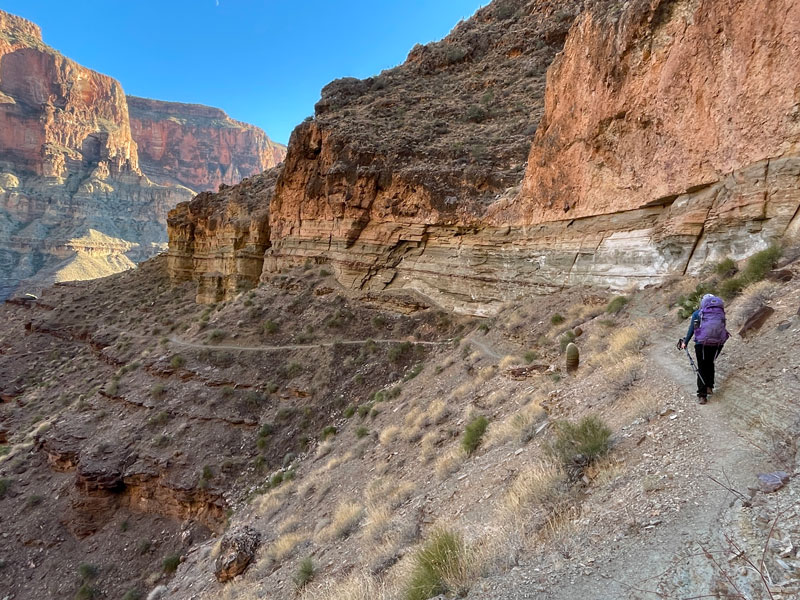
The trail parallels Thunder River until it eventually meets up with Tapeats Creek. Soon after the confluence, you’ll find yourself at the campground.
Upper Tapeats Campground
Grand Canyon National Park issues permits for three groups per night at this campground: two small groups (1-6 people), and one large group (7-12 people). Just FYI, the big campsite right next to the toilets is the large campsite, and unless you reserved that, get your hiney farther down the creek to the small ones. We had the large one reserved for the three of us just by a stroke of luck, but we refrained from booting the group of four who stole it. Little did they know we spent the evening plotting our revenge. Just kidding. Mostly.
The campsites are marked with log posts that have a tent icon on them, except for the large one that is marked with an “L.”
Tapeats Creek Trail
From the campground, you have two options. If you’re dead set on avoiding creek crossings, you’ll stay on the right. One of us scouted the trail ahead and decided it was a bit too sketchy for her liking. Instead of checking it out for ourselves, we just followed her lead and crossed the creek to the trail on the other side. The best spot we found to cross was directly below the big waterfall that is close to the toilets and the large campsite.
The trail on the left side of the creek was not too sketchy, and it had some cool ledges to walk along. Some downclimbing is required, but it’s pretty basic, so it’s a good way to go.
Crossing the creek necessitates crossing back, of course, and once you do, you’ll climb high up onto a ledge as you approach the river. It’s actually really cool.
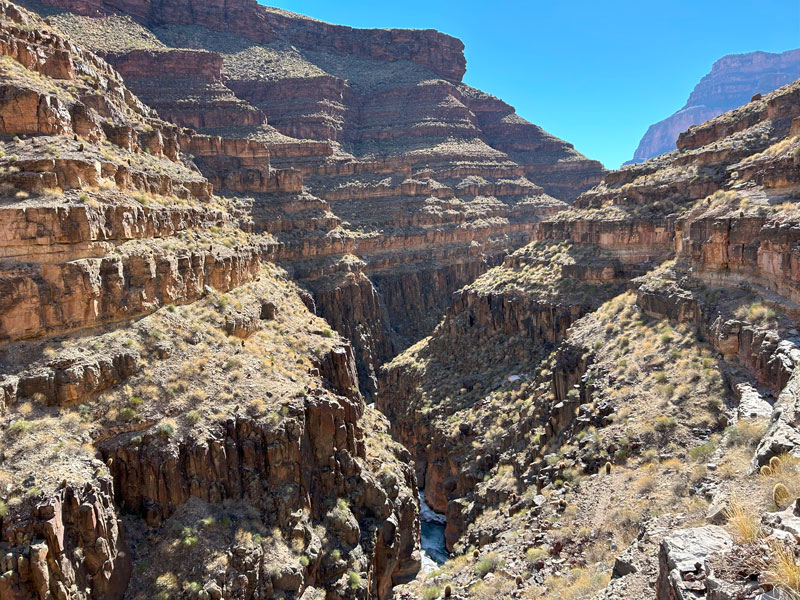
Follow the ledge along the contours of the canyon until you see the master carver herself: the Colorado River. Just before the river, there’s a break in the cliff that descends steeply to your left and looks like it’s only meant for crazy people. You’ll be tempted to keep following the ledge because it looks like the preferable option. Nope. Down you go!
Lower Tapeats
The good news is that you’ll be at the river’s edge when you get to the bottom, and there are some cool rapids there that make a good lunch spot.
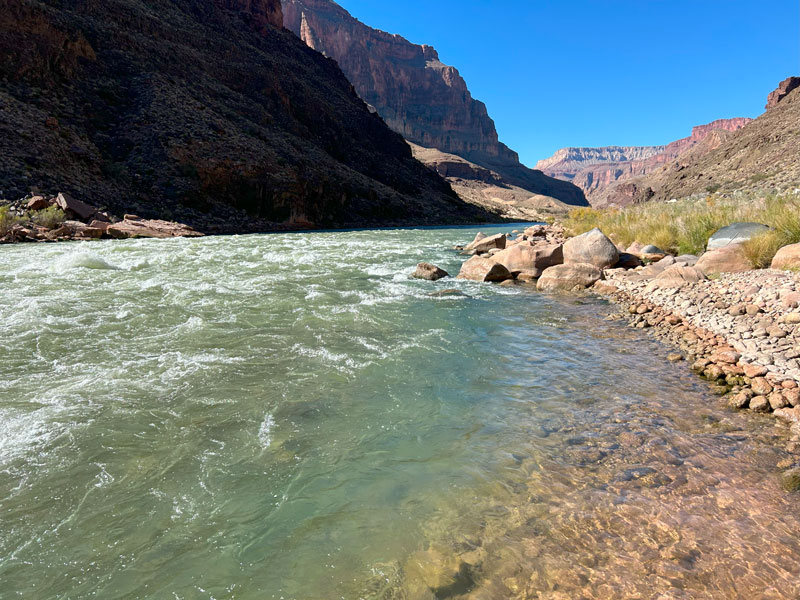
This is another camping area. It seems pretty awesome to camp next to the river, but there aren’t many trees. Just sand and bushes. We thought Upper Tapeats was the superior campground. Plus, it had a toilet. Know what I mean?
If you’re doing the loop (and you should), you’ll begin following the river downstream at this point. This is an unofficial trail, there are lots of rocks everywhere, and it can be easy to lose the trail. Once you pass a nice, big beach, the trail will split into two: the upper route and the lower route. We chose the upper route on the advice of a park ranger, and it turned out to be a good choice. There was one sketchy spot where you had to hold onto a tree root while lowering yourself down a steep slope. Be ready with a camera at the bottom to capture the drama.
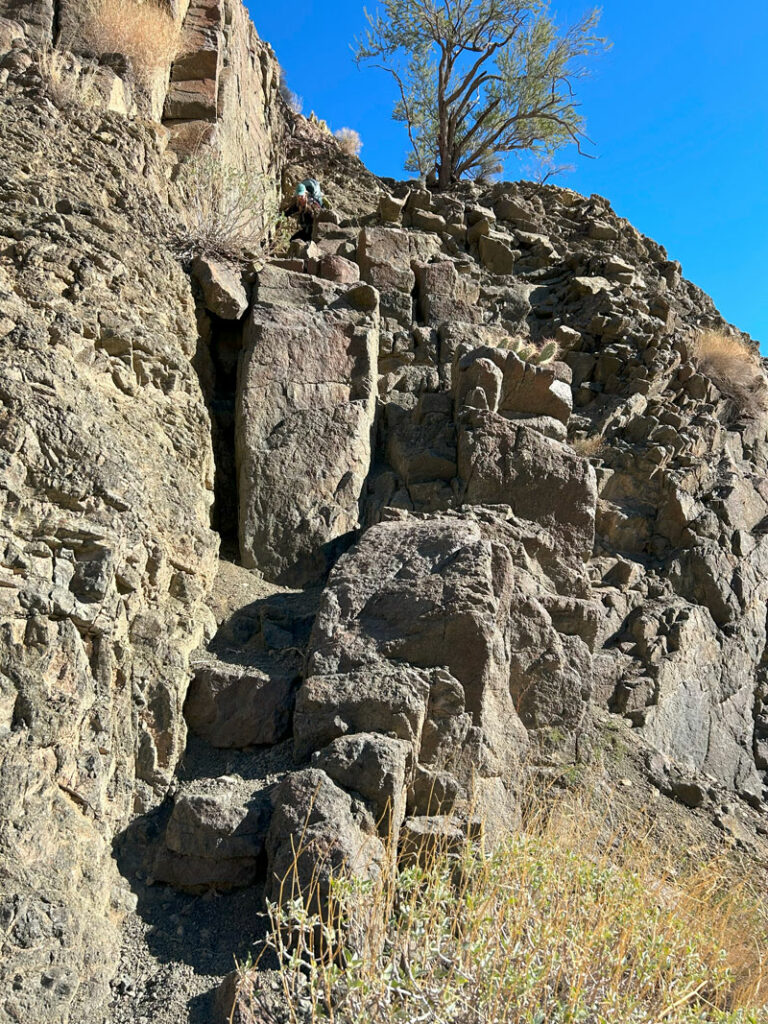
At this point, we caught up to the group that stole our campsite the night before. Since we had the large site reserved at Deer Creek, too, it was game on. We channeled our inner beasts and hauled butt up the last hill over to Deer Creek.
If you’re so inclined, you can take the side trip down to The Patio and Deer Creek Falls on the way to the campground. But if you’re trying to beat someone to the best campsite, you’re gonna need to go drop your packs at camp first.
The Patio
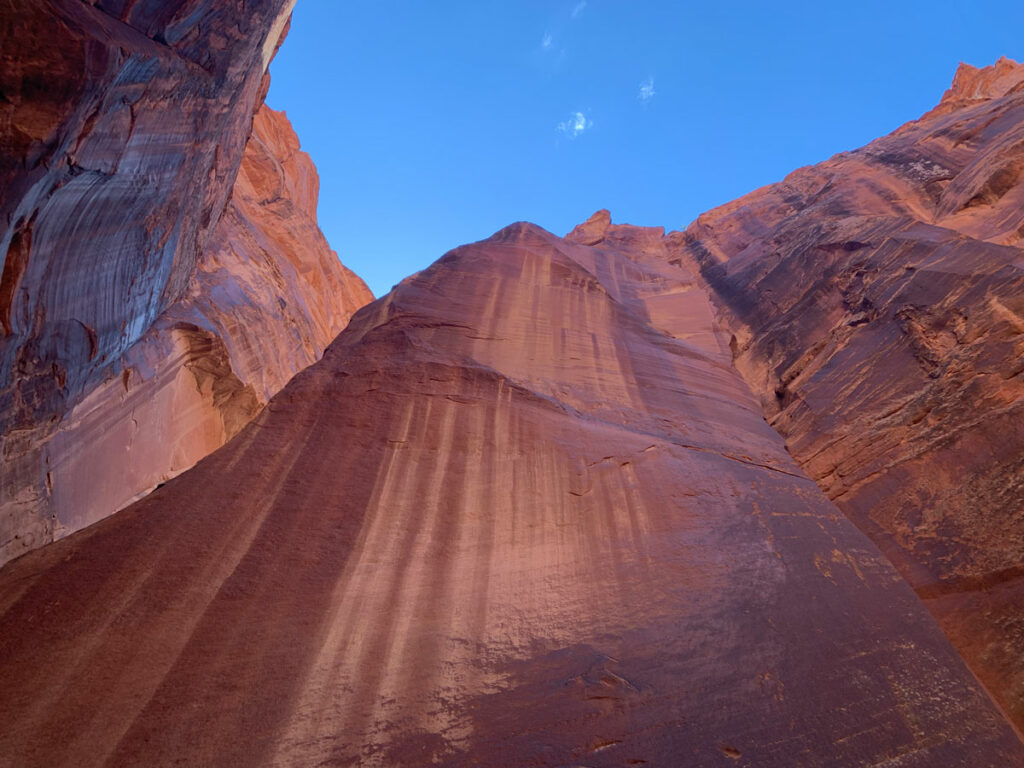
After crossing Deer Creek, go left to visit “The Patio,” a beautiful rock slab with waterfalls and narrows to delight the senses.
You’ll follow a large rock ledge along the canyon wall to get to Deer Creek Falls. It’s mostly wide, but there are a couple spots that have some “pucker factor.” Slow is key.
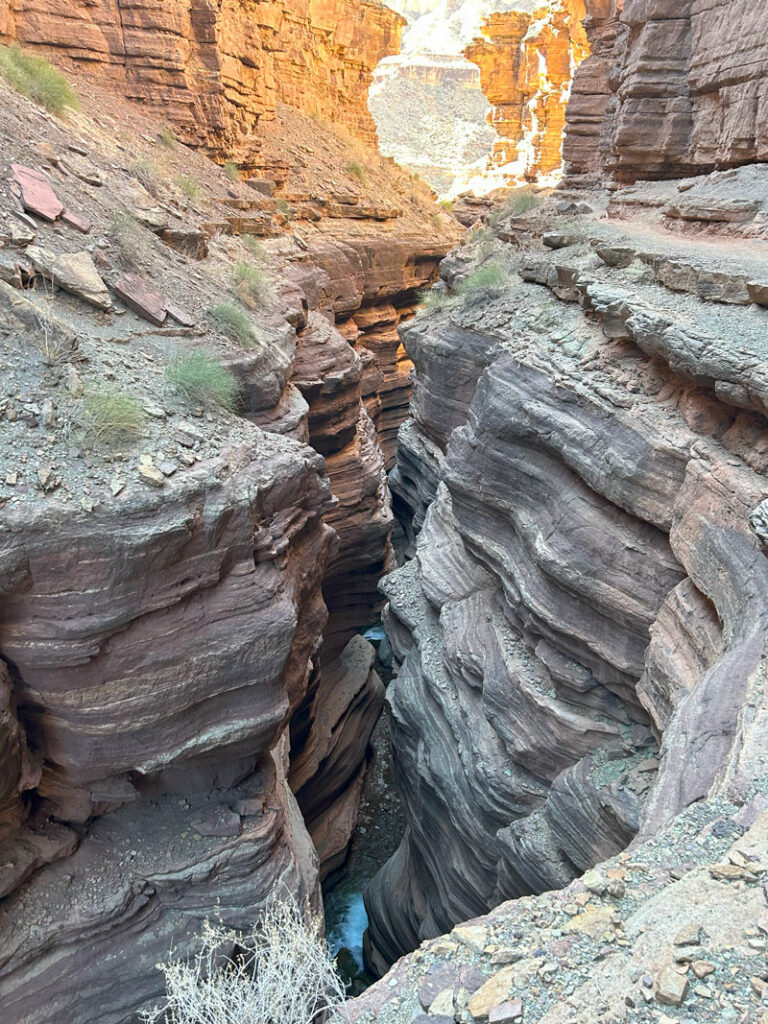
When you emerge into the sunlight again, you’ll come to what I like to call “The Balcony.” This is where you realize the Colorado River is waaaaay down there. If you were lucky enough to be promised cold drinks by some friendly rafters, you now realize you have to hike down to that beach to fetch them. Crap.
It’s all good, though, because Deer Creek Falls is down there to dull the pain.
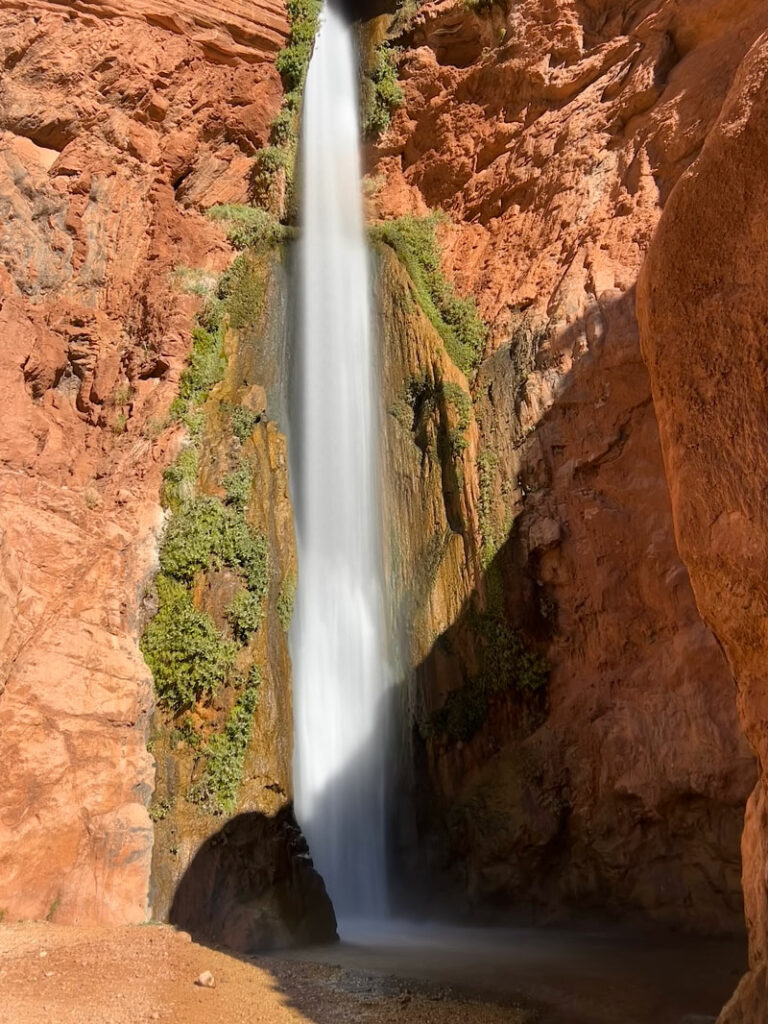
Take advantage of that overspray. You gotta climb back up. Honestly, it went by fast. Just don’t step over any walls that are trying to say, “Hey dummy, don’t step over this wall. The trail turns here.” Otherwise, you might end up on some steep, treacherous stuff. Not that we would know. We’re no dummies. No. Not at all.
Deer Creek Campground
Same as at Upper Tapeats, there are a couple campsites for small groups and one for a large group. If you didn’t reserve the large one, don’t take the one marked with an “L.” I know it’s the best one. We had a “kitchen” and a “patio” and everything.
There is also a toilet at this campground. If it’s any consolation for not having the best campsite, the folks at the large campsite will have to listen to it bang down after each and every use.
Deer Creek Trail
Well, the best is mostly over, and now it’s time to hike out of here. It starts out so pleasant, though, as you follow Deer Creek a short distance. Wipe that smile off your face. The trail soon turns toward what looks like an impossible wall to pass. Surprise, you’re mostly going over it, and there will be a lot of big boulders to overcome along the way. Oh, and more steep slopes. This is the first trial of your exit hike. If you cry for your mama, we won’t judge.
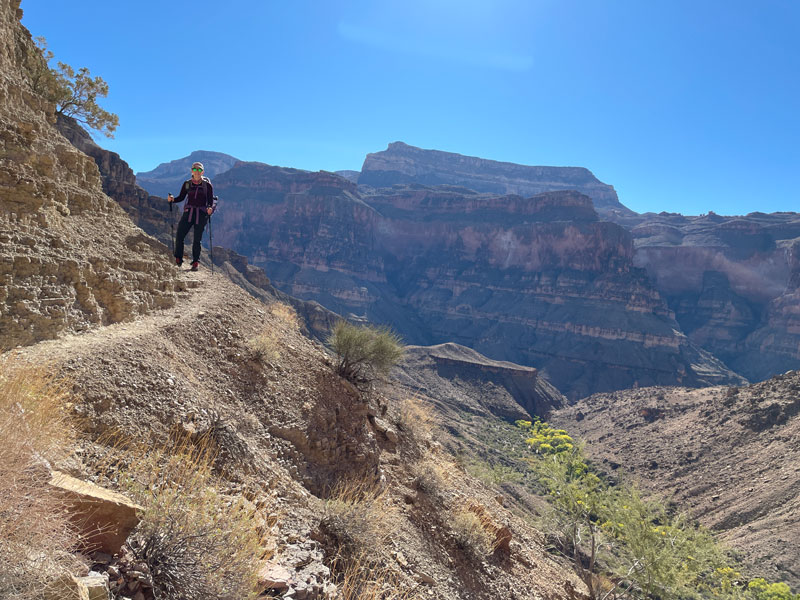
At the top of the pass, you’ll be relieved to be done with that, but now you’re back in Surprise Valley. Yep, still kind of ugly. Hang in there, though, because when you finally hit a small saddle, you’ll get some nice views in both directions. Right at that spot was the best campsite we saw in the area (marked on the map).
Thunder River Trail
In Surprise Valley, you’ll reconnect with Thunder River Trail for the hike out. Don’t look now, but the red wall is up ahead. This is your second trial of the exit hike.
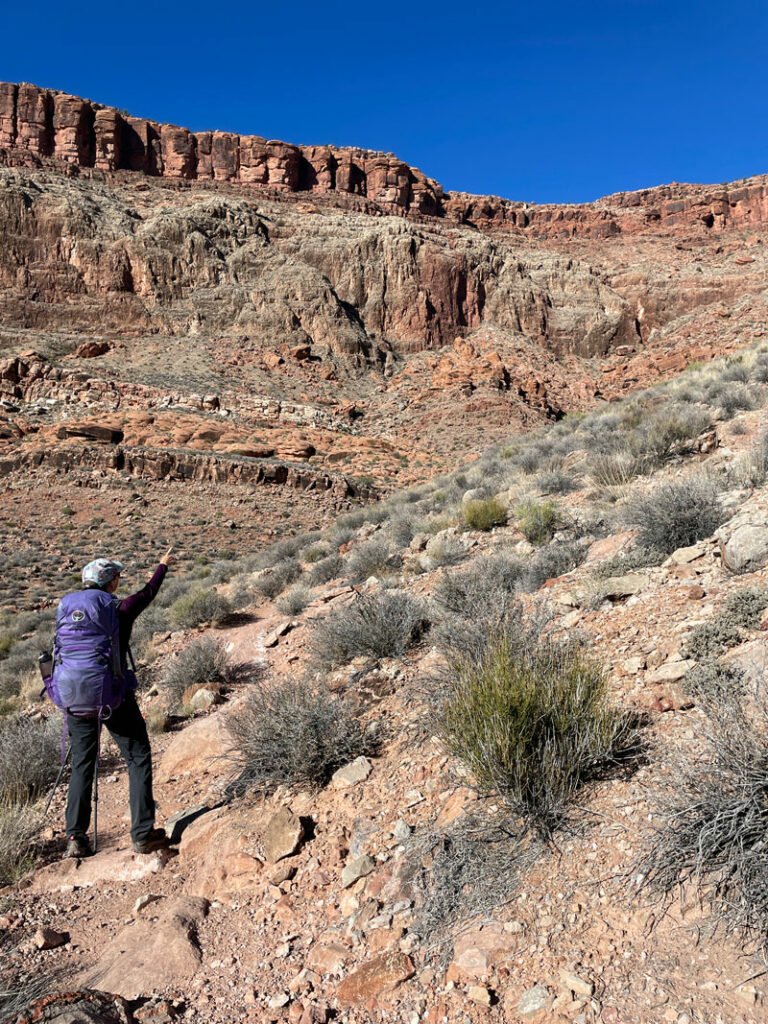
Take those switchbacks like a boss, but be careful not to celebrate too early. Yeah, everyone does. When you’re at the top, you’re not actually at the top. Hopefully it didn’t kill your spirit, and you saved enough energy to celebrate twice.
Back on the esplanade, we found our food and water untouched, and we set up a sweet campsite close to the edge. That meant stellar views for the sunset and the sunrise, not to mention the stars.
Remember that nice, flat hike across the esplanade? Enjoy it while it lasts because the third trial of your exit hike is coming up, and it’s a doozy.
Bill Hall Trail
At the junction with Bill Hall Trail, you’ll turn right to head back up to the rim. Like, straight up. I don’t know if it feels worse because you’re already tired or what, but it kind of sucked. You start out trudging up a relentless slope that isn’t very scenic. Bleh.
Soon the switchbacks become steeper and more frequent, and you will wonder if there were really this many on the way down. Slowly and painfully, but surely, you’ll get closer to the white wall. When you stop to take a rest, turn and take in the magnificent view. There’s a big, open canyon out there. Go ahead and scream. It feels good.
Before going up to the rim, the trail bends to the right and you’ll get a little reprieve from the uphill climb. Don’t get too excited yet. You’re not there. And after the next set of switchbacks around the corner, you are STILL not there. We lost count of the false summits. Just figure on climbing up forever and ever. It’ll feel like it.
But, oh how good it feels to crest the rim. YEAH!!!!!
Map & Directions
Location Grand Canyon National Park, North Rim, Arizona
Google Maps Bill Hall Trailhead
Fees/Passes You must have a backcountry permit from Grand Canyon National Park to camp below the rim. You can join the lottery to get a time slot for early access to the permits. Otherwise, you’ll have to wait until the remaining permits are released. Visit Recreation.gov to get all the information about obtaining a permit. In addition, you will need to pay a fee for entrance into the park or use your America the Beautiful pass.
Trailhead Facilities None. Toilet available at Upper Tapeats and Deer Creek campgrounds.

Leave a Reply